
The Dual Meaning of 'Drivers' in the Arduino Nano Ecosystem
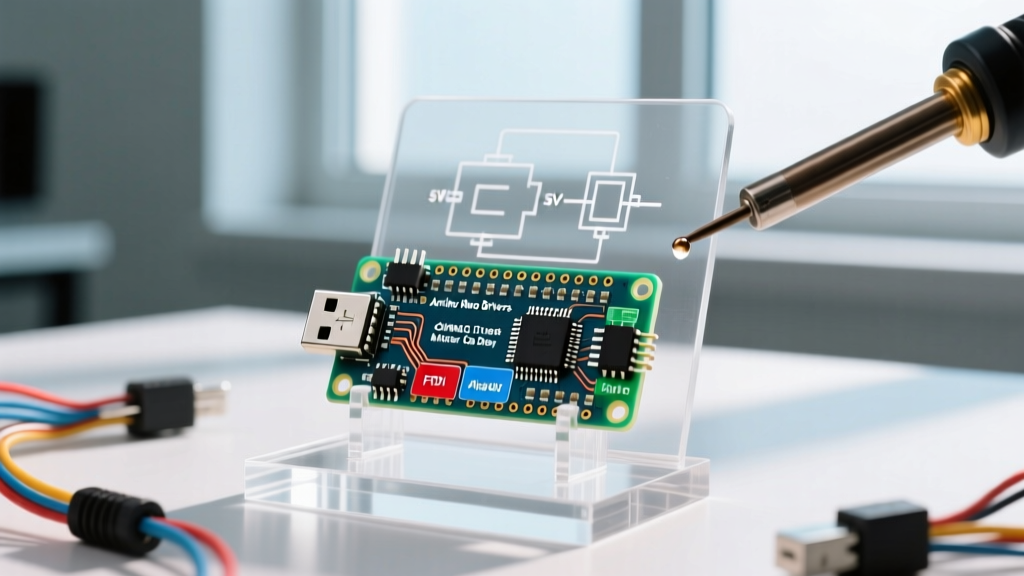
When makers and engineers search for drivers arduino nano, they are typically colliding with one of two distinct hardware hurdles. The first is the USB-to-Serial interface driver—the software and silicon required to flash code from your IDE to the ATmega328P microcontroller. The second is the hardware peripheral driver ICs—the motor, stepper, and relay controllers needed to interface the Nano’s 5V logic with high-current actuators.
In 2026, navigating these drivers requires an understanding of shifting OS architectures (like macOS kernel extension deprecations) and the nuanced differences between official Arduino silicon and third-party clone boards. This deep dive dissects both the USB communication layer and the power electronics layer, providing actionable troubleshooting frameworks for real-world edge cases.
Part 1: The USB-to-Serial Silicon Breakdown
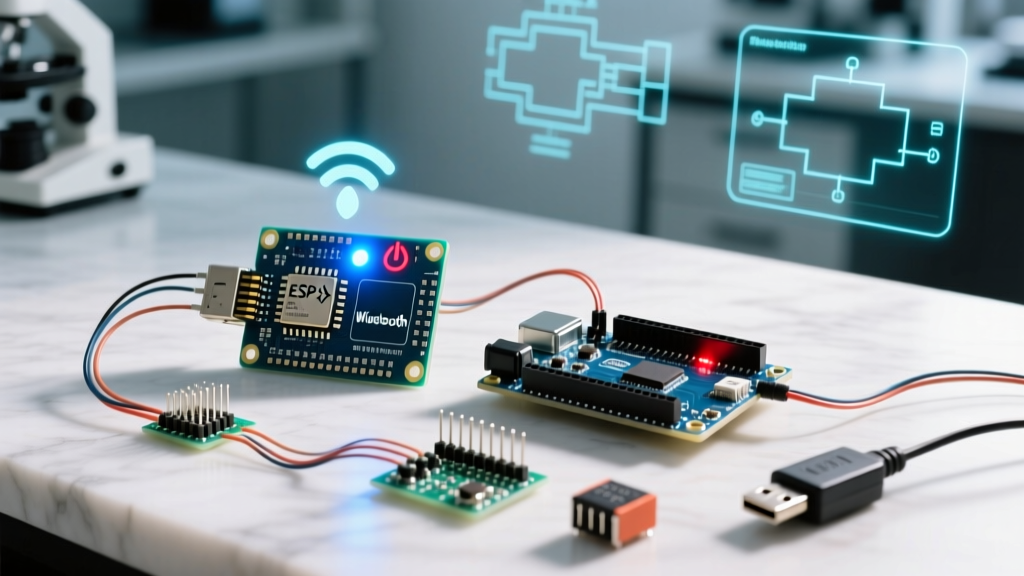
The Arduino Nano does not have native USB hardware built into its main ATmega328P chip. Instead, it relies on a secondary bridge IC to convert USB data from your computer into UART serial data. The driver you need to install depends entirely on which bridge IC is soldered onto your specific board.
⚠️ The FTDI Myth: A common misconception is that all Nanos use FTDI chips. Official Arduino Nanos transitioned away from the FTDI FT232RL in 2010, replacing it with the ATmega16U2 (a secondary AVR chip acting as a USB bridge). Today, the FTDI chip is mostly found on vintage boards or specialized high-end clones. The vast majority of modern budget clones use the WCH CH340 series.Comparing the Bridge ICs
Understanding the physical silicon on your board dictates your driver strategy and hardware reliability. Below is a technical comparison of the three primary USB-Serial ICs found on Nano form-factor boards.
| Bridge IC | Board Type | External Crystal? | 2026 BOM Cost Impact | Driver Requirement |
|---|---|---|---|---|
| WCH CH340G | Older Clones (Pre-2023) | Yes (12MHz) | ~$0.35 | CH340 VCP Driver |
| WCH CH340C | Modern Clones (Current) | No (Internal Osc.) | ~$0.28 | CH340 VCP Driver |
| ATmega16U2 | Official Arduino Nano | Yes (16MHz) | ~$1.80 | Native OS / Arduino.inf |
| FTDI FT232RL | Vintage / Premium Clones | No (Internal) | ~$2.50 | FTDI VCP Driver |
Source references: WCH Official CH340 Datasheet, FTDI FT232RL Product Page.
Part 2: OS-Specific Driver Installation & Troubleshooting
Installing USB-Serial drivers in 2026 requires navigating modern OS security frameworks. Here is how to handle the most common environments.
macOS (Apple Silicon & Sequoia)
As of macOS 15 Sequoia, Apple has fully deprecated legacy kernel extensions (kext). If you are using an older CH340 driver package, your Mac will silently block it, resulting in the Nano not appearing in the Arduino IDE Port menu.
- Action: Download the latest DriverKit-based CH340 VCP driver directly from WCH or the community-maintained Homebrew cask (
brew install --cask wch-ch34x-usb-serial-driver). - Edge Case: If the port still doesn't show, check System Settings > Privacy & Security > Security to ensure the system software from 'WCH' hasn't been blocked by Gatekeeper.
Windows 11 & Windows 12
Windows usually fetches a generic CDC-ACM driver for the ATmega16U2, but the CH340 requires a specific signed catalog file.
- Code 10 / Code 43 Errors: If Device Manager shows a yellow triangle with Code 10, you likely have a counterfeit CH340G chip that fails the PID/VID handshake with the official WCH driver. Fix: Roll back to the legacy 2014 CH340 driver (version 3.4.2014.8), which lacks the strict cryptographic handshake checks of the 2024+ releases.
- COM Port Ghosting: If your COM port numbers are climbing into the double digits, open Device Manager > View > Show Hidden Devices, and uninstall all greyed-out COM ports to clear the registry buffer.
Part 3: Hardware Peripheral Drivers (Motor & Stepper ICs)
Once your code is uploaded, you must interface the Nano with the physical world. The ATmega328P operates at 5V logic and has strict current limitations: 40mA absolute maximum per I/O pin, and a 200mA total limit across all VCC/GND pins combined. Directly driving motors will instantly destroy the silicon. You need dedicated hardware driver ICs.
Top 3 Hardware Drivers for the Nano
- TB6612FNG (Brushed DC Motors): Unlike the ancient L298N (which suffers from a massive ~2V bipolar junction transistor voltage drop), the TB6612FNG uses MOSFETs. It has a voltage drop of only ~0.5V, meaning your motors get more torque, and the Nano's power rail experiences less heat blowback. It handles up to 1.2A continuous per channel.
- DRV8825 (Stepper Motors): The standard for 3D printer and CNC shield projects. It accepts 8.2V to 45V and steps down to the Nano's 5V logic threshold seamlessly. Crucial Setup: You must manually adjust the VREF potentiometer on the DRV8825 to set the current limit (typically 0.4V to 0.8V) before connecting the Nano, or you risk back-feeding voltage into the Nano's logic pins.
- MAX7219 (LED Matrices & Multiplexing): Driving multiple LEDs directly from the Nano will exceed the 200mA total package limit. The MAX7219 driver IC handles up to 64 individual LEDs via SPI, requiring only 3 digital pins from the Nano and drawing its heavy current directly from an external 5V rail.
Part 4: Critical Failure Modes & Edge Cases
Even with the correct software and hardware drivers, Nano projects frequently fail due to power topology and bootloader quirks.
The VIN Pin Thermal Trap: The Nano's onboard linear voltage regulator (usually an AMS1117-5.0) can only dissipate about 1W of heat safely. If you power the Nano via the VIN pin at 12V, and your motor driver's logic circuit draws just 150mA from the 5V pin, the regulator must dissipate (12V - 5V) * 0.15A = 1.05W. This will trigger thermal shutdown, causing the Nano to randomly reset during motor operation. Solution: Use a buck converter (like the LM2596) to step 12V down to 5V, feed that directly into the Nano's 5V pin (bypassing the regulator), and share a common ground with your motor driver.
The 'Old Bootloader' Upload Timeout
If your software drivers are installed correctly, the port is visible, but you receive the dreaded avrdude: stk500_recv(): programmer is not responding error, the issue is likely the bootloader, not the driver.
To cut costs, many clone manufacturers flash an older, larger bootloader onto the ATmega328P to avoid paying for the optimized Optiboot license. In the Arduino IDE, navigate to Tools > Processor and change the selection from ATmega328P to ATmega328P (Old Bootloader). This adjusts the baud rate handshake from 115200 to 57600, instantly resolving the upload timeout.
The Missing DTR Capacitor
The Nano relies on a 0.1µF capacitor tied to the DTR (Data Terminal Ready) line to automatically pulse the reset pin when a new sketch upload begins. On ultra-cheap clone boards, this surface-mount capacitor is sometimes omitted or replaced with a 1µF capacitor. If your Nano requires you to manually press the physical reset button precisely when the IDE says 'Uploading', your board is missing this auto-reset circuit. Soldering a standard 0.1µF ceramic capacitor between the DTR pin of the USB-Serial IC and the ATmega328P reset pin will restore automatic programming functionality.
For more detailed hardware schematics and official pinout diagrams, always refer to the Arduino Nano Official Hardware Documentation.