
Why Pair the Arduino Mega 2560 with an OLED Display?
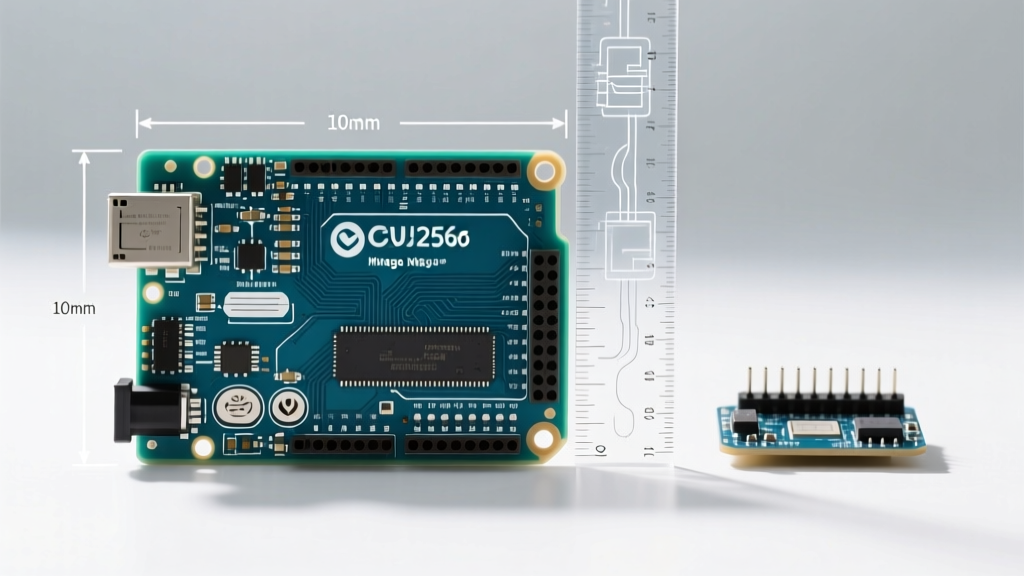
Transitioning from an Arduino Uno to the Arduino Mega 2560 is a rite of passage for makers tackling complex projects. While the Uno is perfect for simple sensor reads, the Mega’s ATmega2560 microcontroller offers 256KB of flash memory, 8KB of SRAM, and 54 digital I/O pins. When you pair this processing powerhouse with a high-contrast SSD1306 OLED display, you unlock the ability to build sophisticated, multi-page user interfaces, real-time data dashboards, and diagnostic tools without hitting the memory walls that plague smaller boards.
However, learning how to connect OLED to Arduino Mega trips up many beginners because the I2C pinout on the Mega differs fundamentally from the Uno. This comprehensive setup and first-project tutorial will guide you through the exact hardware wiring, logic-level considerations, and software configuration needed to get your display running flawlessly in 2026.
Bill of Materials (2026 Pricing & Specifications)
Before we begin, ensure you have the correct components. The market is flooded with clone boards, but for reliable I2C communication, component quality matters.
| Component | Specific Model / Specification | Est. Price (2026) |
|---|---|---|
| Microcontroller | Arduino Mega 2560 Rev3 (Official or high-quality clone like Elegoo) | $28.00 - $45.00 |
| OLED Display | 0.96" SSD1306 128x64 I2C Module (4-Pin) | $3.50 - $6.00 |
| Jumper Wires | Female-to-Male Dupont Wires (20cm) | $4.00 (pack) |
| Pull-up Resistors | 4.7kΩ (Required if using bare modules without onboard resistors) | $2.00 (pack) |
The Critical Wiring Difference: Mega vs. Uno I2C Pins
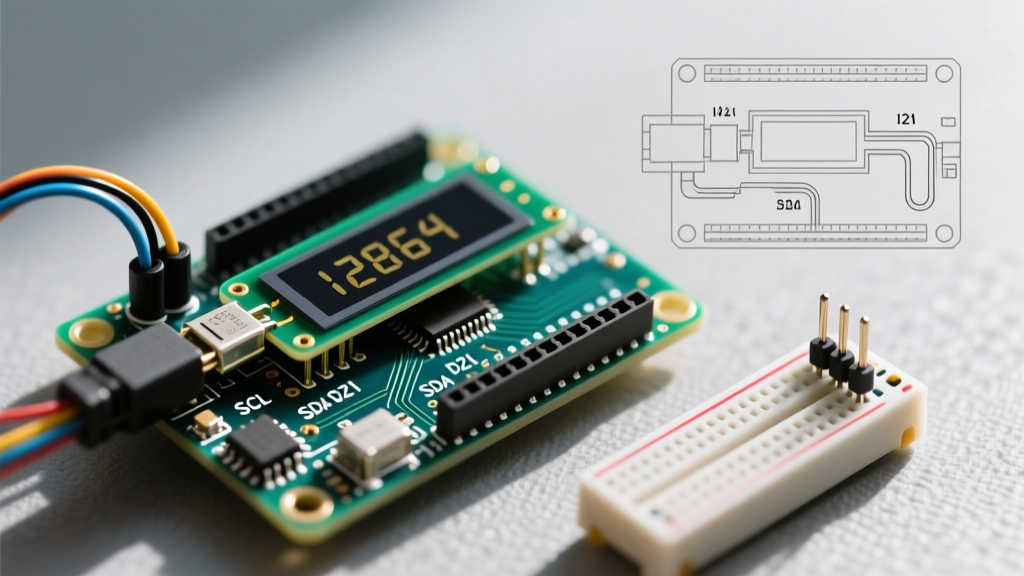
The most common failure mode when migrating an OLED project from an Uno to a Mega is plugging the I2C lines into the wrong pins. On the Arduino Uno, the I2C lines are mapped to A4 (SDA) and A5 (SCL). The Arduino Mega 2560 does not use these analog pins for I2C.
According to the official Arduino Mega 2560 hardware documentation, the dedicated I2C pins are located in the digital pin header block:
- SDA (Serial Data): Digital Pin 20
- SCL (Serial Clock): Digital Pin 21
Note: You will also find SDA and SCL pins on the separate 2x3 header near the USB port, which are duplicates of pins 20 and 21. Either location works, but the digital header is usually easier for breadboarding.
Step-by-Step Wiring Guide
- GND to GND: Connect the OLED GND pin to any GND pin on the Mega’s POWER header.
- VCC to 5V: Connect the OLED VCC to the 5V pin. Most modern SSD1306 breakout boards feature an onboard 3.3V LDO regulator, making 5V input safe and optimal for bright backlighting.
- SCL to Pin 21: Connect the OLED SCL pin to Mega Digital Pin 21.
- SDA to Pin 20: Connect the OLED SDA pin to Mega Digital Pin 20.
Logic Levels and Pull-Up Resistor Physics
Expert Insight: The Arduino Mega operates at 5V logic, while the SSD1306 controller is natively a 3.3V device. While most cheap breakout boards include a 5V-tolerant I2C interface, relying on the Mega's internal pull-up resistors can cause I2C bus capacitance issues, leading to corrupted data or blank screens.
The NXP I2C Bus Specification dictates that I2C lines require external pull-up resistors to the positive supply voltage. Many budget OLED modules from online marketplaces omit the 4.7kΩ surface-mount pull-up resistors to save fractions of a cent. If your OLED fails to initialize, use a multimeter to check for continuity between the SDA/SCL pins and VCC. If absent, solder or breadboard 4.7kΩ resistors between SDA and 5V, and SCL and 5V.
Software Setup: Why U8g2 Beats Adafruit for the Mega
While the Adafruit_SSD1306 library is popular, it allocates a full 1024-byte frame buffer in SRAM. On an Uno (2KB SRAM), this consumes 50% of your available memory. On the Mega (8KB SRAM), you have more breathing room, but for complex dashboards, memory fragmentation can still cause crashes.
For this tutorial, we use the U8g2 Library. U8g2 offers a "Page Buffer" mode that uses a fraction of the RAM (typically 128 to 256 bytes) by drawing the screen in horizontal slices. It also includes a vastly superior font rendering engine, allowing you to use crisp, anti-aliased typography without bloating your flash memory.
Library Installation
- Open the Arduino IDE (version 2.3 or newer recommended for 2026 workflows).
- Navigate to Sketch > Include Library > Manage Libraries.
- Search for U8g2 by Oliver Kraus and install the latest release.
First Project: Mega System Uptime & Memory Monitor
Let’s build a diagnostic dashboard that reads the Mega’s internal uptime and calculates available SRAM. This is a highly practical tool for debugging memory leaks in larger projects.
The Code
Upload the following sketch to your Arduino Mega. Ensure your board selection is set to "Arduino Mega or Mega 2560" and the correct COM port is selected.
#include <Arduino.h>
#include <U8g2lib.h>
#include <Wire.h>

// Initialize U8g2 for SSD1306 128x64 I2C in Page Buffer mode
U8G2_SSD1306_128X64_NONAME_F_HW_I2C u8g2(U8G2_R0, /* reset=*/ U8X8_PIN_NONE);

// Function to calculate free SRAM
int getFreeRam() {
  extern int __heap_start, *__brkval;
  int v;
  return (int) &v - (__brkval == 0 ? (int) &__heap_start : (int) __brkval);
}

void setup(void) {
  Wire.begin(); // Initiate I2C bus on Mega pins 20 & 21
  u8g2.begin();
  u8g2.setFont(u8g2_font_helvB08_tr); // Bold Helvetica
}

void loop(void) {
  unsigned long uptimeSeconds = millis() / 1000;
  int freeRam = getFreeRam();

  u8g2.clearBuffer();

  // Header
  u8g2.setFont(u8g2_font_helvB10_tr);
  u8g2.drawStr(0, 12, "MEGA 2560 DIAG");
  u8g2.drawHLine(0, 16, 128);

  // Data Points
  u8g2.setFont(u8g2_font_helvB08_tr);

  u8g2.drawStr(0, 32, "Uptime (s):");
  u8g2.setCursor(75, 32);
  u8g2.print(uptimeSeconds);

  u8g2.drawStr(0, 48, "Free SRAM:");
  u8g2.setCursor(75, 48);
  u8g2.print(freeRam);
  u8g2.print(" B");

  u8g2.drawStr(0, 64, "Status: NOMINAL");

  u8g2.sendBuffer();
  delay(250); // Refresh 4 times a second
}
Code Breakdown
U8G2_SSD1306_128X64_NONAME_F_HW_I2C: The "F" stands for Full Buffer. If you want to conserve even more RAM on smaller boards, change "F" to "1" for 1-page buffer mode, though the Mega's 8KB SRAM easily handles the Full Buffer for flicker-free rendering.getFreeRam(): This clever C++ function calculates the distance between the heap start and the current stack pointer, giving you a real-time readout of unallocated SRAM. This is invaluable when you start adding Wi-Fi modules or heavy sensor arrays later.Wire.begin(): On the Mega, calling this without arguments automatically routes the I2C bus to hardware pins 20 and 21.
Advanced Troubleshooting & Edge Cases
Even with perfect wiring, I2C communication can be temperamental. Here is how to diagnose the most common issues:
1. The "Blank Screen" Dilemma
If the code compiles and uploads but the screen remains black, your I2C address might be incorrect. The SSD1306 typically uses 0x3C or 0x3D. Run an I2C Scanner sketch (available in the Arduino IDE examples under Wire > I2CScanner) to sniff the bus. If the scanner returns no addresses, check your 4.7kΩ pull-up resistors and verify that your Mega's 5V rail is actually outputting 4.8V or higher.
2. Screen Flickering or Tearing
If your display updates but shows horizontal tearing, your I2C bus speed might be too high for the capacitance of your jumper wires. The Mega defaults to 100kHz I2C, but some libraries attempt 400kHz Fast Mode. You can force the bus speed to standard mode by adding Wire.setClock(100000); immediately after Wire.begin(); in your setup function.
3. Ghosting on Clone OLEDs
Cheaper 2025/2026 clone OLEDs often use lower-grade capacitors on the charge pump circuit, leading to "ghosting" (faint remnants of previous frames). To mitigate this, insert a u8g2.clearBuffer(); and u8g2.sendBuffer(); sequence with a 50ms delay before your main loop begins, effectively "waking up" the display's internal capacitors.
Mastering how to connect OLED to Arduino Mega opens the door to building professional-grade control panels, CNC interfaces, and environmental monitoring stations. By respecting the Mega's unique I2C pinout and leveraging the memory-efficient U8g2 library, your projects will be robust, scalable, and ready for the most demanding DIY applications.