
The Blueprint of Compatibility: Understanding the Arduino Uno Dimension
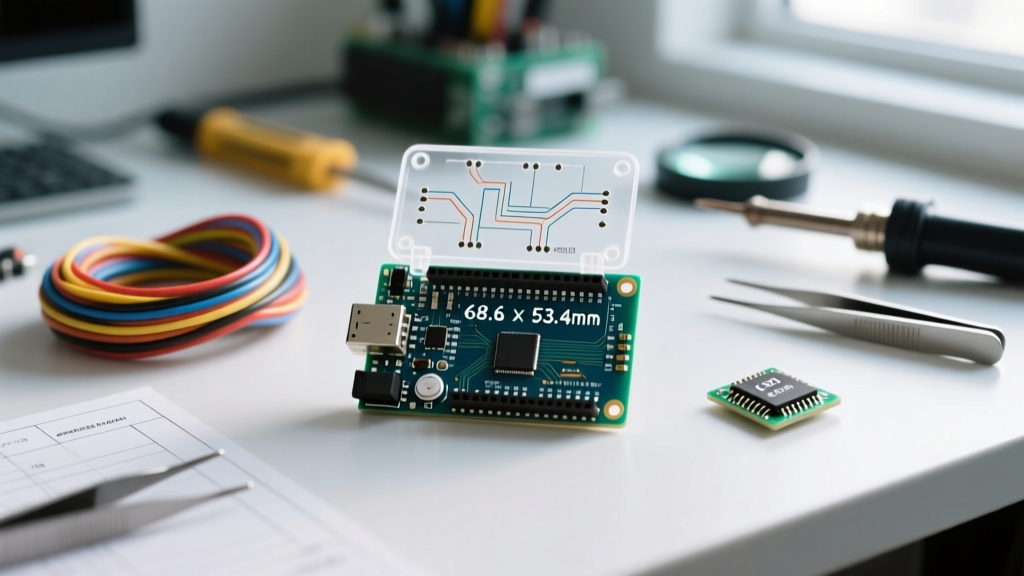
When makers and engineers discuss microcontroller platforms, the conversation typically revolves around clock speeds, flash memory capacity, or I/O pin counts. However, the true unsung hero of the Arduino ecosystem is its physical footprint. The standard Arduino Uno dimension—measuring exactly 68.6 mm (2.70 inches) in length and 53.4 mm (2.10 inches) in width—is the foundational anchor for the largest community-driven hardware and library support network in DIY electronics. This specific physical geometry is not just about fitting into an enclosure; it is the mechanical contract that guarantees compatibility across thousands of third-party shields, 3D-printed mounts, and community-maintained software libraries.
According to the Arduino Uno R3 Official Documentation, the board's layout was designed to balance breadboard-friendly header spacing with robust mounting capabilities. By standardizing this footprint, Arduino inadvertently created a hardware API that allowed the community to build a multi-million-dollar shield economy. In 2026, whether you are using a genuine $25.00 Arduino Uno R4 WiFi or an $11.99 third-party clone, the physical dimensions remain the universal language of compatibility.
Exact Specifications: The Arduino Uno Dimension Matrix
To understand why community libraries and shield manufacturers rely so heavily on this board, we must break down the exact mechanical tolerances. Custom PCB designers and 3D modeling enthusiasts use these precise measurements to ensure zero-conflict stacking.
| Dimension / Feature | Metric (mm) | Imperial (inches) | Community Impact |
|---|---|---|---|
| Overall Length | 68.6 mm | 2.70" | Determines maximum X-axis enclosure size and shield trace routing limits. |
| Overall Width | 53.4 mm | 2.10" | Sets the Y-axis boundary; critical for aligning standard 2.54mm pitch headers. |
| Mounting Hole Diameter | 3.2 mm | 0.126" | Accommodates standard M3 (3mm) screws with 0.1mm clearance for easy alignment. |
| Top Hole Spacing | 50.8 mm | 2.00" | Symmetrical spacing used as the primary anchor for heavy shields. |
| Bottom Hole Spacing | 48.3 mm | 1.90" | Asymmetrical due to the left-side USB notch; a common trap for novice 3D modelers. |
| Z-Axis Height (with headers) | ~15.0 mm | ~0.59" | Dictates the minimum clearance required for shield components (e.g., relays, capacitors). |
How Standardized Dimensions Fuel the Shield Ecosystem
The physical dimensions of the Uno directly dictate the "Shield Standard." Because the digital (1x10) and analog/power (1x8 and 1x6) female headers are placed at exact 2.54 mm (0.1 inch) intervals along the 68.6 mm length, shield developers can route PCB traces with absolute certainty.
Take the Arduino Motor Shield R3 as a prime example. This shield draws significant current to drive dual DC motors. The community library support for this shield is massive precisely because the physical dimension of the Uno ensures that the high-current power pins (Vin, GND) and the logic pins (Direction, PWM) align perfectly without requiring flying wires. When a board deviates from the Arduino Uno dimension—such as the much smaller Arduino Nano or the wider ESP32 DevKit—the community shield libraries often break, requiring developers to write complex pin-remapping wrappers.
Case Study: Adafruit Motor Shield V2 and Community Forks
The Adafruit Motor Shield V2 Learning Guide highlights how hardware dimensions influence software architecture. The shield uses an I2C PWM driver chip to control up to four DC motors. Because the shield is designed to sit flush on the Uno's 15mm Z-axis header height, the I2C traces are short, minimizing parasitic capacitance.
Expert Insight: "When makers attempt to use Uno-dimension shields on non-standard boards using long jumper wires, the I2C bus capacitance increases. This often causes the default community libraries to fail at the standard 100kHz I2C clock speed, forcing developers to fork the library and manually reduce the bus speed to 50kHz to maintain data integrity."
Enclosure and 3D Printing Community: The Dimension Advantage
Search any 3D printing repository like Printables or Thingiverse for "Arduino Uno Case," and you will find tens of thousands of results. This massive community support is entirely dependent on the strict adherence to the Arduino Uno dimension. The community has established standardized design rules for these enclosures:
- XY Clearance Tolerance: Community best practices dictate a 0.2 mm to 0.4 mm clearance around the 68.6 x 53.4 mm perimeter to account for FDM printer tolerances and PCB manufacturing variances.
- Port Cutout Alignment: The USB Type-B port overhangs the PCB edge by approximately 1.5 mm, while the DC barrel jack sits flush. 3D modeling communities maintain open-source parametric CAD files (like FreeCAD and Fusion 360 templates) pre-configured with these exact offset dimensions.
- M3 Heat-Set Inserts: Because the mounting holes are 3.2 mm, the community standard for 3D printed Uno cases is to design 4.0 mm holes to accept M3 brass heat-set inserts, providing durable threading for repeated shield swapping.
Troubleshooting Dimension & Header Conflicts in Custom Shields
While the Arduino Uno dimension is a standard, the clone market introduces mechanical edge cases that can break shield compatibility and cause library initialization failures. If you are designing a custom shield or integrating a community library, follow this troubleshooting flow for mechanical conflicts:
- Inspect the USB Port Overhang: Genuine Arduino boards use a specific USB Type-B receptacle that sits precisely 1.5 mm off the board edge. Many $12 clone boards use cheaper, longer USB connectors that protrude 3.0 mm. This will physically block the PCB trace routing of poorly designed third-party shields.
- Check the ICSP Header Z-Height: The 2x3 ICSP header is not always populated with the same height pins on clone boards. If the ICSP pins are too tall, they will short against the copper pours on the bottom of stacked shields, causing SPI bus failures in libraries like the SD Card or Ethernet shield libraries.
- Verify the Reset Button Clearance: The tactile reset switch is located near the digital headers. Tall shield components (like electrolytic capacitors on audio shields) can physically depress the reset button if the Z-axis standoff height is less than 10.5 mm.
- Test I2C Pull-up Resistor Conflicts: Many shields designed for the Uno dimension include their own 10k I2C pull-up resistors. Stacking three or more shields can pull the I2C resistance down below 2k ohms, violating the I2C specification and causing community libraries to hang during the
Wire.begin()initialization sequence.
Frequently Asked Questions
Does the Arduino Uno R4 share the exact same dimensions as the R3?
Yes. To maintain backward compatibility with the massive existing shield ecosystem and community libraries, Arduino kept the Uno R4 Minima and WiFi boards at the exact same 68.6 mm x 53.4 mm dimensions, with identical M3 mounting hole placements and 2.54 mm header spacing.
Why do some community libraries fail when I use an Uno clone?
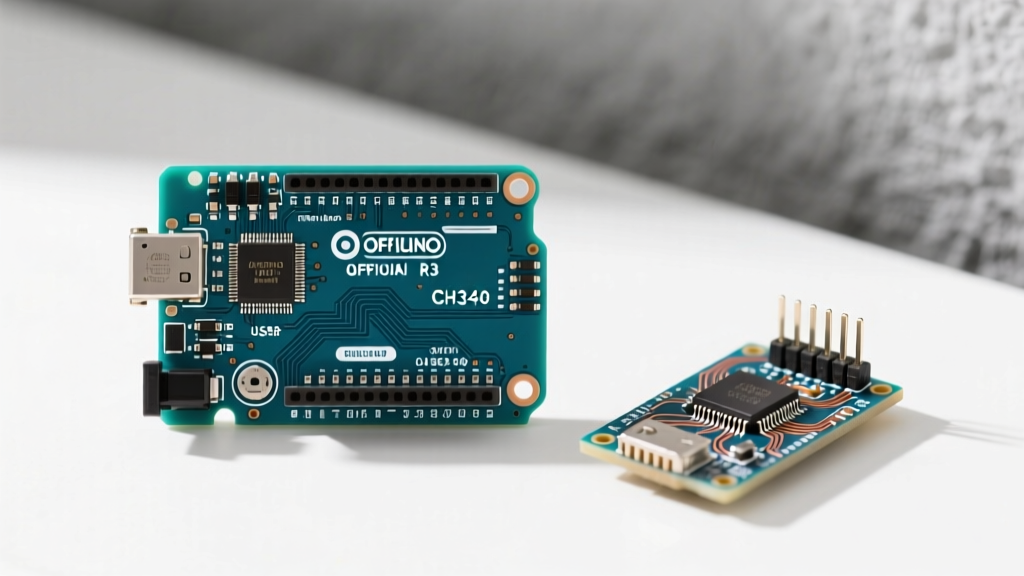
Software library failures on clones are rarely due to the physical XY dimensions, but rather the Z-axis component choices. Clones often use different voltage regulators or USB-to-Serial chips (like the CH340 instead of the ATmega16U2) which require specific community-maintained driver installations and can alter the timing of serial-dependent libraries.
Can I design a custom PCB shield using the Uno dimensions?
Absolutely. Most EDA software (KiCad, Altium, EasyEDA) includes the official Arduino Uno R3 footprint in their standard libraries. Ensure you account for the asymmetrical bottom mounting holes (48.3 mm spacing) and leave a 1.5 mm keep-out zone near the USB and DC power ports to prevent mechanical interference.