
The Legacy of the Arduino Uno USB Cable
For over a decade, the quintessential sound of a maker workbench has been the mechanical thud of plugging in an Arduino Uno USB cable. Colloquially known as a 'printer cable,' this USB 2.0 Type-A to Type-B tether has powered millions of ATmega328P-based projects. However, as the embedded landscape shifts toward native USB architectures like the Arduino Uno R4 (RA4M1), ESP32-S3, and Raspberry Pi Pico, clinging to legacy cabling paradigms introduces hidden friction. Migrating your platform stack isn't just about learning new toolchains; it requires a fundamental rethinking of your physical layer.
When you migrate from the classic Uno R3 to modern microcontrollers, the role of the USB cable changes drastically. On the Uno R3, the cable connects to an ATmega16U2 coprocessor acting as a USB-to-UART bridge. On modern boards like the Arduino Uno R4 Minima or the ESP32-S3 DevKitC-1, the cable interfaces directly with the primary MCU's native Full-Speed (12 Mbps) USB peripheral. This architectural shift means the electrical tolerances, capacitance limits, and enumeration timings of your Arduino Uno USB cable are now critical points of failure.
Electrical Anatomy: Why Not All Cables Survive Migration
According to the SparkFun Universal Serial Bus Tutorial, a standard USB 2.0 cable contains four primary conductors: VBUS (5V), GND, D+, and D-. The official Arduino Uno R3 documentation implies standard USB compliance, but the physical reality of the cables bundled or purchased cheaply online often skirts the edge of specification.
- Wire Gauge (AWG): A high-quality Arduino Uno USB cable uses 24 AWG for power and 28 AWG for data. Cheap alternatives use 28 AWG for power, leading to severe voltage drops.
- Capacitance: USB 2.0 Full-Speed requires the total cable capacitance to remain under 150 pF. Older, heavily shielded, or overly long Type-B cables often exceed this, causing signal degradation on modern native-USB MCUs.
- Length Limits: While the USB 2.0 spec allows up to 5 meters, a 2-meter 28AWG power line will drop approximately 0.17V at a 500mA draw. If your host port outputs a weak 4.8V, the MCU experiences brownouts during Wi-Fi transmission or servo actuation.
Platform Migration Matrix: Type-B vs. Modern Interfaces
As you transition your workbench in 2026, understanding the physical and protocol differences between your legacy Arduino Uno USB cable and modern equivalents is vital for procurement and troubleshooting.
| Feature | Classic Uno Type-B (Legacy) | Modern USB-C (Uno R4 / ESP32-S3) | Micro-USB (Pico / Older NodeMCU) |
|---|---|---|---|
| Connector Type | USB 2.0 Type-A to Type-B | USB 2.0/3.1 Type-A/C to Type-C | USB 2.0 Type-A to Micro-B |
| MCU Interface | UART Bridge (ATmega16U2/CH340) | Native USB Peripheral (Direct) | Native USB or UART Bridge |
| Power Delivery | 5V @ 500mA (Max 2.5W) | 5V @ 3A or USB-PD (Up to 15W+) | 5V @ 500mA (Max 2.5W) |
| Reversibility | No | Yes | No |
| Typical Cost (2026) | $6.00 - $12.00 | $9.00 - $18.00 | $4.00 - $8.00 |
Critical Failure Modes When Repurposing Old Cables
When migrating to platforms like the Raspberry Pi Pico—which relies on precise USB enumeration for its drag-and-drop UF2 bootloader—repurposing old cables from your Uno bin often leads to silent failures. The Raspberry Pi Pico Getting Started Guide emphasizes stable USB connections for flashing, yet engineers frequently encounter the following edge cases:
1. The 'Charge-Only' Trap
Many Type-A to Type-B cables manufactured for basic peripheral power lack the D+ and D- data lines entirely. While an Arduino Uno might have been powered via this cable for a standalone display project, attempting to use it to flash an ESP32-S3 will result in a complete failure to enumerate. The host OS will not register a COM port, and the IDE will throw a 'No device found on /dev/ttyACM0' error.
2. Bootloader Enumeration Timeouts
Modern MCUs with native USB (like the RA4M1 on the Uno R4) have strict enumeration timeouts. When you trigger the bootloader (often by double-tapping the reset button), the MCU presents a new USB descriptor. High-capacitance legacy cables delay the differential signal rise times on the D+/D- lines. The host controller interprets this as a disconnected device, resulting in Linux dmesg errors like device descriptor read/64, error -110.
3. Ferrite Bead Impedance Mismatches
Many older, premium Arduino Uno USB cables feature bulky ferrite beads near the connectors to suppress EMI. If the internal crimp has degraded over years of bending, the ferrite can introduce unintended impedance mismatches, reflecting high-frequency signals and causing packet loss during high-speed serial logging (e.g., streaming 115200+ baud sensor data to a Python dashboard).
Step-by-Step Workbench Transition Strategy
To modernize your lab and eliminate cable-induced migration friction, follow this standardized transition protocol:
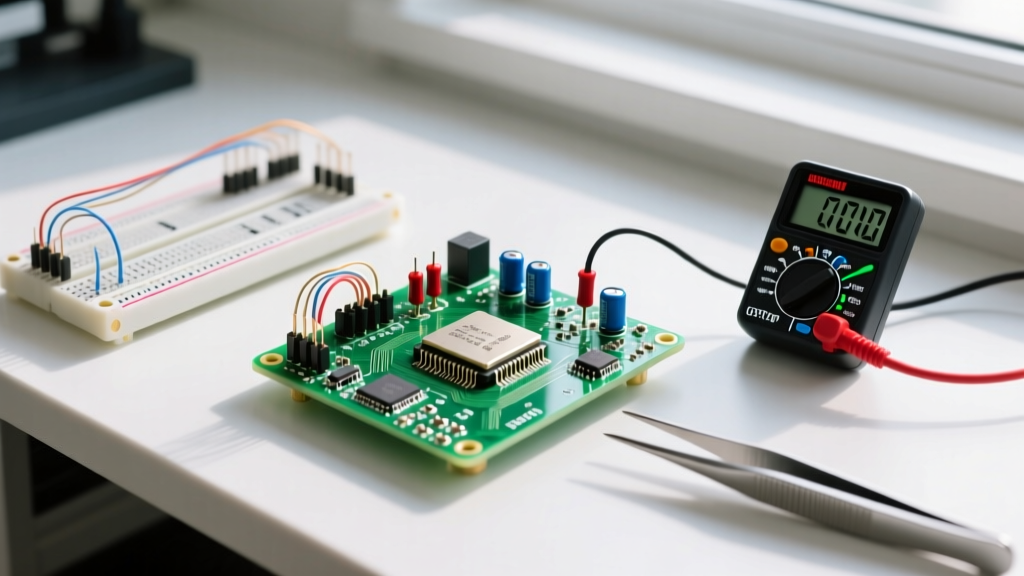
- Audit and Bin: Use a USB multimeter tester (like a MakerHawk or FNIRSI model, ~$25) to verify the data lines and voltage drop of your existing cable bin. Discard any cable that drops below 4.85V at a 500mA dummy load.
- Standardize on USB-C to C: Purchase USB-IF certified 100W USB-C cables for all new native-USB boards (ESP32-S3, Arduino Portenta, Uno R4). This eliminates the need for Type-A host ports and ensures clean power delivery.
- Deploy a Powered Hub: Modern dev boards with onboard Wi-Fi/BLE (like the ESP32-S3 or Arduino Nano RP2040 Connect) experience current spikes up to 350mA during RF transmission. Connect them via a powered USB 3.0 hub (e.g., Anker or Sabrent) rather than directly to a laptop's unpowered port.
- Label by Protocol, Not Just Connector: Use a label maker to tag cables. Mark data-capable cables with 'DATA + 5V' and charge-only cables with 'PWR ONLY' to prevent midnight debugging sessions caused by grabbing the wrong wire.
Expert Insight: When migrating from the Uno R3 to the Uno R4 WiFi, remember that the R4 features a hardware USB multiplexer. If your legacy Type-B cable (via an adapter) has poor shielding, the 2.4GHz Wi-Fi antenna on the R4 can induce crosstalk into the unshielded USB data lines, causing intermittent serial drops during RF-heavy IoT testing. Always use double-shielded (STP) cables for mixed-signal environments.
FAQ: Troubleshooting Cable-Related Migration Errors
Why does my ESP32-S3 fail to enter download mode with my old cable?
The ESP32-S3 relies on the USB D- line being pulled low to enter the serial bootloader. If your legacy cable has high resistance on the D- line due to oxidation or thin gauge wiring, the internal pull-down resistor fails to register the state change. Switch to a short (under 1 meter), high-quality USB-C cable to ensure clean logic-level transitions.
Can I use a USB 3.0 Type-A to Type-B cable for my classic Uno?
Yes, but it is overkill. USB 3.0 Type-B connectors feature a completely different physical footprint (the dual-stacked connector) and will not physically mate with the USB 2.0 Type-B receptacle on an Arduino Uno R3. You must use a standard USB 2.0 Type-B cable.
How do I test if my cable is causing serial data corruption?
Run a loopback test. Bridge the TX and RX pins on your target board. Use a serial terminal to send a 10MB text file at your target baud rate (e.g., 921600). If the received hash doesn't match the sent hash, and you've ruled out software flow control issues, the cable's capacitance is likely degrading the signal integrity at high frequencies.
Conclusion
The Arduino Uno USB cable was the undisputed workhorse of the maker movement's first decade. However, as platform migration accelerates toward native USB architectures, higher clock speeds, and integrated RF, the physical layer can no longer be an afterthought. By auditing your cable inventory, understanding the electrical limitations of legacy Type-B wiring, and standardizing on certified USB-C infrastructure, you ensure that your hardware transitions are limited only by your code—not by a $4 piece of copper.