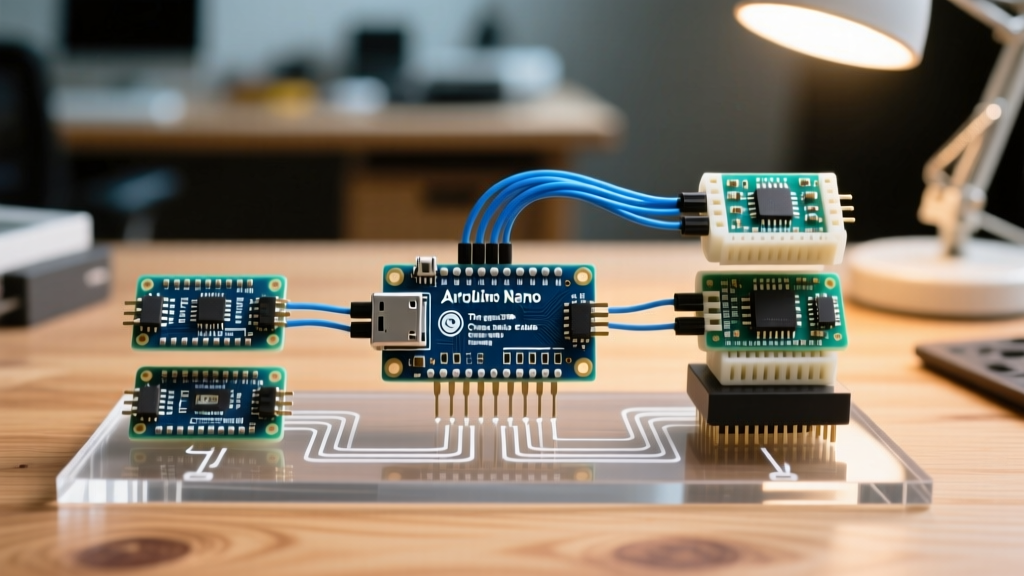

The Enduring Legacy of the Arduino Nano ATmega328P
Despite the proliferation of 32-bit ARM Cortex-M0 and RISC-V microcontrollers, the Arduino Nano ATmega328P remains a cornerstone of the DIY electronics ecosystem in 2026. Its 5V logic levels, breadboard-friendly DIP-30 footprint, and massive legacy codebase make it the default choice for interfacing with older industrial sensors, automotive CAN-bus transceivers, and 5V shift registers. However, navigating the modern Nano ecosystem requires an understanding of the stark differences between official boards, premium clones, and ultra-budget alternatives, as well as the hidden hardware quirks that can derail a prototype.
Official vs. Clone: Navigating the 2026 Market
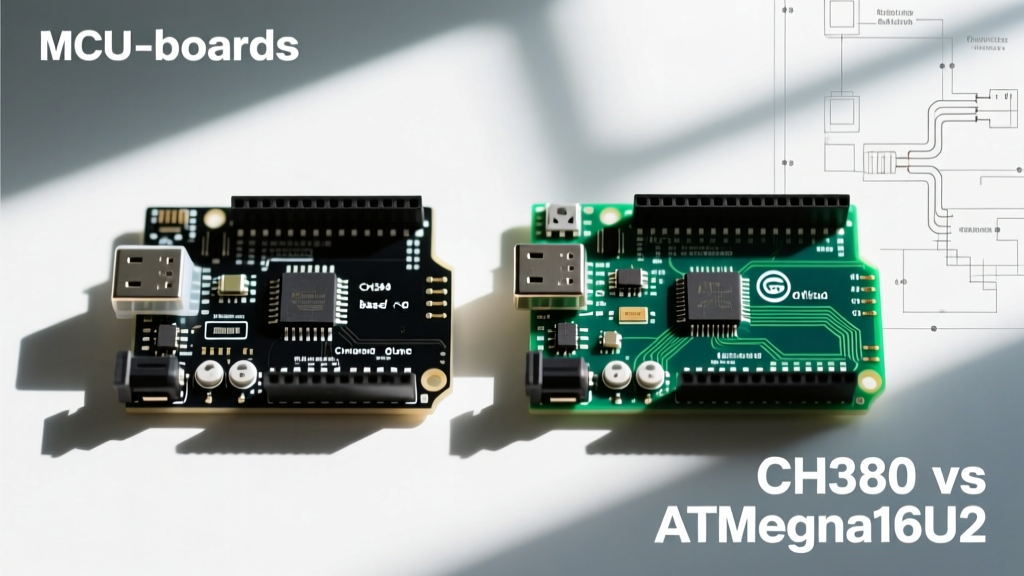
The market for Nano-compatible boards has fractured into three distinct tiers. Understanding the silicon differences—specifically the USB-to-UART bridge and the voltage regulator—is critical for project reliability.
| Board Variant | USB-UART IC | Voltage Regulator | Typical Price (2026) | Bootloader |
|---|---|---|---|---|
| Official Arduino Nano | FT232RL (or modern equivalent) | MIC5219 (500mA LDO) | $22.50 - $24.00 | Optiboot (512B) |
| Premium Clone (e.g., Elegoo, DFRobot) | CH340G (Requires external crystal) | AMS1117-5.0 | $5.50 - $7.00 | Optiboot / Legacy |
| Budget Generic Clone | CH340C (Internal oscillator) | Linear 5V (Unbranded) | $2.00 - $3.50 | Often missing or corrupted |
The shift from the FTDI FT232RL to the WCH CH340 series on clones was driven by patent expirations and cost reduction. While the CH340G requires an external 12MHz crystal (a common point of failure if subjected to mechanical shock), the newer CH340C integrates the oscillator internally. If you are deploying clones in high-vibration environments like robotics or automotive diagnostics, the CH340C variants offer superior long-term reliability. For driver setup on Windows and macOS environments, refer to the SparkFun CH340 Driver Installation Guide to resolve the notorious 'Port Grayed Out' issue in the Arduino IDE.
Hardware Deep Dive: Hidden Silicon Quirks
Many makers treat the Nano as a simple DIP-28 ATmega328P-PU chip with a USB port attached. This is a fundamental misunderstanding that leads to design flaws. The Nano actually utilizes the ATmega328P-AU in a TQFP-32 surface-mount package. According to the Microchip ATmega328P Datasheet, the TQFP-32 package exposes two additional analog pins: ADC6 and ADC7.
⚠️ Critical Edge Case: Pins A6 and A7 on the Arduino Nano are strictly analog inputs. They lack the internal digital pull-up resistors and cannot be driven as digital HIGH/LOW outputs. Attempting to use digitalWrite(A6, HIGH) will fail silently, leading to hours of frustrating debugging when interfacing with analog sensors that require a digital trigger.Power Delivery and the Schottky Diode Drop
When powered via the USB port, the 5V pin on the Nano is not actually delivering 5.0V. The official board routes the USB VBUS through a Schottky diode (typically a 1N5819 or SS34) to prevent back-feeding voltage into your computer's USB hub if external power is simultaneously applied to the VIN pin. This diode introduces a forward voltage drop of approximately 0.3V to 0.4V. Consequently, the '5V' pin will output roughly 4.6V to 4.7V. While fine for most logic, this can cause brownouts or erratic behavior when driving strict 5V TTL devices or long chains of WS2812B addressable LEDs without external power injection.
Breadboard Ergonomics and the 0.6-Inch Problem
The physical footprint of the Nano measures exactly 0.6 inches (15.24mm) across the two rows of male headers. When plugged into a standard solderless breadboard (which typically has a 0.3-inch center divider), the Nano straddles the gap but covers the tie-points on both sides. This leaves zero room to insert jumper wires directly into the same row as the Nano pins.
To solve this ecosystem bottleneck, makers have three options:
- Offset Placement: Insert the Nano one hole off-center, leaving one side exposed for jumpers, while the other side hangs over the breadboard's power rail (requiring careful pin bending).
- Nano I/O Expansion Shields: Use a solderless Nano Shield V4.0, which breaks out every pin to a 3-pin header (Signal, 5V, GND), mimicking the standard servo/sensor wiring paradigm.
- Custom PCBs: For permanent installations, design a custom carrier board utilizing the 15-pin female headers, bypassing the breadboard entirely for improved signal integrity.
Bootloader Bricking and ISP Recovery
The most common failure mode when uploading code to a Nano—especially budget clones—is the dreaded avrdude: stk500_getsync() attempt 10 of 10: not in sync: resp=0x00 error. This usually indicates a corrupted Optiboot bootloader or a mismatched baud rate (legacy Nanos use 57600 baud, while modern Optiboot uses 115200 baud).
Before discarding a 'bricked' Nano, you can recover it using In-System Programming (ISP). The ATmega328P-AU exposes its SPI programming lines directly to the digital headers:
- MISO: Digital Pin 12
- MOSI: Digital Pin 11
- SCK: Digital Pin 13
- RST: Reset Pin (Located near the USB port)
By connecting a dedicated USBasp programmer or a secondary Arduino configured as 'Arduino as ISP' to these pins, you can bypass the corrupted bootloader entirely and flash a fresh sketch directly to the flash memory, or use the 'Burn Bootloader' function in the Arduino IDE to restore the Optiboot serial interface. For complete pinout and hardware schematics, consult the Official Arduino Nano Documentation.
Where the Nano Fits in the Modern Microcontroller Landscape
In 2026, the Nano is no longer the default for every project. It has been relegated to a specific, highly valuable niche. Below is a comparison matrix detailing when to choose the Nano ATmega328P versus modern alternatives.
| Feature | Arduino Nano (ATmega328P) | Raspberry Pi Pico (RP2040) | ESP32-C3 SuperMini |
|---|---|---|---|
| Logic Level | 5V (Native) | 3.3V | 3.3V |
| Flash / SRAM | 32KB / 2KB | 2MB / 264KB | 4MB / 400KB |
| Connectivity | None | None (Unless Pico W) | Wi-Fi 4 / BLE 5.0 |
| Deep Sleep Current | ~10mA (Regulator quiescent) | ~1.3mA | ~5µA |
| Best Use Case | 5V industrial sensors, legacy shields, simple motor control | High-speed PIO, complex displays, audio processing | IoT nodes, remote telemetry, battery-powered web servers |
The Verdict
The Arduino Nano ATmega328P ecosystem remains vibrant not because it is the most powerful, but because it is the most compatible. When your project requires interfacing with a 5V LCD1602 display, a 5V ultrasonic rangefinder, and a 12V relay module simultaneously, the Nano's native 5V logic and robust sink/source current capabilities (up to 20mA per pin, 40mA absolute max) save you from needing a handful of logic level shifters. By understanding the nuances of clone silicon, power delivery drops, and ISP recovery, you can leverage this legendary platform with the reliability demanded by modern electronics prototyping.