
The State of ESP32 CAM Arduino Projects in 2026
Since its initial explosion in the maker community, the ESP32-CAM has evolved from a quirky, low-cost novelty into a mature, heavily supported platform for edge computer vision and IoT streaming. As we navigate 2026, the Espressif Arduino ESP32 Core has reached version 3.x, bringing drastic improvements to memory management, Wi-Fi 6 compatibility (on newer chips), and camera driver stability. However, the market is now flooded with clones, enhanced variants, and next-generation successors, making board selection more complex than ever.
If you are building an ESP32 CAM Arduino project—whether it is a low-power wildlife trap camera, an RTSP security streamer, or a basic face-recognition doorbell—choosing the right hardware variant is critical. In this comprehensive review, we dissect the most popular ESP32-CAM boards available today, compare their camera sensors, and outline the exact hardware quirks you must navigate to avoid common failure modes.
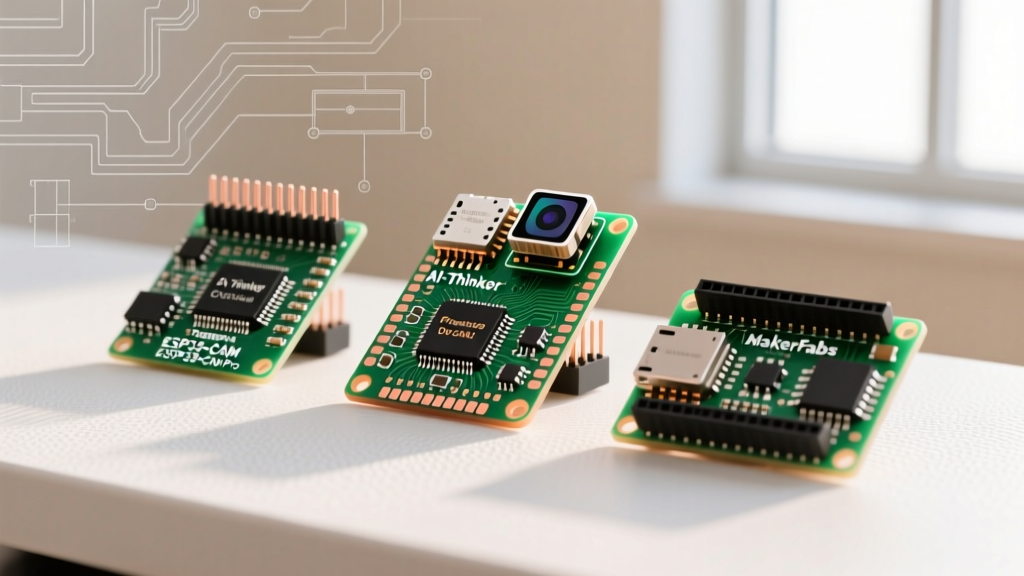
Board Variant Comparison: AI-Thinker vs. Freenove vs. Makerfabs
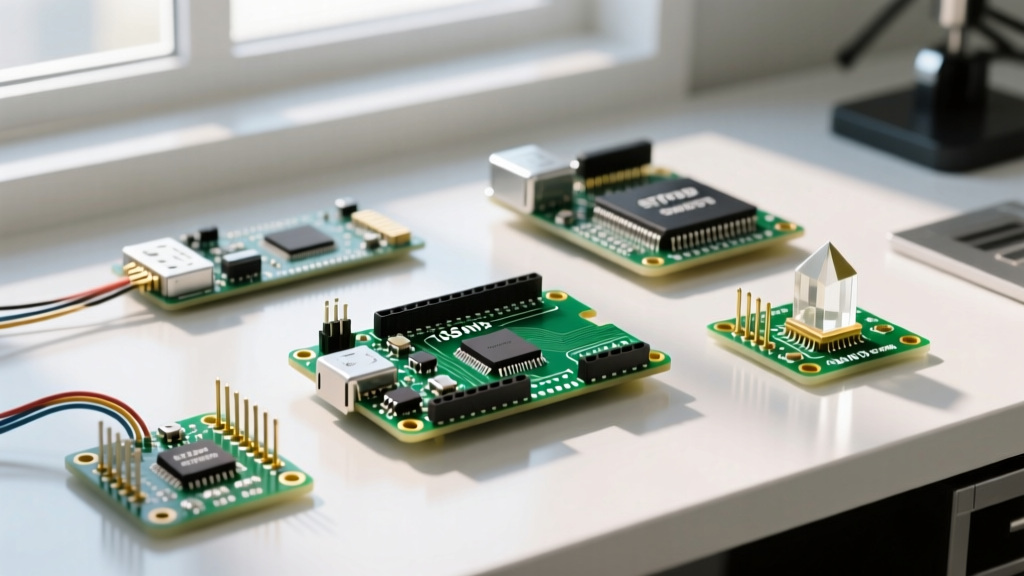
The original AI-Thinker design is the blueprint, but it is far from perfect. Third-party manufacturers have spent the last few years addressing its native shortcomings, specifically the lack of a USB interface and poor power regulation. Below is a structural comparison of the three dominant boards in the 2026 ecosystem.
| Feature | AI-Thinker ESP32-CAM (Classic) | Freenove ESP32-WROVER CAM | Makerfabs ESP32-S3 Sense |
|---|---|---|---|
| Typical Price (2026) | $4.50 - $6.50 | $22.00 - $26.00 | $28.00 - $34.00 |
| Core SoC | ESP32-S (Dual-core 240MHz) | ESP32-WROVER-E (8MB PSRAM) | ESP32-S3 (Dual-core 240MHz, AI Vec) |
| Native USB | No (Requires FTDI Adapter) | Yes (USB-C to UART Bridge) | Yes (Native USB OTG) |
| Antenna | PCB Trace (or U.FL mod) | U.FL + PCB Switchable | U.FL + High-Gain Included |
| Boot Strap | Manual GPIO 0 to GND wire | Physical BOOT Button | Physical BOOT Button |
| Best For | Budget batch deployments | Prototyping & Desktop Dev | Edge AI & High-Res Streaming |
Deep Dive: The Freenove Advantage for Prototyping
For developers actively writing and debugging Arduino code, the Freenove ESP32-WROVER CAM is the undisputed champion of convenience. The classic AI-Thinker board requires a separate FTDI programmer (like the FT232RL), a breadboard, and the infamous 'GPIO 0 to GND' jumper wire just to flash code. The Freenove integrates a CP2102 USB-to-UART bridge and a dedicated BOOT button. Furthermore, it utilizes the WROVER-E module, which guarantees 8MB of PSRAM—a strict requirement for handling high-resolution OV5640 buffers without crashing the heap.
Camera Sensor Showdown: OV2640 vs. OV5640
When configuring your board in the Arduino IDE, selecting the correct camera model is paramount. The Official ESP32 Camera Driver supports multiple sensors, but two dominate the market:
- OmniVision OV2640 (2 Megapixel): The default for 90% of ESP32-CAM boards. It natively supports JPEG compression in hardware, offloading the ESP32's CPU. It maxes out at 1600x1200 (UXGA) at roughly 15 FPS. Low-light performance is mediocre, and the rolling shutter causes heavy tearing on fast-moving objects.
- OmniVision OV5640 (5 Megapixel): Found on premium boards like the Makerfabs S3 Sense. It offers 2592x1944 resolution and significantly better low-light sensitivity. However, pushing 5MP over Wi-Fi requires aggressive JPEG compression and heavy reliance on PSRAM. If you attempt to use an OV5640 on a board with only 2MB of PSRAM, the Arduino sketch will throw a fatal exception during
esp_camera_init().
Critical Hardware Quirks and Failure Modes
The ESP32-CAM is notorious for specific hardware edge cases that routinely trap beginners. Understanding these will save you hours of debugging.
1. The 'Brownout Detector' Trap
Error:
ESP-ROM: esp32 20260101; rst:0xc (SW_CPU_RESET)
Brownout detector was triggered
This is the most common failure mode. When the ESP32 initiates a Wi-Fi transmission burst, current draw can spike to 450mA - 500mA for a few milliseconds. The classic AI-Thinker board features a cheap LDO voltage regulator that often drops the 3.3V rail if the input 5V supply is inadequate. The Fix: Never power the AI-Thinker via a standard PC USB port (limited to 500mA total). Use a dedicated 5V/2A wall adapter wired directly to the board's 5V and GND pins, bypassing the USB-TTL adapter's power rail entirely.
2. GPIO 12 and the SD Card Boot Loop
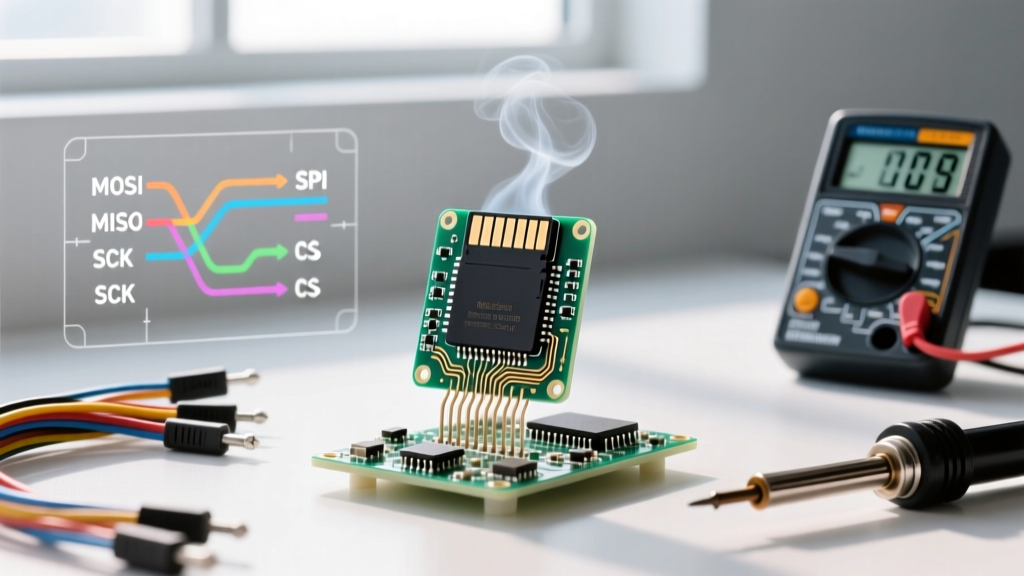
The AI-Thinker routes the MicroSD card data lines to GPIO 2, 4, 12, 13, 14, and 15. GPIO 12 is a critical strapping pin on the ESP32. If GPIO 12 is pulled HIGH during boot, the ESP32 attempts to boot from an unsupported flash voltage mode, resulting in an endless boot loop. If you are using the MicroSD card in 1-bit mode, you can bypass this. If you require 4-bit SD mode, ensure your MicroSD card breakout does not have external pull-up resistors on the D2 line (GPIO 12), or use the sdmmc_host_init() software workaround provided in ESP-IDF v5.x.
3. Antenna Impedance and the U.FL Mod
The PCB trace antenna on the AI-Thinker is tuned for a specific impedance, but the ground plane on cheap clones is often compromised, leading to 30-40% packet loss at distances over 10 meters. Many users attempt to desolder the 0-ohm resistor (R15) and move it to R16 to enable the U.FL connector. Warning: Doing this without attaching a 50-ohm U.FL antenna immediately will cause the RF amplifier to reflect power back into the ESP32, potentially frying the Wi-Fi radio. Always attach the antenna before powering the board post-mod.
Step-by-Step Arduino IDE Configuration (2026)
To ensure stability, follow this exact configuration sequence in Arduino IDE 2.x or newer:
- Install the Core: Open Boards Manager and install
esp32 by Espressif Systems(Ensure you are on version 3.x for the latest memory optimizations). - Select the Board: Go to Tools > Board > esp32 and select
AI Thinker ESP32-CAM(even if using a clone, this pin mapping is standard). - Partition Scheme (Crucial): Go to Tools > Partition Scheme and select
Huge APP (3MB No OTA/1MB SPIFFS). The default 'Default 4MB with spiffs' allocates too little space for the compiled camera web server binaries, resulting in 'Sketch too big' compilation errors. - PSRAM Enable: Go to Tools > PSRAM and select
Enabled. Without this, the camera driver cannot allocate the necessary frame buffers in external RAM. - Flash Frequency: Set to
80MHzfor optimal SD card and PSRAM bus speeds.
Troubleshooting Camera Initialization Errors
If your serial monitor outputs Camera init failed with error 0x20001 or 0xffffffff, the ESP32 cannot communicate with the sensor over the SCCB (I2C) bus. Check the following:
- Ribbon Cable Seating: The 24-pin FPC connector is highly fragile. Ensure the ribbon cable is fully inserted and the locking latch is pressed down evenly. A skewed cable will short the 3.3V DOVDD line to ground.
- XCLK Frequency: In your Arduino sketch's
camera_config_t, ensurexclk_freq_hzis set to20000000(20MHz). Pushing this to 24MHz on cheaper clone boards causes clock drift and I2C timeouts. - Lens Shroud Grounding: On some AI-Thinker batches, the metal camera shroud is not properly grounded to the PCB. Soldering a tiny jumper wire from the camera module's metal casing to a nearby GND pad can eliminate severe image noise and I2C interference.
Final Verdict: Which Board Should You Buy?
Your choice depends entirely on your deployment phase and budget constraints.
Choose the AI-Thinker ESP32-CAM if:
You are deploying a batch of 20+ static, low-power sensors where cost is the primary driver. At $5 a pop, it is expendable. Just be prepared to deal with the FTDI flashing dance and supply your own robust 5V power regulation.
Choose the Freenove ESP32-WROVER CAM if:
You are actively developing, prototyping, or teaching a workshop. The integrated USB-C, physical BOOT button, and guaranteed 8MB PSRAM eliminate 80% of the hardware friction associated with the ESP32-CAM ecosystem. It is the ultimate developer experience.
Choose the Makerfabs ESP32-S3 Sense if:
Your 2026 project requires local machine learning inference (like ESP-WHO face detection) or high-definition RTSP streaming. The S3 chip's vector instructions accelerate tensor operations, and the native USB OTG allows for direct webcam emulation without external bridges.
For deeper technical specifications regarding memory mapping and peripheral allocation, always refer to the ESP-IDF Programming Guide. By respecting the hardware limitations and utilizing the updated 2026 Arduino core, the ESP32-CAM remains an unmatched powerhouse for DIY computer vision.