
Beyond the Blink: Deconstructing the Arduino Uno Toolchain
Most makers learn how to program the Arduino Uno by copying a sketch, clicking the upload arrow, and watching an LED flash. But to truly master embedded systems in 2026, you must look past the Arduino IDE's abstraction layer. Whether you are using the classic ATmega328P-based Uno R3 (still retailing around $27) or exploring the ARM-based Uno R4 Minima ($20), understanding the underlying compilation pipeline, memory constraints, and hardware interfaces is what separates hobbyists from embedded engineers.
This deep dive explores the mechanics of AVR programming, bypassing the bootloader via In-System Programming (ISP), and writing bare-metal C to squeeze every microsecond out of your microcontroller.
The Compilation Pipeline: What Happens When You Click 'Upload'?
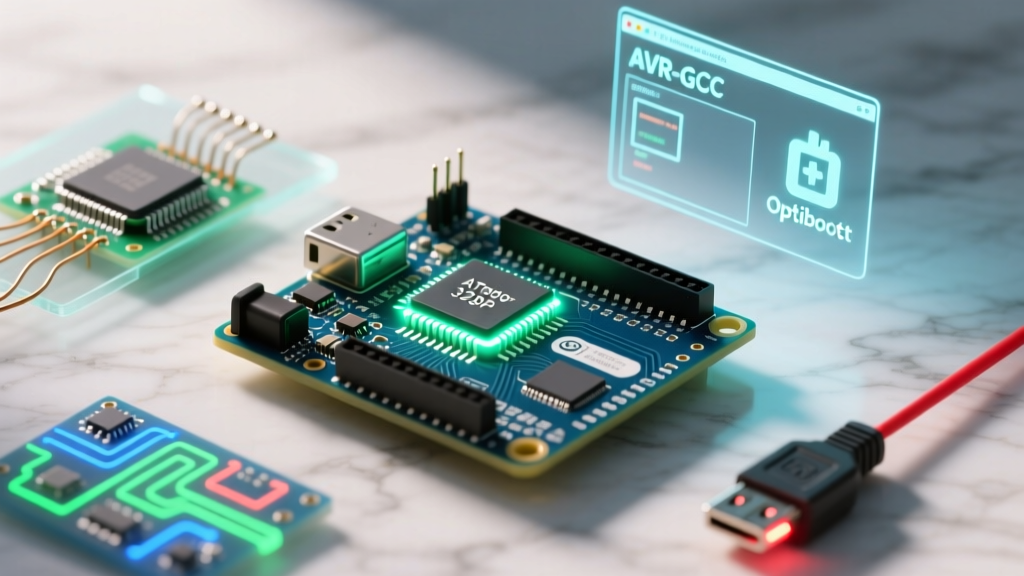
The Arduino IDE (now in its advanced 2.x iterations) is essentially a graphical wrapper for the AVR-GCC toolchain. When you compile a sketch, a multi-stage process occurs:
- Preprocessing: The IDE automatically includes
Arduino.hand generates forward declarations for your functions. - Compilation: AVR-GCC translates your C++ code into AVR assembly language.
- Assembly & Linking: The assembler converts instructions into machine code, and the linker merges your code with the Arduino core libraries and standard C libraries (libc), generating an
.elffile. - HEX Conversion:
avr-objcopystrips debugging symbols and extracts the raw binary into an Intel HEX file. - Uploading via Avrdude: The IDE invokes
avrdude, which communicates over UART (Serial) at 115,200 baud to the Uno's bootloader, writing the HEX file into the microcontroller's flash memory.
Memory Architecture and the 'Optiboot Tax'
The classic Arduino Uno R3 is powered by the Microchip ATmega328P, an 8-bit AVR microcontroller. Understanding its Harvard architecture—where program memory and data memory are separate—is critical for avoiding runtime crashes.
| Memory Type | Total Capacity | Usable Capacity | Primary Use Case & Failure Modes |
|---|---|---|---|
| Flash (Program) | 32 KB | 31.5 KB | Stores compiled code. Failure: Exceeding 100% usage causes compilation errors. The missing 0.5 KB is reserved for the bootloader. |
| SRAM (Data) | 2 KB | ~1.8 KB | Stores global variables, heap, and stack. Failure: Stack overflow or heap fragmentation leads to unpredictable reboots and silent data corruption. |
| EEPROM | 1 KB | 1 KB | Non-volatile storage for settings/calibration. Failure: Exceeding the 100,000 write-cycle limit results in dead memory cells. |
The Optiboot Bootloader
Older Arduino boards used a 2KB bootloader. Modern Unos use Optiboot, a highly optimized bootloader that consumes only 512 bytes. Optiboot listens to the serial port for a specific synchronization sequence immediately after a hardware reset. If it detects an incoming sketch, it halts normal execution and writes the new firmware. If no upload is detected within a few hundred milliseconds, it jumps to the start of your application code.
Bare-Metal C vs. Arduino Abstraction
The Arduino framework is fantastic for prototyping, but its abstraction functions carry a heavy performance penalty. The most notorious example is digitalWrite().
The Cost of Abstraction
When you call digitalWrite(13, HIGH);, the function must look up the pin number in an array, determine the corresponding hardware port and bit, disable interrupts, update the port register, and re-enable interrupts. This takes roughly 50 to 60 clock cycles (about 3.1 microseconds at 16 MHz).
If you are generating high-frequency signals or reading fast encoders, this latency is unacceptable. The solution is Direct Port Manipulation.
// Arduino Abstraction (Slow: ~3.1 µs)
digitalWrite(13, HIGH);

// Bare-Metal AVR C (Fast: ~62.5 ns)
PORTB |= (1 << PB5); // Pin 13 is PB5 on the ATmega328P
By writing directly to the PORTB register, the operation completes in a single clock cycle (62.5 nanoseconds). This is a 50x speed improvement, crucial for bit-banging protocols like WS2812B addressable LEDs or custom RF transmission.
Bypassing the Bootloader: ISP Programming
Relying on the bootloader via USB has three distinct disadvantages:
- It wastes 512 bytes of precious Flash memory.
- It introduces a ~300ms boot delay while the bootloader listens for serial data.
- It prevents you from changing the microcontroller's fundamental hardware fuses.
To reclaim that memory and eliminate the boot delay, you can program the Uno via In-System Programming (ISP) using the 2x3 ICSP header. You will need an ISP programmer, such as a genuine Atmel-ICE ($45) or a generic USBasp clone ($4 to $8).
Understanding AVR Fuses
Fuses are special non-volatile memory bits that configure the hardware at the silicon level. They control the clock source, brown-out detection (BOD), and bootloader size. According to the official Arduino Uno Rev3 documentation, the default fuse settings configure the chip to use an external 16 MHz crystal and reserve 512 bytes for the bootloader.
Warning: Incorrectly setting the fuse bits (e.g., disabling the external clock source when no internal oscillator is configured) will 'brick' the microcontroller, making it unresponsive to standard ISP programmers. Always double-check fuse calculator outputs before writing.
To flash a sketch without a bootloader using the Arduino IDE 2.x, select your USBasp under the 'Programmer' menu, and choose Sketch > Upload Using Programmer. This overwrites the bootloader, meaning you will need to use the ISP programmer for all future uploads until you manually burn the bootloader again.
Real-World Troubleshooting: The 'stk500_recv()' Error
No guide on how to program the Arduino Uno is complete without addressing the most infamous error in the maker community:
avrdude: stk500_recv(): programmer is not responding
avrdude: stk500_getsync() attempt 1 of 10: not in sync: resp=0x00
This error means avrdude cannot establish communication with the bootloader. Here is the professional troubleshooting sequence:
- Verify the USB-to-Serial Bridge: Genuine Unos use an ATmega16U2 chip for USB communication. Cheap 2026 clones often use the CH340 or CP2102. Ensure you have the correct drivers installed for your specific bridge chip.
- Check the Auto-Reset Circuit: The Uno uses a 100nF capacitor between the ATmega16U2's DTR line and the ATmega328P's reset pin. If this capacitor is damaged or missing, the board won't reset when an upload begins, causing the bootloader to miss the sync window.
- The Manual Reset Trick: If the auto-reset fails, press and hold the physical RESET button on the Uno. Click 'Upload' in the IDE. The moment the console says 'Sketch uses X bytes...', release the RESET button. This manually forces the bootloader into listening mode exactly when
avrdudestarts transmitting. - Clear the RX/TX Lines: Ensure no external shields or wires are connected to pins 0 (RX) and 1 (TX) during upload, as external signals will corrupt the UART handshake.
Final Thoughts for Advanced Makers
Mastering how to program the Arduino Uno requires looking past the simplified IDE. By understanding the AVR-GCC toolchain, leveraging direct port manipulation for time-critical tasks, and utilizing ISP programming to manipulate fuses and reclaim flash memory, you transform a $27 development board into a highly optimized, production-ready embedded system.