
The Evolution of the Arduino Uno Simulator
When prototyping embedded systems, burning out an ATmega328P-PU microcontroller or miswiring a breadboard can cost time and money. As of 2026, the landscape of the Arduino Uno simulator has shifted dramatically from clunky Java applets to highly optimized, browser-based WebAssembly (Wasm) engines. These modern platforms offer cycle-accurate emulation of the Uno's 16 MHz AVR architecture, allowing developers to test logic, debug C++ code, and simulate peripheral interactions before touching physical hardware.
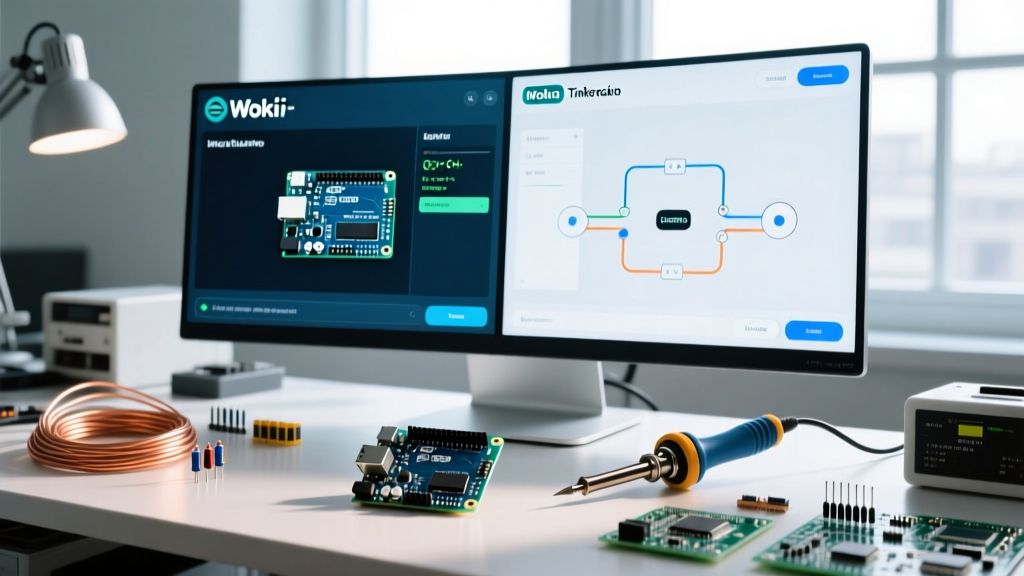
In this feature deep dive, we dissect the two dominant platforms in the ecosystem: Autodesk Tinkercad Circuits and Wokwi. Whether you are an educator teaching basic digital logic or a firmware engineer debugging I2C timing issues, understanding the architectural differences between these simulators is critical for your workflow.
Tinkercad Circuits: The Visual and Educational Heavyweight
Autodesk's Tinkercad Circuits remains the undisputed champion for visual prototyping and education. Its interface perfectly mirrors a physical workbench, complete with a 3D-rendered breadboard, color-coded jumper wires, and a highly accurate visual representation of the Arduino Uno Rev3.
Core Strengths and UI Paradigm
- Visual Fidelity: Tinkercad excels at teaching physical wiring. The 3D components help beginners understand spatial relationships on a standard 830-point breadboard.
- Block-to-C++ Transition: It features a seamless toggle between Scratch-like block coding and raw C++, making it an invaluable pedagogical tool.
- Component Library: Includes standard passive components, 555 timers, basic sensors (PIR, ultrasonic), and character LCDs out of the box.
Where Tinkercad Falls Short
Despite its visual polish, Tinkercad struggles with advanced firmware development. It lacks native GDB server integration, meaning you cannot set hardware breakpoints in an external IDE like VS Code. Furthermore, its simulation engine abstracts away low-level timing. If your code relies on precise microsecond-level interrupts or direct port manipulation (e.g., PORTB |= (1 << PB5)), Tinkercad's emulation layer may yield unpredictable results compared to physical silicon.
Wokwi: The Developer-First Simulator
Wokwi has rapidly become the industry standard for professional and advanced hobbyist firmware simulation. Unlike Tinkercad's visual-first approach, Wokwi prioritizes code execution, multi-board support, and integration with modern development environments.
Advanced Debugging and Multi-Board Ecosystem
While you can simulate an Arduino Uno in Wokwi, its true power lies in its unified ecosystem. You can switch your target from an Uno to an ESP32-S3, Raspberry Pi Pico, or STM32 with a single line change in your configuration file. According to the official Wokwi documentation, the platform supports full GDB debugging via a local proxy, allowing developers to step through C++ code, inspect SRAM registers, and monitor stack usage directly inside VS Code or PlatformIO.
Wi-Fi and Custom Chip Emulation
For IoT projects, Wokwi simulates a virtual Wi-Fi network. You can write code that connects to a simulated MQTT broker or HTTP server, a feature entirely absent in Tinkercad. Additionally, Wokwi supports custom chip simulation using WebAssembly, allowing you to model proprietary sensors or complex logic ICs that aren't in the standard library.
Expert Insight: If you are developing a product that requires Over-The-Air (OTA) updates, Wokwi's ESP32 and Pi Pico W simulation environments are currently the only reliable browser-based tools capable of emulating the Wi-Fi stack and flash partitioning required to test OTA boot loops safely.Head-to-Head Comparison Matrix
Below is a technical comparison of how these platforms handle Arduino Uno simulation and broader embedded workflows in 2026.
| Feature | Tinkercad Circuits | Wokwi |
|---|---|---|
| Pricing | 100% Free | Free (Public) / ~$84/yr (Club) |
| Target MCUs | Arduino Uno, ATtiny85, Micro:bit | Uno, Mega, ESP32, Pi Pico, STM32 |
| External IDE Integration | None (Browser only) | VS Code / PlatformIO via CLI |
| Hardware Debugging (GDB) | Not Supported | Fully Supported |
| Wi-Fi / BLE Simulation | Not Supported | Supported (Virtual Gateway) |
| Logic Analyzer Output | Basic Oscilloscope View | VCD Export for PulseView |
Real-World Edge Cases: When Simulators Fail
No Arduino Uno simulator is a perfect 1:1 replacement for physical silicon. As detailed in the Arduino Uno Rev3 hardware documentation, the physical board relies on analog physics that software must approximate. Here are the edge cases you must watch for:
1. Floating Pins and Analog Noise
On a physical Uno, reading an unconnected analog pin with analogRead() will return random values between 0 and 1023 due to electromagnetic interference and internal ADC noise. Tinkercad typically defaults a floating pin to a static 0 or 512, which can mask bugs in your code where you forgot to initialize a sensor. Wokwi allows for noise injection, but you must explicitly configure it, otherwise, it also defaults to a clean read.
2. The I2C Pull-Up Resistor Trap
The ATmega328P uses an open-drain architecture for I2C (SDA/SCL lines). In the real world, you must use 4.7kΩ pull-up resistors to VCC (5V). Many beginners write I2C code in Tinkercad, find that it works perfectly without pull-up resistors in the simulation, and then fail to understand why their physical LCD or MPU6050 sensor refuses to initialize. Wokwi's newer physics engine updates strictly enforce I2C pull-up requirements, accurately simulating the bus hanging low if the resistors are omitted.
3. Timing Drift in micros()
If your project involves bit-banging a protocol like WS2812B (NeoPixels) or DHT11, timing is measured in microseconds. Simulators run on host operating systems that prioritize background tasks, leading to execution jitter. While Wokwi's Wasm engine is highly optimized, relying on micros() for sub-10-microsecond timing in a browser simulator will result in failed protocol handshakes. Always use hardware timers or dedicated libraries when moving from simulation to the physical board.
Setting Up Your First Wokwi Arduino Uno Simulation
If you are transitioning from Tinkercad to a more professional workflow, here is how to set up a local VS Code environment with Wokwi:
- Install Prerequisites: Download VS Code and install the 'PlatformIO IDE' and 'Wokwi Simulator' extensions.
- Create a Project: Open PlatformIO, create a new project, and select 'Arduino Uno' as the board and 'Arduino' as the framework.
- Generate Wokwi Files: Use the command palette to run 'Wokwi: Create Configuration File'. This generates a
wokwi.tomlanddiagram.jsonin your root directory. - Design the Circuit: Open
diagram.jsonor use the visual editor to wire your virtual components (e.g., adding a 220Ω resistor and an LED to Pin 13). - Build and Simulate: Click the Wokwi play button. The simulator will compile your C++ code via PlatformIO, inject the binary into the virtual ATmega328P, and execute it in a browser pane inside VS Code.
Expert Verdict: Which Arduino Uno Simulator Should You Choose?
The choice between these platforms depends entirely on your end goal. If you are an educator introducing middle school students to basic circuits, or a hobbyist visually planning a physical breadboard layout, Tinkercad Circuits is unmatched in its accessibility and visual feedback.
However, if you are writing production firmware, debugging complex state machines, or need to integrate your simulation into a CI/CD pipeline, Wokwi is the superior Arduino Uno simulator. Its support for GDB debugging, VS Code integration, and strict adherence to electrical realities (like I2C pull-ups) will save you hours of hardware troubleshooting and bridge the gap between virtual code and physical deployment.