
The 32-Bit Evolution: Why the Arduino Nano R4?
For over a decade, the classic Arduino Nano relied on the 8-bit ATmega328P microcontroller. While legendary for its simplicity, modern IoT and edge-computing projects demand more processing power, memory, and native connectivity. Enter the Arduino Nano R4, a massive architectural leap that retains the beloved 18x45mm footprint while swapping the 8-bit AVR core for a 32-bit Renesas RA4M1 ARM Cortex-M4 running at 48 MHz.
The Arduino Nano R4 WiFi variant goes a step further by integrating an ESP32-S3-WROOM-1 co-processor for Wi-Fi and Bluetooth LE, alongside a striking 12x8 red LED matrix for visual debugging. In this guide, we will walk through the exact IDE setup, hardware nuances, and build a fully functional local IoT environmental logger as your first project.
Hardware Comparison Matrix
| Feature | Classic Nano (Every) | Nano R4 Minima | Nano R4 WiFi |
|---|---|---|---|
| Microcontroller | ATmega328P (8-bit AVR) | Renesas RA4M1 (32-bit ARM) | Renesas RA4M1 (32-bit ARM) |
| Clock Speed | 16 MHz | 48 MHz | 48 MHz |
| Flash / SRAM | 32 KB / 2 KB | 256 KB / 32 KB | 256 KB / 32 KB |
| Connectivity | None | None | ESP32-S3 (Wi-Fi / BLE) |
| Special Peripherals | Standard PWM/ADC | 12-bit DAC, OpAmp, CAN | 12-bit DAC, OpAmp, 12x8 LED Matrix |
| Typical Price (2026) | ~$22.00 (or $6 clones) | ~$19.50 | ~$27.50 |
Phase 1: IDE Configuration and Board Setup
To program the Renesas RA4M1 chip, you need the latest Arduino IDE (version 2.3.x or newer). The R4 uses a completely different core than the classic AVR boards.
- Open Boards Manager: In Arduino IDE 2.x, click the Board Manager icon on the left sidebar.
- Search and Install: Type
Arduino Renesas Boardsand install the latest package (ensure it is version 1.0.5 or higher for optimal ESP32-S3 stability). - Select the Board: Navigate to Tools > Board > Arduino Renesas Boards (32-bits ARM Cortex-M4) and select Arduino Nano R4 WiFi.
- Verify Port Enumeration: Plug the board into your PC using a known data-capable USB-C cable. The R4 features native USB HID support, meaning it can act as a keyboard or mouse without extra hardware. Select the corresponding COM/ttyACM port.
Phase 2: First Project — Wi-Fi Environmental Logger
For our first project, we will read temperature, humidity, and barometric pressure data and serve it via a local web server hosted directly on the R4's ESP32-S3 module. This eliminates the need for third-party cloud subscriptions while teaching you the WiFiS3 library.
Bill of Materials (BOM)
- Arduino Nano R4 WiFi ($27.50)
- Adafruit BME280 I2C Breakout Board ($9.95) - Chosen over cheaper DHT11 sensors for its 12-bit ADC precision and I2C stability.
- Mini Solderless Breadboard ($4.00)
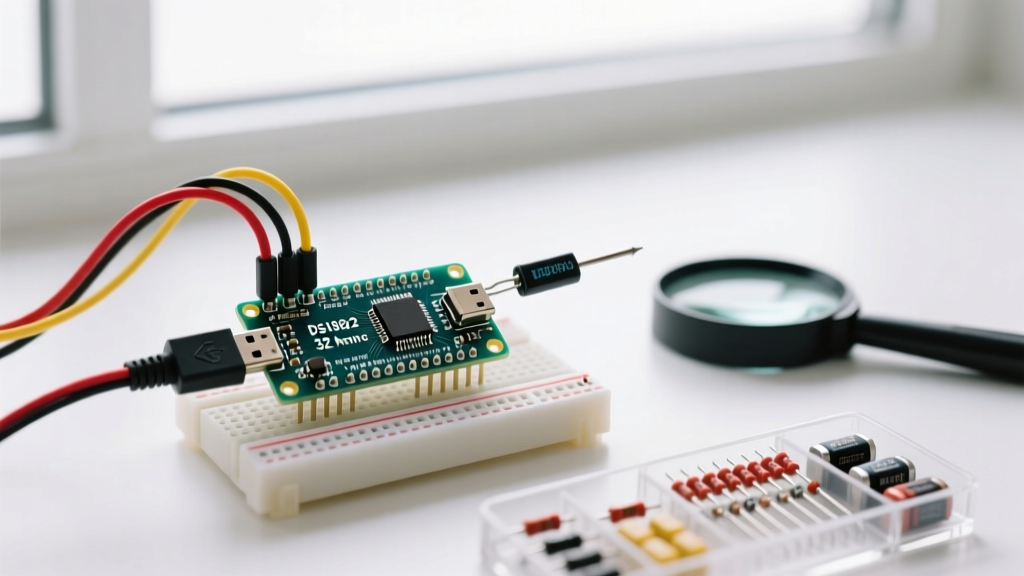
- F/M Jumper Wires (4 required)
- USB-C Data Cable
Crucial Wiring Note: The 3.3V Logic Shift
WARNING: The classic Nano operates at 5V logic. The Nano R4 operates at 3.3V logic. While select digital pins on the R4 are 5V-tolerant up to 5.5V, the Analog-to-Digital Converter (ADC) and Digital-to-Analog Converter (DAC) pins are strictly limited to 3.3V. Supplying 5V to analog pins will permanently destroy the Renesas MCU. Always power 3.3V I2C sensors using the
3V3pin, not the5Vpin.
Pinout and Connections
Wire the BME280 sensor to the Nano R4 WiFi using the dedicated I2C header pins located near the AREF pin, which are cleaner for breadboarding than the legacy A4/A5 pins.
| BME280 Pin | Nano R4 WiFi Pin | Function |
|---|---|---|
| VIN | 3V3 | 3.3V Power Supply |
| GND | GND | Common Ground |
| SCK (SCL) | SCL (Dedicated Header) | I2C Clock Line |
| SDI (SDA) | SDA (Dedicated Header) | I2C Data Line |
Phase 3: Code Implementation
The R4 WiFi utilizes the WiFiS3 library, which is specifically optimized for the SPI communication bridge between the RA4M1 main processor and the ESP32-S3 network co-processor. Do not attempt to use the older WiFiNINA library, as it will fail to compile.
Below is the core logic structure for your sketch. Install the Adafruit BME280 Library and Adafruit Unified Sensor library via the Library Manager before compiling.
#include <WiFiS3.h>
#include <Wire.h>
#include <Adafruit_Sensor.h>
#include <Adafruit_BME280.h>

// Replace with your network credentials
const char* ssid = "YOUR_SSID";
const char* password = "YOUR_PASSWORD";

Adafruit_BME280 bme;
WiFiServer server(80);

void setup() {
  Serial.begin(115200);
  // Initialize I2C and BME280
  if (!bme.begin(0x77, &Wire)) {
    Serial.println("Could not find a valid BME280 sensor, check wiring!");
    while (1);
  }

  // Connect to Wi-Fi
  while (WiFi.status() != WL_CONNECTED) {
    delay(1000);
    Serial.println("Connecting to WiFi...");
  }
  Serial.println(WiFi.localIP());
  server.begin();
}

void loop() {
  WiFiClient client = server.available();
  if (client) {
    String currentLine = "";
    while (client.connected()) {
      if (client.available()) {
        char c = client.read();
        if (c == '\n') {
          if (currentLine.length() == 0) {
            client.println("HTTP/1.1 200 OK");
            client.println("Content-type:text/html");
            client.println();
            client.print("<h1>Nano R4 Environmental Logger</h1>");
            client.print("<p>Temperature: ");
            client.print(bme.readTemperature());
            client.print(" C</p>");
            client.print("<p>Humidity: ");
            client.print(bme.readHumidity());
            client.print(" %</p>");
            client.println();
            break;
          } else {
            currentLine = "";
          }
        } else if (c != '\r') {
          currentLine += c;
        }
      }
    }
    client.stop();
  }
}
Advanced Troubleshooting & Edge Cases
Transitioning to a dual-processor architecture introduces unique failure modes that do not exist on single-MCU boards. If your project fails, consult these expert-level troubleshooting steps:
- ESP32-S3 Firmware Mismatch: The
WiFiS3library requires specific firmware on the ESP32-S3 co-processor. If you get aWiFi module not founderror in the Serial Monitor, navigate to File > Examples > WiFiS3 > Tools > FirmwareUpdater and flash the latest network firmware to the ESP32-S3 module. - I2C Address Conflicts: The BME280 can operate on I2C address
0x76or0x77depending on the manufacturer. Adafruit boards default to0x77. If using a generic Amazon/eBay clone, change the initialization code tobme.begin(0x76, &Wire). - Linux udev Rules: On Ubuntu/Debian systems, the native USB HID capabilities of the RA4M1 might cause the board to appear as an input device rather than a serial port. You may need to add a custom udev rule granting dialout permissions to the specific USB Vendor ID (0x2341 for Arduino) to allow the IDE to upload sketches without root privileges.
- Power Delivery Limits: The onboard 3.3V regulator on the Nano R4 WiFi is rated for roughly 500mA. If you plan to add high-draw peripherals like OLED screens or relay modules later, ensure you do not exceed this limit, or power the peripherals externally.
By mastering the Arduino Nano R4 setup and understanding its 32-bit architecture, you unlock advanced features like hardware floating-point math (FPU) for sensor filtering, native CAN bus support for automotive projects, and seamless IoT integration. The R4 is not just an upgrade; it is an entirely new paradigm for the Nano form factor.