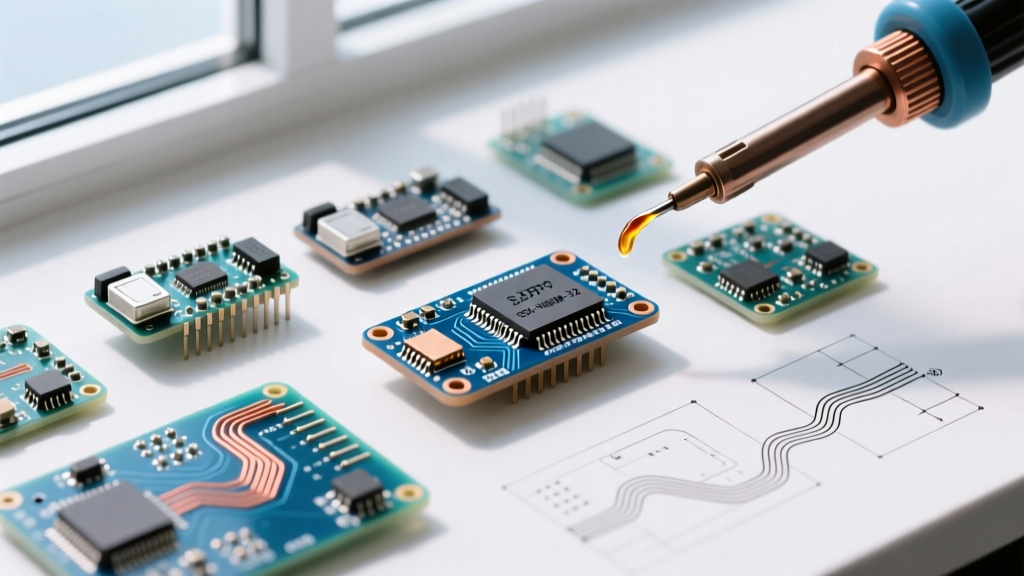

The Legacy and Limits of the Arduino Pro Mini
For over a decade, the Arduino Pro Mini (based on the ATmega328P) was the undisputed champion of compact, low-power DIY electronics. By stripping away the onboard USB-to-serial converter and heavy linear voltage regulators found on the Arduino Uno, it offered a barebones, highly efficient footprint that could run for months on a pair of AA batteries. According to SparkFun's Pro Mini Hookup Guide, its raw simplicity made it the default choice for remote weather stations, portable sensor nodes, and wearable prototypes.
However, as we navigate the component landscape in 2026, the 8-bit AVR architecture shows distinct limitations. The lack of native USB requires carrying a separate FT232RL FTDI adapter for programming. The 10-bit ADC struggles with precision analog sensing, and the 2KB SRAM bottleneck frequently crashes modern, memory-heavy sensor libraries (such as those driving BME680 environmental sensors or SSD1306 OLED buffers). If you are maintaining legacy Pro Mini deployments or starting a new battery-powered project, migrating to a modern 32-bit microcontroller is no longer optional—it is essential for scalability and supply chain stability.
The 2026 Migration Matrix: Pro Mini vs. Modern Alternatives
When planning your platform migration, you must match your project's core requirements—whether that is ultra-low deep sleep, wireless connectivity, or raw processing power—to the right 32-bit successor. Below is a hardware comparison matrix evaluating the legacy Pro Mini against today's top drop-in alternatives.
| Feature | Arduino Pro Mini (3.3V/8MHz) | Raspberry Pi Pico (RP2040) | ESP32-C3 SuperMini | Arduino Nano 33 BLE Sense |
|---|---|---|---|---|
| Architecture | 8-bit AVR (ATmega328P) | 32-bit Dual ARM Cortex-M0+ | 32-bit RISC-V Single Core | 32-bit ARM Cortex-M4F |
| Flash / SRAM | 32KB / 2KB | 2MB / 264KB | 4MB / 400KB | 1MB / 256KB |
| Native USB | No (Requires FTDI) | Yes (USB 1.1) | Yes (USB-C CDC) | Yes (Micro-USB) |
| Base Price (2026) | $3.50 - $5.00 (Clone) | $4.00 - $5.00 | $2.50 - $3.50 | $22.00 - $26.00 |
| Deep Sleep Current | ~1.5 µA (BOD Disabled) | ~1.2 mA (Standard Sleep) | ~5 µA (Deep Sleep) | ~2.5 µA (System OFF) |
Pathway A: The Ultra-Low Power Route (Battery & Solar)
If your Pro Mini project was a remote environmental sensor running on a CR2032 coin cell or a small LiPo battery, you likely relied heavily on AVR sleep modes. The Pro Mini's secret weapon was its ability to disable the Brown-Out Detection (BOD) circuit in software right before entering SLEEP_MODE_PWR_DOWN, dropping the current draw to an impressive 1.5 µA.
The RP2040 Trap and the nRF52840 Solution
Many makers migrating from the Pro Mini default to the Raspberry Pi Pico (RP2040) due to its low price and massive 264KB SRAM. However, as detailed in the Raspberry Pi Pico RP2040 Datasheet, the standard "sleep" mode still draws approximately 1.2 mA because the core logic and SRAM retention circuits remain powered. While the RP2040 does support a "dormant" mode that drops current to ~0.5 mA, it requires a complex external clock setup and a specific GPIO wake-up sequence that breaks standard Arduino IDE workflows.
The Expert Recommendation: If your migration priority is strictly microamp-level sleep for multi-year battery life, bypass the RP2040 and migrate to an nRF52840-based board (like the Seeed Studio XIAO BLE or Adafruit Feather nRF52840). The nRF52840 offers a System ON sleep mode with RAM retention that draws just 1.5 µA, matching the Pro Mini's efficiency while providing a 32-bit Cortex-M4 processor, native Bluetooth 5.2, and a 12-bit ADC.
Pathway B: The Connected IoT Route (Wi-Fi & BLE)
Historically, adding wireless connectivity to a Pro Mini meant wiring up an ESP8266 (ESP-01) module via SoftwareSerial. This setup was notoriously unreliable, prone to baud-rate timing errors, and required a dedicated 3.3V LDO regulator because the ESP-01 could spike to 300mA during RF transmission, overwhelming the Pro Mini's power rails.
In 2026, the ESP32-C3 SuperMini is the ultimate spiritual successor for connected Pro Mini projects. Priced around $3.00, it matches the Pro Mini's compact footprint but integrates Wi-Fi 4 and Bluetooth 5 natively. The RISC-V architecture handles TLS encryption in hardware, and the deep sleep current sits at a highly respectable ~5 µA. Furthermore, the native USB-C port eliminates the need for an FTDI adapter, allowing direct over-the-air (OTA) updates and standard serial debugging.
Hardware and Wiring Translation Guide
Migrating code is only half the battle; hardware translation is where most engineers encounter failure modes. The Pro Mini was widely available in a 5V/16MHz variant, meaning generations of makers grew accustomed to 5V logic tolerance. Modern 32-bit MCUs are strictly 3.3V.
Handling 5V Legacy Sensors
If you are porting a legacy PCB that utilizes 5V sensors (like the HC-SR04 ultrasonic sensor or standard 5V I2C LCDs), you cannot wire them directly to an ESP32-C3 or RP2040. Doing so will permanently damage the GPIO pads.
- Unidirectional Signals (e.g., Trigger pins): Use a simple voltage divider (e.g., 2kΩ and 3.3kΩ resistors) to step down the 3.3V output to the sensor, or use a 5V-tolerant open-drain configuration if reading a 5V signal.
- Bidirectional Signals (e.g., I2C): Invest in a dedicated MOSFET-based bidirectional logic level shifter, such as the BSS138 or a pre-built module using the TI TXS0108E. Avoid cheap resistor-only I2C shifters, as they ruin the signal rise-times required for 400kHz Fast I2C.
The I2C Pull-Up Resistor Edge Case
On the Arduino Pro Mini, the internal AVR pull-up resistors (approximately 30kΩ) were sometimes used to save board space on I2C lines. This is a dangerous practice on modern 32-bit MCUs. The higher bus capacitance of modern sensor arrays and the faster edge rates of ARM/RISC-V processors require strong external pull-ups. Always install physical 4.7kΩ or 2.2kΩ pull-up resistors to the 3.3V rail on your SDA and SCL lines when migrating to the RP2040 or ESP32-C3 to prevent bus lockups and phantom I2C addresses.
Code Porting: Sleep Modes and Interrupts
Translating your power-management code requires shifting from AVR-specific registers to modern RTOS or vendor-specific HAL (Hardware Abstraction Layer) APIs.
AVR Sleep vs. ESP32 Deep Sleep
On the Pro Mini, achieving ultra-low power required manipulating the MCU Control Register (MCUCR) to disable the Brown-Out Detector (BOD), as the BOD alone consumes ~20 µA. Here is the legacy AVR approach:
// Legacy Pro Mini AVR Sleep Code
#include <avr/sleep.h>

void enterDeepSleep() {
  set_sleep_mode(SLEEP_MODE_PWR_DOWN);
  sleep_enable();
  // Disable BOD to save ~20uA
  MCUCR |= (1 << BODS) | (1 << BODSE);
  MCUCR &= ~(1 << BODSE);
  sleep_mode(); // CPU halts here
  sleep_disable();
}
When migrating to the ESP32-C3, the hardware abstraction is vastly superior. You do not need to manually toggle hardware registers. Instead, you use the Espressif IDF sleep APIs, which automatically manage power domains, isolate GPIO pins to prevent leakage, and shut down the RF subsystem. For deeper architectural insights, refer to the Espressif ESP32-C3 Technical Reference.
// Modern ESP32-C3 Deep Sleep Code
#include <esp_sleep.h>

void enterDeepSleep() {
  // Configure GPIO 2 as wake-up source (Low state)
  esp_deep_sleep_enable_gpio_wakeup(1 << GPIO_NUM_2, ESP_GPIO_WAKEUP_GPIO_LOW);
  // Enter deep sleep (Current drops to ~5uA)
  esp_deep_sleep_start();
  // Execution restarts from setup() upon wake
}
Interrupt Mapping Differences
The ATmega328P only supports hardware interrupts on pins 2 and 3. The rest of the pins require Pin Change Interrupts (PCINT), which are notoriously difficult to implement cleanly in the Arduino IDE. Modern 32-bit MCUs eliminate this headache. On the ESP32-C3, almost any GPIO (0-21) can be mapped as a hardware interrupt source, and on the RP2040, all 30 GPIOs support asynchronous interrupt routing. You can confidently refactor your code to use attachInterrupt() on any pin without worrying about PCINT vector collisions.
Summary: Making the Transition
The Arduino Pro Mini earned its place in the electronics hall of fame, but clinging to 8-bit AVR architecture in 2026 limits your project's potential. By migrating to the ESP32-C3 for IoT applications or the nRF52840 for ultra-low-power sensor nodes, you gain native USB, massive memory headrooms, and modern 32-bit processing power. Pay close attention to 3.3V logic translation and I2C bus capacitance during your hardware redesign, and leverage modern HAL sleep APIs to achieve battery life that rivals—or exceeds—the legendary Pro Mini.