
The 2026 Microcontroller Landscape: Where Does the Uno Rev3 Fit?
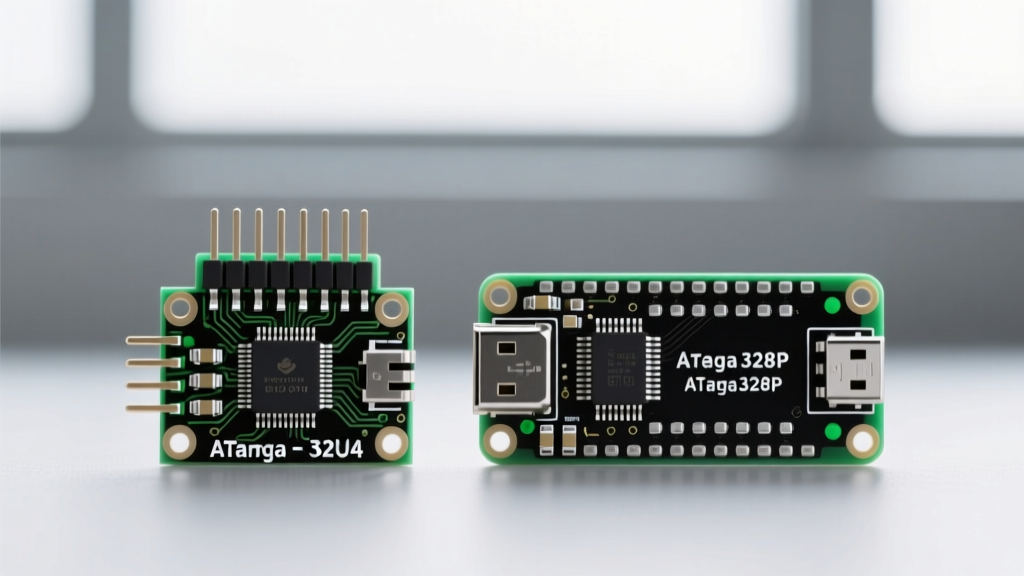
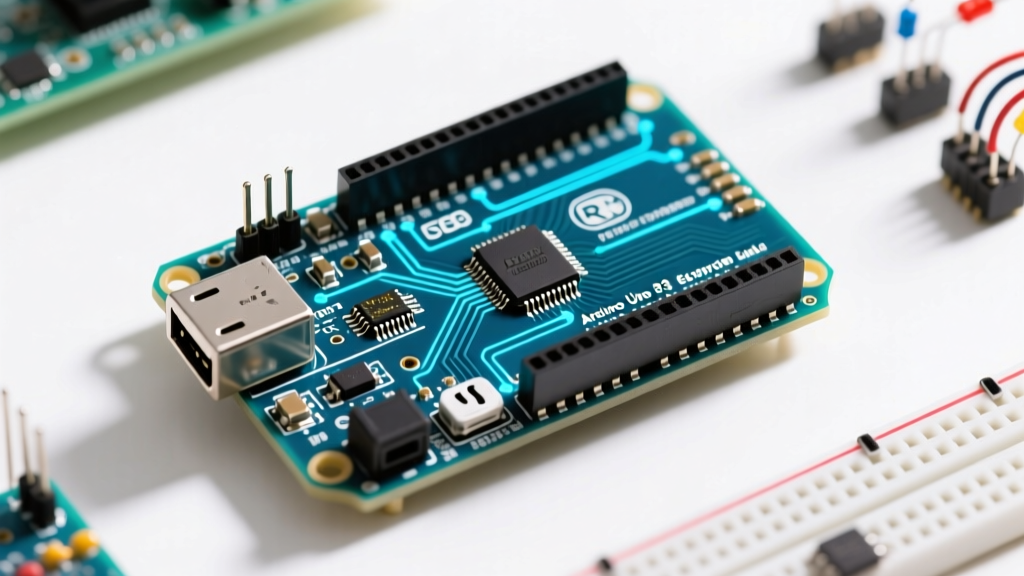
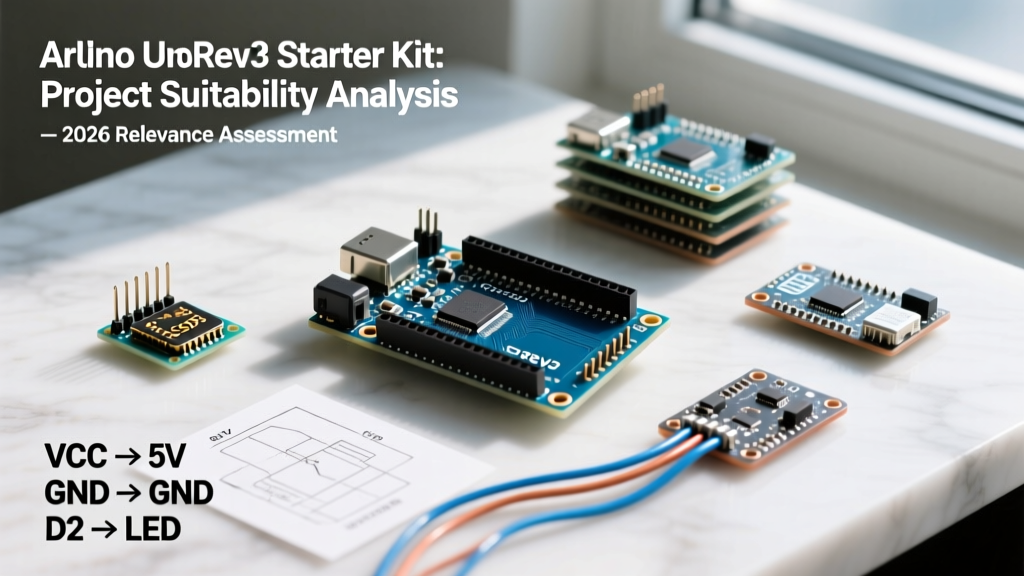
In an era dominated by dual-core ESP32-S3 modules and the Raspberry Pi Pico 2 (RP2350), evaluating an Arduino Uno Rev3 starter kit requires looking past raw processing power. The ATmega328P microcontroller at its heart operates at a modest 16MHz with only 32KB of Flash and 2KB of SRAM. Yet, this platform remains a cornerstone of electronics education, prototyping, and specific industrial control applications. This project suitability analysis dissects exactly when you should deploy the Uno Rev3 in 2026, when you should avoid it, and what to look for in the physical components of a modern starter kit.
Market Reality: Genuine vs. Clone Kits in 2026
Before assessing technical suitability, we must address the purchasing landscape. A genuine Arduino Uno Rev3 board costs approximately $27 on its own, with the official Arduino Starter Kit retailing around $115. Conversely, third-party clone kits (such as those from Elegoo or RexQualis) bundle the board with hundreds of components for $30 to $40.
Expert Warning on Clone USB Interfaces: Genuine Uno Rev3 boards use the ATmega16U2 chip for USB-to-Serial conversion, which is natively supported by all modern operating systems. Budget clones frequently use the CH340G chip. While functional, counterfeit CH340G chips found in ultra-cheap (sub-$20) kits often fail to enumerate on Windows 11 24H2 and newer macOS kernels due to stricter unsigned driver blocking. Always verify the USB interface chip before purchasing a clone kit for a classroom or professional lab environment.
Project Suitability Matrix
To determine if the Uno Rev3 is the right tool for your workbench, compare its core architecture against modern alternatives based on specific project requirements.
| Project Category | Arduino Uno Rev3 (ATmega328P) | ESP32-S3 DevKit | Raspberry Pi Pico 2 (RP2350) |
|---|---|---|---|
| Basic Sensor Logging | Excellent (Simple 5V I/O) | Good (Requires level shifting) | Excellent (High ADC resolution) |
| IoT / Wi-Fi Telemetry | Poor (Requires bulky shields) | Superior (Native Wi-Fi/BLE) | Good (Pico 2 W has native Wi-Fi) |
| Legacy Shield Integration | Superior (Native 5V, standard header) | Poor (3.3V logic, pinout mismatch) | Poor (3.3V logic, pinout mismatch) |
| High-Speed Audio/DSP | Poor (8-bit/16MHz limits) | Good (I2S support, high clock) | Superior (PIO, high clock speed) |
| Motor / Relay Control | Excellent (Robust 5V GPIO drive) | Fair (Weak 3.3V drive current) | Good (Adequate drive, 3.3V logic) |
The Enduring Advantage: 5V Logic and the Shield Ecosystem
The primary argument for choosing an Arduino Uno Rev3 starter kit in 2026 is its 5V logic level and robust GPIO current sourcing. Modern microcontrollers operate at 3.3V or lower. While 3.3V is safer for sensitive silicon, it creates massive friction when interfacing with legacy industrial sensors, standard optocouplers, and older relay modules that require a 5V trigger threshold.
Furthermore, the Uno Rev3 physical footprint birthed the "Arduino Shield" standard. If your project requires stacking a CNC motor shield, a heavy-duty relay shield, or a standardized GPS datalogger shield, the Uno Rev3 remains the only board that guarantees mechanical and electrical compatibility without a mess of flying wires. For ATmega328P based designs, the ability to source up to 20mA per I/O pin (with a 200mA total package limit) means you can often drive small indicator LEDs or logic-level MOSFET gates directly without external buffer ICs.
Critical Failure Modes and Hardware Limitations
Despite its strengths, deploying the Uno Rev3 in production or complex prototypes introduces specific edge cases that beginners must learn to navigate.
1. SRAM Heap Fragmentation via the String Class
The most common cause of "random reboots" on the Uno Rev3 is memory exhaustion. The board possesses only 2,048 bytes of SRAM. When developers use the capitalized String object to parse serial data or format sensor readings inside the loop() function, the C++ runtime dynamically allocates and deallocates heap memory. Within 4 to 12 hours of continuous operation, the heap fragments. Eventually, malloc() fails, and the microcontroller hard-locks.
- The Fix: Abandon the
Stringclass entirely. Use fixed-lengthchararrays and standard C functions likestrtok(),snprintf(), andatoi()for all text manipulation.
2. The 10-Bit ADC Noise Floor
The ATmega328P features a 10-bit Analog-to-Digital Converter (ADC), theoretically providing a resolution of 4.88mV per step at a 5V reference. However, when powered via the standard USB 5V rail (which is notoriously noisy), the internal ADC exhibits a noise floor of roughly ±2 LSB (Least Significant Bits). This effectively reduces your usable resolution to about 8.5 bits.
- The Fix: For precision analog projects (e.g., strain gauges or high-resolution potentiometer readings), do not rely on the Uno's internal ADC. Use the kit's breadboard to wire an external I2C ADC, such as the Texas Instruments ADS1115, which provides 16-bit resolution and an internal programmable gain amplifier.
Kit Component Audit: What to Look For
Not all starter kits are created equal. When evaluating the physical contents of an Arduino Uno Rev3 starter kit, inspect these specific components to ensure they won't bottleneck your projects:
- The Breadboard: A quality kit includes an 830 tie-point board with phosphor bronze contacts. Cheap kits use tin-plated contacts that lose tension after 3 or 4 component insertions, leading to intermittent connections that mimic code bugs.
- Jumper Wires: Look for AWG 28 or AWG 26 stranded wire for flexible connections, and AWG 22 solid-core wire for rigid breadboard bridges. Kits providing ultra-thin AWG 30 wire will suffer from voltage drop over lengths greater than 15cm, causing brownouts on high-current sensors.
- Power Supply Module: Many kits include a breadboard power supply module that claims to output 3.3V and 5V simultaneously. Be aware that these modules typically use linear regulators (like the AMS1117) without adequate heat sinking. Drawing more than 150mA from the 3.3V rail will cause thermal shutdown.
Final Decision Framework
Use this checklist to determine if the Arduino Uno Rev3 starter kit is the correct investment for your specific needs:
- Choose the Uno Rev3 if: You are learning foundational C++ embedded programming, you need to interface with 5V legacy hardware, you plan to use standardized Arduino Shields, or you require deterministic, bare-metal timing without the overhead of a microcontroller OS or Wi-Fi stack.
- Choose an ESP32 or Pi Pico instead if: Your project requires native wireless connectivity, you are processing audio or complex mathematical algorithms, you need more than 2KB of RAM, or you are designing a battery-powered IoT node (the Uno's onboard voltage regulator and USB interface draw too much quiescent current for deep-sleep applications).
Ultimately, the Arduino platform remains unmatched in its educational value and community support. The Uno Rev3 starter kit is not a relic; it is a highly specialized tool that excels precisely where modern, hyper-connected microcontrollers fall short: simple, robust, 5V hardware interfacing.