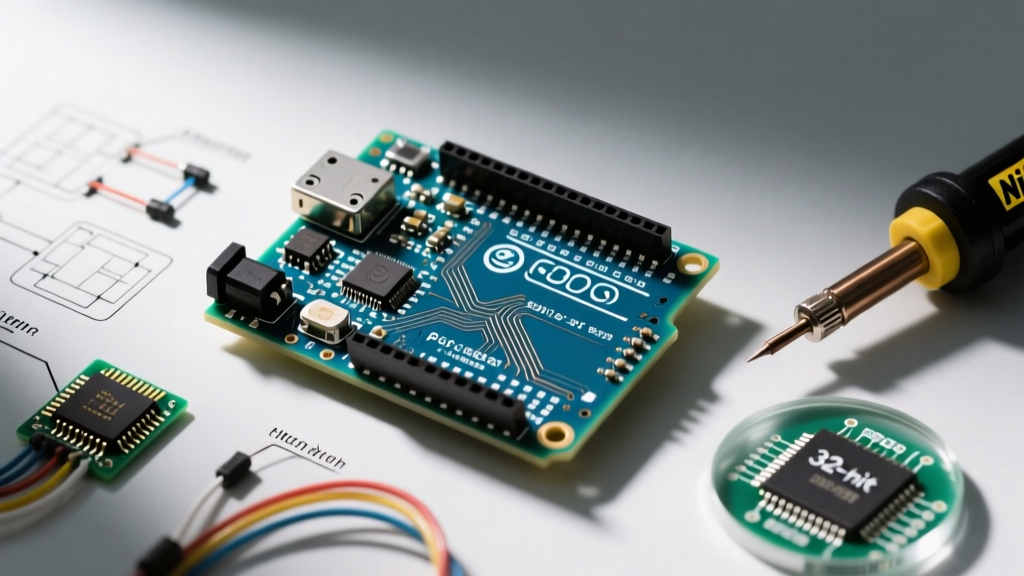

Why the Arduino Uno R3 Schematic is Your Migration Blueprint
For many engineers and makers, the Arduino Uno R3 is the ultimate prototyping launchpad. However, as projects mature from breadboard concepts to production-ready devices, relying on a $27.50 development board becomes economically and spatially unviable. Understanding the Arduino Uno schematic R3 is the critical first step in platform migration. Whether you are stripping the board down to a standalone ATmega328P microcontroller on a custom PCB, or using its pinout as a reference to migrate to a 32-bit powerhouse like the ESP32-S3, the R3 schematic serves as your foundational blueprint.
In this comprehensive migration guide, we deconstruct the official Arduino Uno Rev3 Hardware Documentation to extract the exact subsystems you need to replicate, the components you can safely discard, and the electrical pitfalls that frequently destroy custom boards during the transition phase.
Deconstructing the Arduino Uno Schematic R3: Critical Subsystems
To successfully migrate away from the Uno R3, you must first isolate its functional domains. The schematic is broadly divided into three areas: the main microcontroller domain, the USB-to-Serial interface, and the power regulation network.
Power Regulation & USB-to-Serial
The Uno R3 utilizes an NCP1117ST50T3G linear voltage regulator to step down barrel jack or VIN power to 5V, alongside an LP2985-3.3 LDO for the 3.3V rail. For custom PCB migrations powered by LiPo batteries or USB-C PD, you will likely discard these linear regulators in favor of high-efficiency buck converters (like the TPS5430 or MP2359) to minimize thermal dissipation.
Furthermore, the R3 uses a dedicated ATmega16U2-MU microcontroller as a USB-to-Serial bridge. While elegant, this adds roughly $2.10 to your BOM and consumes valuable PCB real estate. In 2026, most custom designs replace the 16U2 with a $0.45 CH340G or CP2102N chip, or bypass USB entirely in favor of direct ISP programming and wireless OTA updates.
The Auto-Reset Circuit
One of the most misunderstood sections of the Arduino Uno schematic R3 is the auto-reset circuit. Unlike older Duemilanove boards that used a simple 100nF capacitor tied directly to the DTR line, the R3 uses an LMV358 dual op-amp and an NPN transistor configuration. This prevents the board from accidentally resetting when the serial port is opened by certain terminal programs. When migrating to a custom PCB, you can simplify this back to a basic 100nF capacitor between your USB-Serial adapter's DTR pin and the ATmega328P's RESET pin, saving component count and reducing BOM costs.
Migration Path 1: Standalone ATmega328P on a Custom PCB
Migrating to a standalone ATmega328P-PU (the exact through-hole chip used on the Uno) is the most common hardware evolution. Below is a cost and component comparison for moving from the dev board to a custom surface-mount or through-hole design.
| Component / Subsystem | Arduino Uno R3 (Dev Board) | Custom Standalone PCB (2026 BOM) | Migration Action |
|---|---|---|---|
| Main MCU | ATmega328P-PU ($4.50) | ATmega328P-AU TQFP-32 ($2.15) | Switch to SMD for space savings |
| USB-Serial Bridge | ATmega16U2 ($2.10) | CH340G or CP2102N ($0.45) | Replace or remove entirely |
| Clock Source | 16MHz Crystal + 2x 22pF Caps | 16MHz Ceramic Resonator (CSTCE16M0V53) | Consolidate 3 parts into 1 |
| Power Supply | NCP1117 5V Linear LDO | AP2112K-3.3 or Buck Converter | Optimize for battery efficiency |
| Estimated Total BOM | ~$27.50 (Retail) | ~$6.80 (Volume Pricing) | 75% Cost Reduction |
Pro-Tip: If your application does not require precise UART timing or high-speed SPI, you can eliminate the 16MHz crystal and 22pF load capacitors entirely. Configure the ATmega328P's fuses to use the internal 8MHz RC oscillator. This saves $0.35 and reduces EMI emissions on your custom board.
Migration Path 2: Upgrading to 32-Bit Platforms (ESP32 / STM32)
When your project requires Wi-Fi, Bluetooth, or heavy DSP processing, the 8-bit ATmega328P hits a hard ceiling. Migrating to an ESP32-S3 or STM32F411 requires careful mapping of the Uno R3 schematic's I/O limitations to modern 3.3V architectures.
Voltage Level Translation
The most critical difference between the Arduino Uno R3 schematic and modern platforms is logic voltage. The Uno operates at 5V logic. The ESP32 and STM32 operate strictly at 3.3V. If your custom PCB retains 5V sensors (like the HC-SR04 ultrasonic or standard 16x2 I2C LCDs), you must integrate a bidirectional logic level shifter (such as the TXS0108E or a simple BSS138 MOSFET circuit) between the 3.3V MCU and the 5V peripherals. Failing to do so will permanently damage the ESP32's GPIO pins.
ADC and Pin Mapping Matrix
- Analog Inputs: The Uno R3 maps A0-A5 to ADC channels with a 10-bit resolution (0-1023). The ESP32-S3 offers 12-bit ADCs (0-4095) but suffers from non-linearity at the extreme high and low ends. Always add a 100nF decoupling capacitor and a 10k series resistor to your custom PCB's ADC pins to stabilize readings.
- I2C Pull-ups: The Uno R3 schematic does not include onboard I2C pull-up resistors, relying on external modules to provide them. When migrating to an ESP32, explicitly add 4.7k pull-up resistors to the SDA and SCL lines on your custom PCB to ensure reliable bus communication.
- PWM Capabilities: The Uno R3 uses hardware timers for PWM on pins 3, 5, 6, 9, 10, and 11. The ESP32 uses the LEDC peripheral, allowing PWM on almost any GPIO. Verify your firmware's timer allocations during migration.
Common Schematic Pitfalls During Migration
Engineering Warning: Over 40% of custom ATmega328P PCB failures in maker-fabricated runs stem from two missing components that are easily overlooked when copying the Arduino Uno R3 schematic: the AVCC decoupling network and the RESET pull-up resistor.
- The AVCC Pin Trap: Pin 20 on the TQFP-32 ATmega328P is AVCC (Analog VCC). Even if you are not using the ADC, AVCC must be connected to VCC through a low-pass filter (typically a 10Ω resistor and a 100nF capacitor to ground). Leaving it floating or tying it directly to digital VCC without filtering will cause erratic microcontroller resets and massive noise on analog readings.
- Floating RESET Pin: The Uno R3 schematic includes a 10k pull-up resistor on the RESET line. On a custom PCB, omitting this resistor leaves the pin susceptible to EMI spikes, causing the board to randomly reset when a relay switches or a motor starts.
- Crystal Load Capacitance: If you retain the 16MHz crystal, ensure your PCB layout places the 22pF load capacitors as close to the crystal pads as possible, with a solid ground pour underneath. Long traces act as antennas, introducing clock jitter that corrupts UART baud rates.
ISP Header Pinout & Bootloader Burning
When migrating to a custom PCB, you will not have the luxury of the ATmega16U2 USB bridge to upload code via the Arduino IDE's standard serial bootloader. Instead, you must use the 6-pin ICSP (In-Circuit Serial Programming) header defined in the Uno R3 schematic.
The standard AVR ISP pinout is:
- Pin 1: MISO (Master In Slave Out)
- Pin 2: VCC (5V or 3.3V depending on your board)
- Pin 3: SCK (Serial Clock)
- Pin 4: MOSI (Master Out Slave In)
- Pin 5: RESET (Active Low)
- Pin 6: GND
Using a $3.50 USBasp programmer or a secondary Arduino configured as 'Arduino as ISP', you can burn the Optiboot bootloader directly to your custom board. Once the bootloader is flashed, you can optionally wire a CP2102N USB-Serial adapter to the RX/TX pins and use the DTR auto-reset circuit to upload sketches exactly as you would on a retail Uno R3.
Summary & Next Steps
Migrating away from the Arduino Uno R3 is a rite of passage for hardware developers. By thoroughly analyzing the Arduino Uno schematic R3, you can extract the essential ATmega328P support circuitry, discard the expensive USB-Serial bridge, and optimize the power delivery for your specific use case. Whether you are building a low-power standalone sensor node or stepping up to the Espressif ESP32 hardware ecosystem, mastering these schematic fundamentals ensures your custom PCBs will boot on the first revision, saving you weeks of debugging and expensive respins.