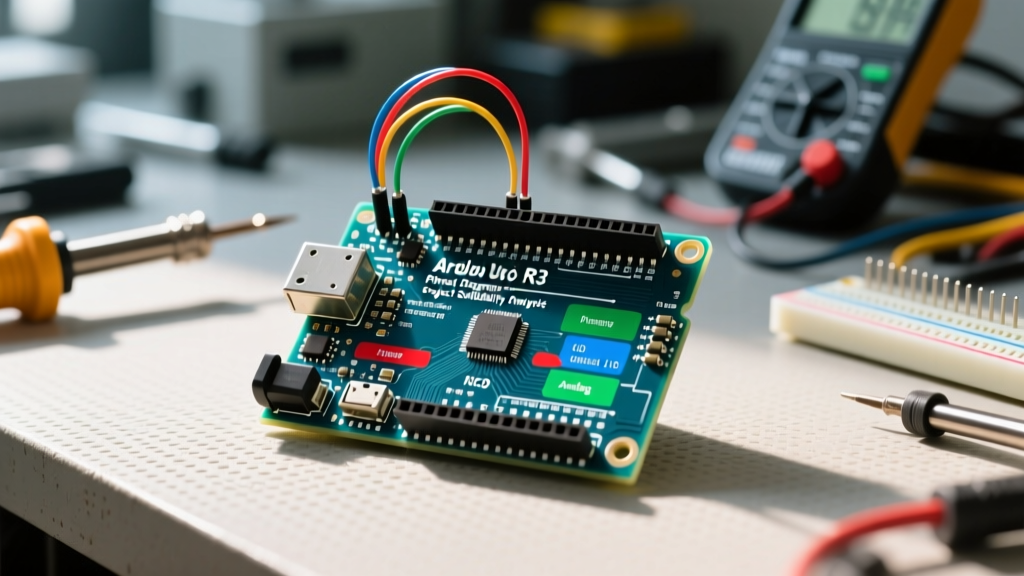

Decoding the Arduino Uno R3 Pinout Diagram for Project Scoping
Even in 2026, with the proliferation of 32-bit ARM Cortex and RISC-V microcontrollers, the classic Arduino Uno R3 remains a foundational benchmark for electronics prototyping. However, its enduring popularity often leads makers to force-fit the board into projects that exceed its hardware capabilities. The secret to successful project scoping lies in a rigorous analysis of the Arduino Uno R3 pinout diagram. By understanding the exact electrical limits, multiplexed pin functions, and architectural bottlenecks of the ATmega328P-PU microcontroller, you can definitively determine if the Uno R3 is the right platform for your specific application.
According to the official Arduino Uno R3 documentation, the board features 14 digital input/output pins (of which 6 can be used as PWM outputs) and 6 analog inputs. But a simple pin count is insufficient for professional-grade project planning. This guide breaks down the pinout schematic to evaluate project suitability based on power delivery, signal integrity, and peripheral overlap.
Power Pin Analysis: Voltage and Current Constraints
The most common point of failure in Uno-based projects stems from misinterpreting the power headers on the pinout diagram. The board provides multiple voltage domains, each with strict current limitations governed by the onboard NCP1117 5V linear regulator and the ATmega328P's internal bonding wires.
Understanding the Voltage Domains
- 5V Pin: Outputs 5V from the onboard regulator. Limitation: If powered via USB, this pin is limited to roughly 500mA (shared with the board's logic). If powered via the VIN pin, the regulator's thermal shutdown limits current to approximately 800mA at 7V input, dropping to under 200mA at 12V input due to heat dissipation constraints.
- 3.3V Pin: Generated by an internal regulator on the ATmega16U2 USB-to-Serial chip. Limitation: Strictly capped at 50mA. Attempting to power a standard Wi-Fi module or high-draw sensor from this pin will cause brownouts and erratic serial communication.
- VIN Pin: Accepts unregulated voltage (recommended 7-12V). Ideal for powering the board from a 9V battery or 12V DC wall adapter.
Expert Insight: If your project requires powering high-current peripherals like servo motors or LED strips, never route that current through the Uno's 5V header. Use an external buck converter tied to the common ground, utilizing the Uno's pins purely for logic-level PWM control.
Digital I/O, PWM, and Hardware Interrupts
The digital header (Pins 0-13) operates at 5V logic levels, making the Uno R3 highly suitable for interfacing with legacy 5V sensors and automotive electronics. However, not all digital pins are created equal on the Arduino Uno R3 pinout diagram.
PWM and Motor Control Suitability
Pins marked with a tilde (~) — specifically 3, 5, 6, 9, 10, and 11 — support 8-bit Pulse Width Modulation (PWM) via hardware timers. This yields 490 Hz on most pins, but Pins 5 and 6 operate at 980 Hz. This distinction is critical for audio-frequency applications or specific motor driver requirements where a higher base frequency reduces audible whine. The ATmega328P can source or sink a maximum of 20mA per I/O pin (with an absolute, not-to-exceed limit of 40mA), and the total VCC/GND current must not exceed 200mA.
Hardware Interrupts for Real-Time Processing
For projects requiring microsecond-precision timing, such as rotary encoders or flow meters, you must use hardware interrupts. The Uno R3 restricts these to Pin 2 (INT0) and Pin 3 (INT1). If your project requires more than two external interrupt sources, the Uno R3 is unsuitable, and you should pivot to an Arduino Mega 2560 or an ESP32.
Analog Inputs, ADC Resolution, and Bus Overlaps
The analog header (A0-A5) connects to the microcontroller's internal 10-bit Analog-to-Digital Converter (ADC). This provides a resolution of 4.88mV per step (5V / 1024). While sufficient for reading basic potentiometers or LM35 temperature sensors, it is inadequate for precision load cells or high-fidelity audio sampling. For those applications, you must bypass the internal ADC and use an external 16-bit or 24-bit ADC via SPI or I2C.
The I2C and SPI Multiplexing Trap
A critical detail often missed by beginners is the physical overlap of communication buses on the pinout diagram:
- I2C Bus: Maps to A4 (SDA) and A5 (SCL). If you are using an I2C OLED display or BME280 sensor, you lose the use of A4 and A5 as analog inputs.
- SPI Bus: Maps to Pins 11 (MOSI), 12 (MISO), and 13 (SCK). Pin 10 is typically reserved for the Slave Select (SS) line. Utilizing an SPI SD card module or RFID reader will consume four of your fourteen digital pins.
Project Suitability Matrix
Use the following matrix to evaluate whether the Uno R3's pinout and architecture align with your 2026 project goals.
| Project Category | Uno R3 Suitability | Pinout & Hardware Constraints | Recommended Alternative |
|---|---|---|---|
| Basic IoT / Wi-Fi Telemetry | Poor | Lacks native wireless; ESP-01 modules strain the 50mA 3.3V pin and require voltage dividers for 3.3V logic. | ESP32-S3 or Pico W |
| Simple Robotics (2-4 DC Motors) | Excellent | 5V logic perfectly matches L298N or TB6612FNG motor drivers. 6 PWM pins allow speed control for up to 3 motors. | Arduino Uno R3 |
| Precision Audio / DSP | Poor | 10-bit ADC is too noisy; 2KB SRAM is insufficient for audio buffering; 16MHz clock limits DSP math. | Teensy 4.0 or Adafruit Feather M4 |
| Greenhouse Automation | Good | Ample analog pins for soil moisture sensors; I2C supports environmental sensors. Low power sleep modes available. | Arduino Uno R3 (with watchdog) |
| Complex HMI / Touchscreens | Fair to Poor | SPI bus can drive small TFTs, but 2KB SRAM bottlenecks frame buffering. Pin 13 LED interferes with SPI SCK. | Arduino Portenta or Giga R1 |
Real-World Failure Modes and Edge Cases
When designing custom PCB shields or wiring breadboards based on the Arduino Uno R3 pinout diagram, engineers frequently encounter specific hardware edge cases that are not immediately obvious from the schematic.
1. The Pin 13 SPI Boot Glitch
Pin 13 serves as the SPI SCK (Clock) line, but it is also tied to the onboard user LED via a buffer op-amp. During the bootloader sequence, the microcontroller toggles Pin 13 to flash the LED. If you have a sensitive SPI peripheral (like a DAC or certain RF modules) attached, this boot-time clock toggling can cause the peripheral to enter an undefined state. Solution: Implement a hardware reset circuit or a dedicated GPIO pin to hold the SPI peripheral's Chip Enable line low until the Uno finishes booting.
2. I2C Bus Capacitance and Missing Pull-ups
The Uno R3 pinout does not include physical pull-up resistors on the A4 (SDA) and A5 (SCL) lines. While many commercial I2C sensor breakout boards include 4.7kΩ pull-ups, chaining multiple modules increases bus capacitance. If the total bus capacitance exceeds 400pF, signal edges degrade, leading to I2C NACK errors. Solution: For multi-drop I2C networks, add an active I2C bus extender (like the PCA9600) or reduce the I2C clock speed in software via the TWBR register.
3. Back-EMF on Inductive Loads
Connecting relays or solenoids directly to the digital output pins without a flyback diode will result in voltage spikes that exceed the ATmega328P's absolute maximum ratings, eventually destroying the microcontroller's I/O port latch. Always use a logic-level MOSFET (like the IRLZ44N) to switch inductive loads, keeping the high-current return path isolated from the Uno's ground plane.
Conclusion: Knowing When to Walk Away
The Arduino Uno R3, priced around $27 to $30 for genuine boards in 2026 (with functional clones available for under $6), offers an unbeatable ecosystem of shields and community support. However, as detailed in this analysis of the Arduino Uno R3 pinout diagram, its 8-bit architecture, limited SRAM, and strict current limits define a hard ceiling for modern, data-heavy applications. By rigorously mapping your project's power, I/O, and communication requirements against the board's physical pinout constraints, you can avoid costly redesigns and select the optimal microcontroller platform for your specific engineering needs.
For deeper architectural specifications, refer to the Microchip ATmega328P product datasheet and the official Arduino Store hardware repository.