
The Core Architecture of Arduino Uno PWM Pins
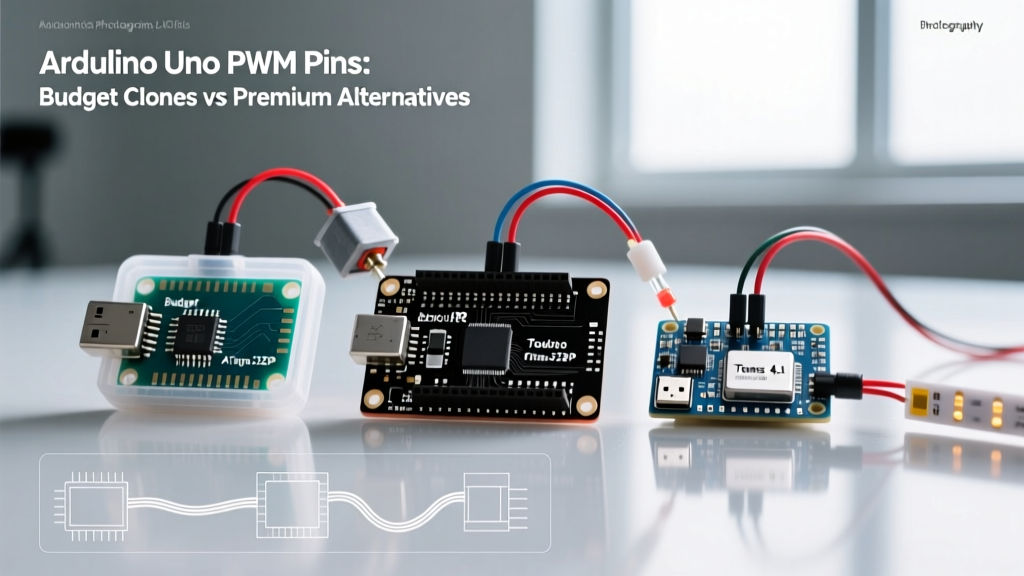
Pulse Width Modulation (PWM) is the backbone of embedded hardware control, enabling microcontrollers to simulate analog outputs using digital signals. Whether you are dimming high-power LEDs, driving DC motors through an H-bridge, or generating audio waveforms, understanding the hardware limitations of your board's PWM capabilities is critical. For years, the classic ATmega328P-based Arduino Uno has been the default prototyping platform. However, as project requirements grow more demanding in 2026, makers and engineers face a crucial decision: stick with a $12 budget clone, invest in a $28 genuine Uno R4, or jump to an $85 premium powerhouse like the Teensy 4.1?
Before comparing budgets, we must dissect the classic analogWrite() reference and the underlying silicon. The original Uno (and its clones) features six dedicated hardware PWM pins, denoted by the tilde (~) symbol on the PCB: pins 3, 5, 6, 9, 10, and 11. These are not created equal; they are tied to three distinct internal timers, each with unique behaviors and pitfalls.
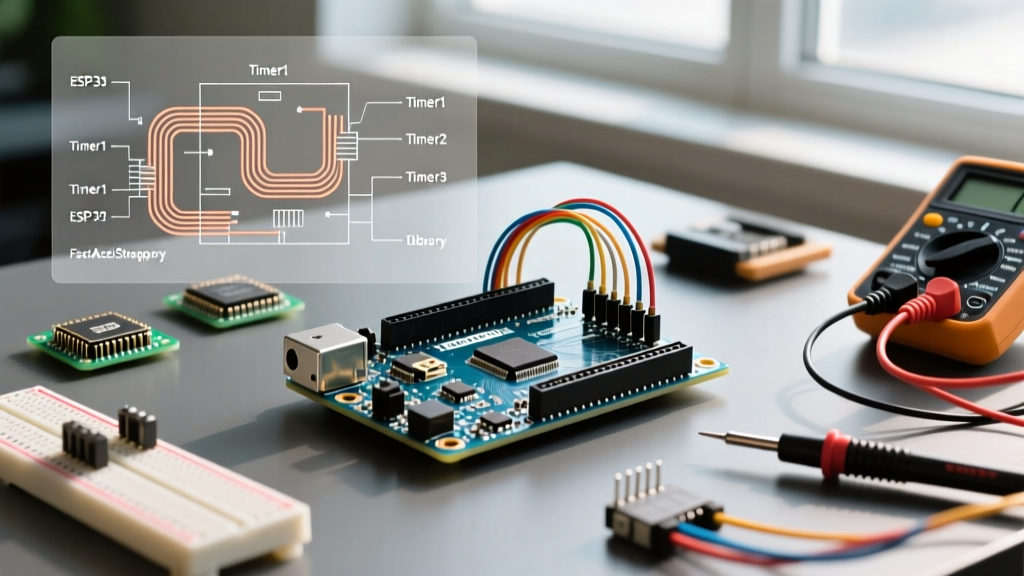
Timer Mapping and the 490Hz Standard
- Timer0 (8-bit): Controls pins 5 and 6. Default frequency is ~980 Hz. Critical Warning: Timer0 is hardwired to the Arduino core's timing functions. If you manipulate this timer's prescaler to change the PWM frequency, functions like
delay(),millis(), andmicros()will break catastrophically. - Timer1 (16-bit): Controls pins 9 and 10. Default frequency is ~490 Hz. Because it is a 16-bit timer, it is the most versatile for advanced users. You can safely reconfigure it for 10-bit, 12-bit, or even 16-bit resolution using libraries like
TimerOnewithout disrupting system timing. - Timer2 (8-bit): Controls pins 3 and 11. Default frequency is ~490 Hz. Often repurposed for 38kHz IR carrier signals or basic tone generation.
Expert Insight: The default 490 Hz frequency of the classic Uno is notoriously problematic for DC motor control. It falls squarely within the human hearing range (20 Hz - 20 kHz), resulting in an audible, high-pitched coil whine when driving motors under load. Furthermore, 8-bit resolution (0-255 steps) causes visible 'stepping' when dimming LEDs at low duty cycles.
The Budget Route: ATmega328P Clones vs. Genuine R3
Budget clones from manufacturers like Elegoo, RexQualis, or generic AliExpress vendors typically cost between $12 and $15. These boards use either the genuine Microchip ATmega328P or the slightly upgraded ATmega328PB. From a strict PWM perspective, a $12 clone performs identically to a $27 genuine Arduino Uno R3. The silicon is the same, meaning the timer limitations, 8-bit default resolution, and 490Hz frequencies are exactly the same.
When the Budget Route Suffices:
- RC Servo Control: Servos expect a 50Hz signal with a 1-2ms pulse width. The Uno's 16-bit Timer1 can easily handle this via the standard
Servo.hlibrary. - Basic Thermal Management: Driving a PC cooling fan via a logic-level MOSFET where acoustic noise is not a primary concern.
- Prototyping: Quick proof-of-concept circuits where you are testing logic rather than refining power electronics.
The Hidden Cost of Budget Boards: While the PWM silicon is identical, budget clones often substitute the ATmega16U2 USB-to-Serial chip with a CH340 or CP2102. While this doesn't affect the PWM pins directly, it can introduce latency or driver headaches during serial debugging when you are trying to tune PID loops for motor controllers.
The Premium Route: When to Upgrade for PWM Performance
When your project transitions from a hobbyist breadboard to a deployable product, or when you encounter the hard limits of the ATmega328P, premium boards become mandatory. Let's look at the two primary upgrade paths dominating the market.
Arduino Uno R4 Minima (The Modern Standard)
Priced around $28, the Arduino Uno R4 Minima replaces the 8-bit AVR architecture with a 32-bit Renesas RA4M1 (Arm Cortex-M4) running at 48 MHz. The PWM leap is massive. The R4 offers hardware PWM on almost all digital pins, but more importantly, it features a true 12-bit Digital-to-Analog Converter (DAC) and supports 12-bit PWM resolution natively. This eliminates the low-end LED stepping issue entirely, providing 4,096 steps of granularity compared to the classic Uno's 256.
Teensy 4.1 (The High-Frequency Powerhouse)
For advanced power electronics, robotics, and audio, the $85 Teensy 4.1 is the undisputed king. Powered by an NXP i.MX RT1062 Cortex-M7 running at 600 MHz, it boasts up to 31 hardware PWM pins. Crucially, the Teensy's FlexPWM modules support hardware dead-time insertion. When driving high-power BLDC motors using half-bridge MOSFETs, dead-time prevents 'shoot-through' (where both high and low MOSFETs conduct simultaneously, causing a short circuit). The classic Uno requires complex software interrupts to manage dead-time, which is unreliable at high frequencies; the Teensy handles it in silicon.
Hardware Comparison Matrix
| Feature | Budget Clone (ATmega328P) | Genuine Uno R3 | Arduino Uno R4 Minima | Teensy 4.1 |
|---|---|---|---|---|
| Approx. Price (2026) | $12 - $15 | $27 | $28 | $85 |
| Architecture | 8-bit AVR | 8-bit AVR | 32-bit Arm Cortex-M4 | 32-bit Arm Cortex-M7 |
| PWM Pin Count | 6 | 6 | Up to 15+ | 31 |
| Default Resolution | 8-bit (256 steps) | 8-bit (256 steps) | 12-bit (4096 steps) | 8 to 16-bit configurable |
| Max Hardware Freq | ~62.5 kHz (Timer1) | ~62.5 kHz (Timer1) | ~24 MHz | ~150 MHz |
| Dead-Time Insertion | No (Software only) | No (Software only) | Limited | Yes (Hardware FlexPWM) |
Real-World Failure Modes and Engineering Workarounds
Understanding how PWM fails in the real world separates beginners from senior embedded engineers. Here are the most common failure modes encountered with classic Uno PWM pins, and how to solve them based on your budget.
1. MOSFET Switching Losses and Thermal Runaway
The Problem: Driving a high-current DC motor using an IRLZ44N MOSFET directly from an Uno PWM pin (5V logic). At the default 490 Hz, the MOSFET switches slowly. However, if you attempt to silence the motor whine by pushing the frequency to 31.25 kHz using Timer1, the GPIO pin's limited current sourcing capability (~20mA) fails to charge the MOSFET's gate capacitance fast enough. The MOSFET lingers in the linear (ohmic) region, generating massive heat and potentially melting the breadboard.
Budget Fix: Keep the ATmega328P, but add a dedicated gate driver IC (like the TC4427) or a simple BJT push-pull totem pole between the Uno pin and the MOSFET gate. This costs about $1.50 in components and allows safe 20kHz+ switching.
Premium Fix: The Teensy 4.1 outputs 3.3V logic but can source/sink significantly more transient current on specific high-drive pins, though a gate driver is still recommended for high-power loads. The real advantage is the ability to use the Teensy's hardware PWM to generate precise 20kHz signals with zero CPU overhead.
2. Servo Jitter and Timer0 Interrupt Collisions
The Problem: You are using a classic Uno to control a robotic arm with 4 servos. You notice micro-jitters in the servos, causing the arm to shake. This happens because the Arduino core uses Timer0 interrupts to update millis(). Every time the interrupt fires, it momentarily pauses the execution of your code, slightly delaying the software-generated PWM pulses or causing hardware timer phase shifts if not carefully managed.
Budget Fix: Never use pins 5 and 6 for precision servos. Stick to pins 9 and 10 (Timer1) and use the TimerOne library to generate hardware-level interrupts that are immune to standard code-blocking delays.
Premium Fix: The Uno R4 Minima and Teensy 4.1 utilize dedicated hardware timer channels for every PWM pin. The CPU load has zero impact on the PWM pulse width, guaranteeing jitter-free servo operation even while running heavy computational tasks like inverse kinematics or wireless communication.
3. The 'Stepping' Effect in Low-End LED Dimming
The Problem: Human perception of brightness is logarithmic, not linear. When using an 8-bit PWM signal (0-255) to dim an LED, the jump from duty cycle 1 to 2 represents a 100% increase in perceived brightness at the very low end. This results in visible 'stepping' or flickering when trying to achieve a smooth 'breathing' LED effect below 10% brightness.
Budget Fix: Implement a software gamma correction lookup table (LUT) in your C++ code to map linear 8-bit inputs to logarithmic outputs. This costs nothing but requires CPU cycles and eats into your limited 2KB SRAM.
Premium Fix: Upgrade to the Uno R4 Minima. Its native 12-bit DAC and 12-bit PWM resolution provide 4,096 steps, entirely eliminating the need for software gamma correction and yielding buttery-smooth dimming curves natively.
Final Verdict: Where Should You Spend Your Budget?
If your project involves basic educational demonstrations, simple relay-triggered motor controls, or standard 50Hz RC servos, the $12 ATmega328P budget clone remains an unbeatable value. The hardware PWM pins are perfectly adequate, provided you respect the Timer0 trap and utilize Timer1 for precision tasks.
However, if you are designing a commercial product, building a high-frequency synchronous buck converter, driving multi-phase BLDC motors, or require high-fidelity audio synthesis, the classic Uno architecture will bottleneck your progress. In these scenarios, the $28 Arduino Uno R4 Minima offers the best bridge between familiar form-factors and modern 32-bit PWM resolution. For absolute extreme performance, dead-time insertion, and high-frequency RF/PWM overlap, the $85 Teensy 4.1 is an investment that pays for itself in saved engineering hours.