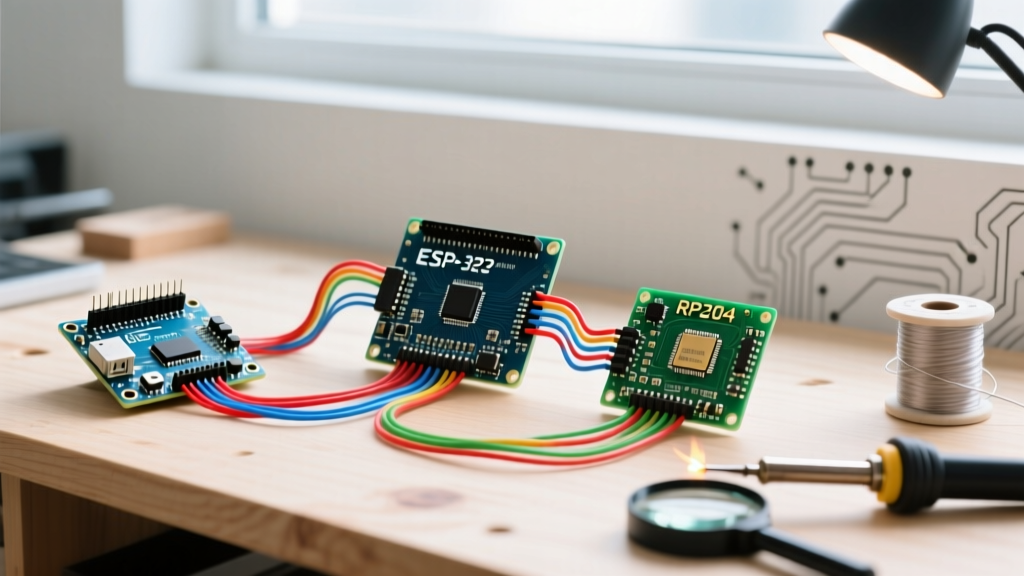

The ATmega328P Ceiling: Why Migrate?
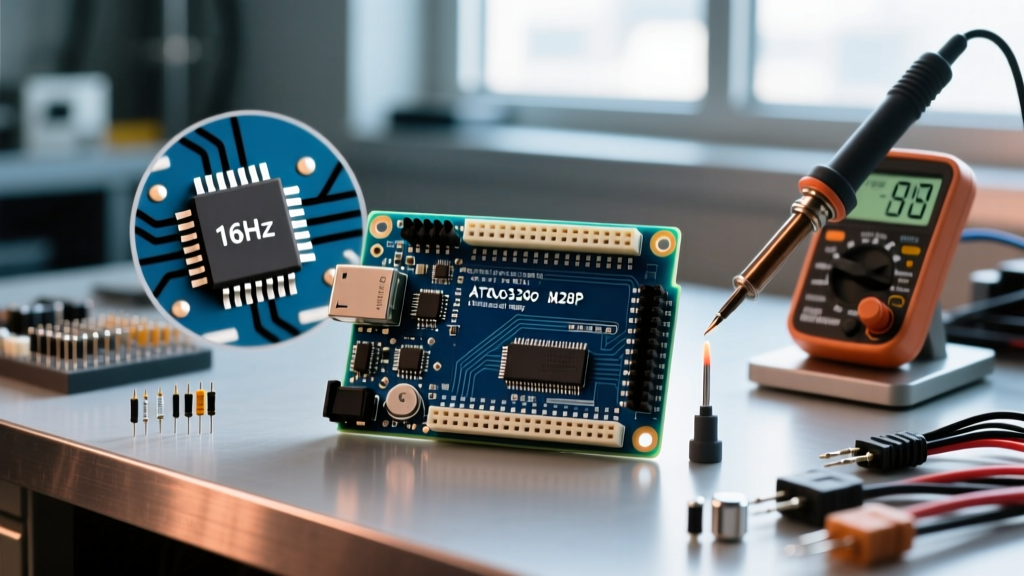
For millions of engineers and hobbyists, programming for Arduino Uno is the foundational rite of passage into embedded systems. The classic Uno R3, powered by the 8-bit ATmega328P microcontroller, offers a forgiving 5V logic environment and a massive ecosystem of shields. However, as project requirements evolve toward high-speed data acquisition, wireless IoT telemetry, and edge machine learning, the ATmega328P's hardware limitations become a hard bottleneck.
The classic Uno R3 provides just 16MHz of clock speed, 32KB of Flash memory, and a severely constrained 2KB of SRAM. In 2026, a single 512-byte UART buffer combined with local variable overhead can easily trigger stack collisions, leading to unpredictable hardware resets. While the newer Arduino Uno R4 Minima upgrades the core to a 32-bit Renesas RA4M1 (48MHz, 32KB SRAM) as noted in the official Arduino documentation, it still lacks native wireless connectivity and advanced peripherals like USB-OTG or CAN bus found on cheaper alternatives.
Expert Insight: Migrating away from the Uno ecosystem does not mean abandoning the Arduino framework. The true power of modern embedded development lies in leveraging the Arduino API as a hardware abstraction layer (HAL) while targeting vastly superior 32-bit ARM and Xtensa architectures.
Platform Migration Matrix: Choosing Your Next Board
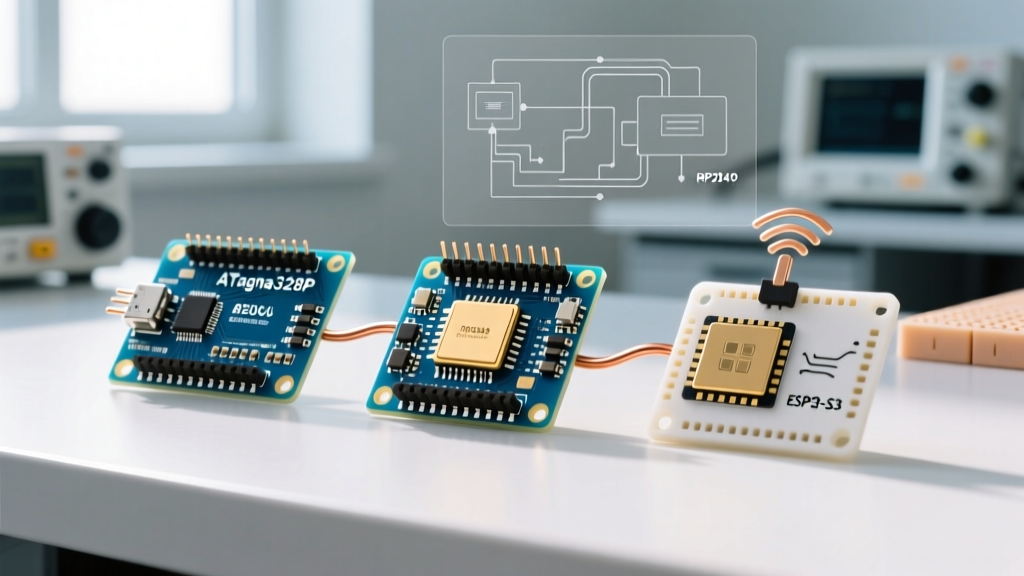
When outgrowing the Uno, your choice of destination platform depends entirely on your project's primary bottleneck. Below is a comparative matrix of the most common migration targets for former Uno developers.
| Feature | Arduino Uno R3 (Baseline) | ESP32-S3-DevKitC-1 | Raspberry Pi Pico W | Teensy 4.1 |
|---|---|---|---|---|
| Core Architecture | 8-bit AVR (16MHz) | Dual-Core Xtensa LX7 (240MHz) | Dual-Core ARM Cortex-M0+ (133MHz) | ARM Cortex-M7 (600MHz) |
| SRAM | 2 KB | 512 KB (+ PSRAM options) | 264 KB | 1 MB |
| Flash Memory | 32 KB | 8 MB (Typical Module) | 2 MB | 8 MB |
| Logic Level | 5V Tolerant | 3.3V (Strict) | 3.3V (Strict) | 3.3V (5V Tolerant I/O) |
| Wireless | None | Wi-Fi 4 + BLE 5.0 | Wi-Fi 4 + BLE 5.2 | None (Requires Module) |
| Approx. Cost (2026) | $27.00 | $9.50 | $6.00 | $33.50 |
Hardware Translation: Surviving the 5V to 3.3V Shift
The most immediate failure mode when migrating from an Uno to an ESP32 or RP2040 is logic level mismatch. The Uno operates at 5V, meaning its digital HIGH outputs push 5V to connected sensors. Feeding 5V into the GPIO pins of an ESP32-S3 will permanently destroy the silicon's ESD protection diodes, frying the microcontroller instantly.
The Level Shifter Mandate and I2C Pitfalls
To safely interface legacy 5V sensors (like the HC-SR04 ultrasonic sensor or standard 5V I2C LCDs) with a 3.3V board, you must use a bidirectional logic level shifter. The Texas Instruments TXS0108E is a popular choice, but it comes with a hidden trap for I2C communication.
- The TXS0108E Trap: This chip features internal pull-up resistors and edge-rate accelerators designed for high-speed SPI or UART. However, I2C requires specific pull-up values (typically 4.7kΩ) to maintain proper rise times on the SDA/SCL lines. The TXS0108E's internal circuitry can cause I2C bus contention and ACK failures.
- The I2C Solution: For I2C migration, use a dedicated MOSFET-based I2C level shifter (such as those based on the BSS138 N-channel MOSFET). These passively shift the voltage without interfering with the I2C open-drain architecture.
Peripheral Rewiring and ADC Non-Linearity
Another hardware shock is the Analog-to-Digital Converter (ADC). The Uno's ATmega328P features a basic 10-bit ADC that is reasonably linear. In contrast, the ESP32's 12-bit ADC is notoriously non-linear at the extremes of its voltage range (below 0.1V and above 3.1V). If your project relies on precision analog readings, migrating to the RP2040 and consulting the Raspberry Pi Pico datasheet for native ADC calibration routines, or using an external I2C ADC like the Adafruit ADS1115, is mandatory for reliable data.
Software Porting: Refactoring Legacy Code
While the Arduino IDE abstracts basic functions like digitalWrite() and delay(), deep hardware calls will break during migration. Here is how to refactor your codebase for 32-bit architectures.
Memory Management and PROGMEM
On the 8-bit AVR architecture, storing large strings or lookup tables in SRAM causes immediate memory exhaustion. Developers historically used the PROGMEM keyword and pgm_read_byte() macros to force data into Flash memory. When migrating to 32-bit ARM or Xtensa platforms, the Harvard architecture of the AVR is replaced by a unified Von Neumann memory map.
Refactoring Step: Remove all <avr/pgmspace.h> includes. Replace PROGMEM declarations with standard const arrays. Modern GCC compilers for 32-bit targets automatically place const variables into Flash memory, rendering AVR-specific memory macros obsolete and compilation-breaking.
PWM and Timer Abstractions
The Uno's analogWrite() function relies on hardware timers (Timer0, Timer1, Timer2). Modifying these timers for custom interrupt frequencies breaks core Arduino functions like millis(). The ESP32 handles PWM entirely differently via the LED Control (LEDC) peripheral.
While modern ESP32 Arduino cores attempt to map analogWrite() to the LEDC API under the hood, it often results in frequency mismatches for motor control. For precise PWM migration, explicitly define your channels using the ESP-IDF wrapper functions:
ledcSetup(channel, freq, resolution);
ledcAttachPin(gpio, channel);
ledcWrite(channel, dutycycle);
Toolchain Evolution: Graduating to PlatformIO
Sticking with the Arduino IDE 2.x for complex migrations is a disservice to your workflow. Managing multiple board cores, resolving conflicting library dependencies, and handling custom build flags is vastly superior in PlatformIO via Visual Studio Code.
According to the official PlatformIO documentation, the platform isolates project dependencies, ensuring that a library installed for your Uno project does not inadvertently break your ESP32 build. To migrate your toolchain, create a platformio.ini file in your project root:
[env:esp32-s3]
platform = espressif32
board = esp32-s3-devkitc-1
framework = arduino
lib_deps =
    adafruit/Adafruit Unified Sensor@^1.1.9
build_flags = -DCORE_DEBUG_LEVEL=4
This configuration locks your library versions and enables the ESP32's native debug logging, a critical feature for tracing the hardware faults that inevitably arise during platform migration.
Frequently Asked Questions
Can I use my existing 5V Arduino shields on an ESP32?
Physically, no. The pinout of the ESP32 and Raspberry Pi Pico differs entirely from the Uno's standard 14-digit/6-analog header layout. You will need to wire sensors manually or purchase platform-specific shield adapters. Electrically, you must use level shifters for any 5V logic inputs to prevent silicon damage.
Will my Uno libraries compile on the Raspberry Pi Pico?
Most high-level libraries (like those for I2C sensors or displays) will compile if they rely strictly on the standard Wire.h and SPI.h Arduino APIs. However, libraries that directly manipulate AVR registers (e.g., PORTB, DDRB) will fail. You must find Pico-compatible forks or rewrite the hardware abstraction layer using the RP2040 SDK.
Is the Arduino Uno R4 a viable alternative to migrating?
The Uno R4 WiFi is an excellent bridge device. It offers a 32-bit Cortex-M4, 256KB Flash, and an ESP32-S3 coprocessor for wireless tasks. However, at nearly $28, it is significantly more expensive than a standalone $6 Pico W or $9 ESP32-S3, making it less ideal for scaling into production or deploying multiple IoT nodes in the field.