
What Exactly Is the Arduino Uno?
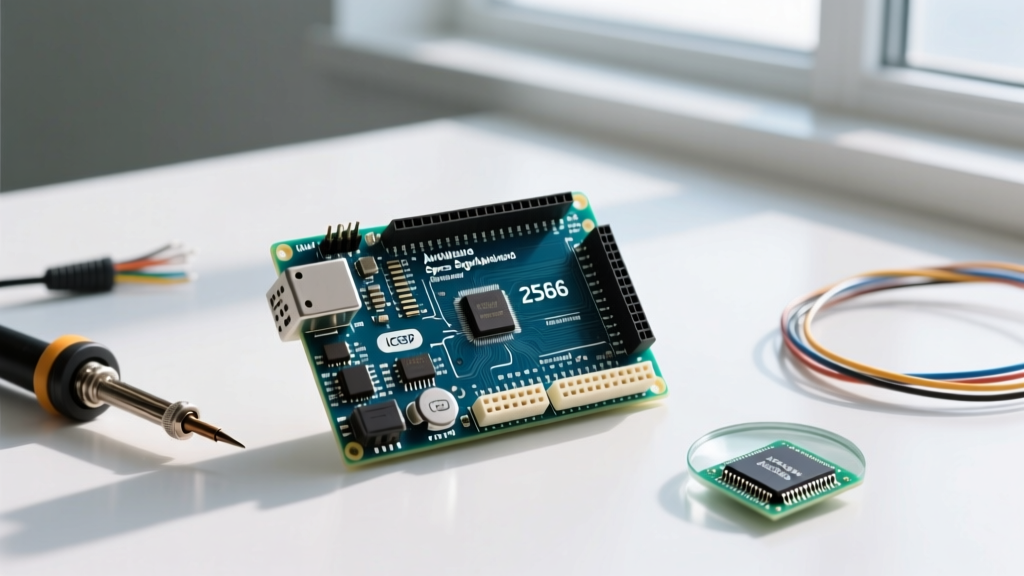
If you are stepping into the world of embedded systems, robotics, or DIY electronics, you have inevitably encountered the question: Arduino Uno, what is it? At its core, the Arduino Uno is a single-board microcontroller (MCU) designed to make hardware programming accessible to beginners, educators, and professional engineers alike. It serves as the 'brain' of your electronic projects, capable of reading inputs—like a finger on a capacitive touch sensor, light hitting a photoresistor, or a temperature reading—and translating those signals into outputs, such as driving a stepper motor, toggling an LED, or publishing data to the cloud.
Unlike a Raspberry Pi, which is a full single-board computer running an operating system like Linux, the Arduino Uno runs 'bare metal' code. When you upload a sketch (the Arduino term for a program), it executes immediately on boot without the overhead of an OS, making it incredibly reliable for real-time, low-latency hardware control.
Expert Insight: The true power of the Arduino Uno is not just the hardware itself, but the massive open-source ecosystem. The hardware schematics are open, and the software toolchain is supported by millions of community-written libraries, meaning you rarely have to write low-level register code from scratch.
The Brains of the Operation: ATmega328P vs. Modern Alternatives
For over a decade, the classic Arduino Uno Rev3 was defined by a single chip: the Microchip ATmega328P. This 8-bit AVR microcontroller operates at a clock speed of 16 MHz, driven by an onboard quartz crystal oscillator. It features 32 KB of ISP Flash memory, 2 KB of SRAM, and 1 KB of EEPROM. While these numbers sound microscopic compared to modern smartphones, they are more than sufficient for reading sensors, driving displays, and managing PID control loops.
However, as of 2026, the landscape has shifted. Arduino introduced the Uno R4 series (Minima and WiFi), which replaces the 8-bit AVR with a 32-bit Renesas RA4M1 ARM Cortex-M4 processor running at 48 MHz. This was a direct response to hobbyists demanding more RAM for complex tasks like audio processing and matrix LED displays.
Hardware Comparison: Which Uno Should You Buy?
| Feature | Uno Rev3 (Classic) | Uno R4 Minima (Modern) | Generic Clone (eBay/AliExpress) |
|---|---|---|---|
| Processor | ATmega328P (8-bit, 16 MHz) | Renesas RA4M1 (32-bit, 48 MHz) | ATmega328P (Often lower bin) |
| SRAM | 2 KB | 32 KB | 2 KB |
| Flash Memory | 32 KB | 256 KB | 32 KB |
| USB-to-Serial Chip | ATmega16U2 | Renesas RA4M1 (Native USB) | CH340G or CH340C |
| Average Price (USD) | $27.60 | $19.90 | $3.50 - $6.00 |
| Best For | Legacy tutorials, 5V logic | Complex math, DAC, high RAM | Tight budgets, high-risk prototypes |
Anatomy of the Board: Pinout and Power Constraints
Understanding the physical limitations of the board is where most beginners fail. According to the official Arduino Uno Rev3 Documentation, the board exposes 14 digital I/O pins and 6 analog input pins. However, treating these pins as infinite current sources is a fast track to destroying your microcontroller.
Strict Electrical Limits
- Per-Pin Current Limit: The absolute maximum DC current per I/O pin is 40 mA. However, Microchip's ATmega328P datasheet strongly recommends keeping continuous current draw to 20 mA per pin to prevent thermal degradation and voltage sag.
- Total VCC/GND Limit: The sum of all current sourced or sunk across all pins must not exceed 200 mA. If you try to power twenty LEDs directly from the digital pins, you will brown out the chip or melt the internal bonding wires.
- Vin and Barrel Jack Limits: The onboard NCP1117ST50T3G linear voltage regulator handles the barrel jack input (recommended 7V to 12V). Because it is a linear regulator, any voltage above 5V is burned off as heat. If you input 12V and draw 100mA from the 5V rail, the regulator must dissipate 0.7W of heat. Without a heatsink, it will trigger its internal thermal shutdown.
The 'Clone' Dilemma: Official vs. Third-Party Boards
Because the Arduino Uno hardware design is open-source, anyone can legally manufacture and sell their own version. This has led to a massive market of $4 clones. But what is the actual difference, and are they worth it?
The primary difference lies in the USB-to-Serial interface. Official boards use a dedicated ATmega16U2 microcontroller programmed as a USB bridge. This chip natively supports HID (Human Interface Device) protocols, allowing your Uno to act as a custom keyboard or mouse. Clones almost universally use the CH340G or CH340C chip to cut costs.
The Beginner Trap: While the CH340 is perfectly functional for uploading code, Windows and macOS often do not include native drivers for it. Beginners frequently plug in a clone board, open the Arduino IDE, and find the 'Port' menu grayed out. You must manually download and install the CH340 driver from the manufacturer (WCH) before the computer will recognize the board. Furthermore, clones often use counterfeit ATmega328P chips that may fail to enter the bootloader correctly or exhibit erratic ADC (Analog-to-Digital Converter) noise.
Your First Setup: Avoiding Common Failure Modes
When setting up your environment in the modern Arduino IDE 2.x, you will inevitably hit a few roadblocks. Here is how to troubleshoot the most common beginner failure modes:
1. The 'Port Grayed Out' or 'Access Denied' Error
If you are on Linux or macOS, the OS may restrict serial port access. On Linux, you must add your user to the dialout group using the terminal command: sudo usermod -a -G dialout $USER, then reboot. On Windows, ensure no other software (like Cura for 3D printing or another instance of the IDE) is holding the COM port hostage.
2. Bootloader Corruption
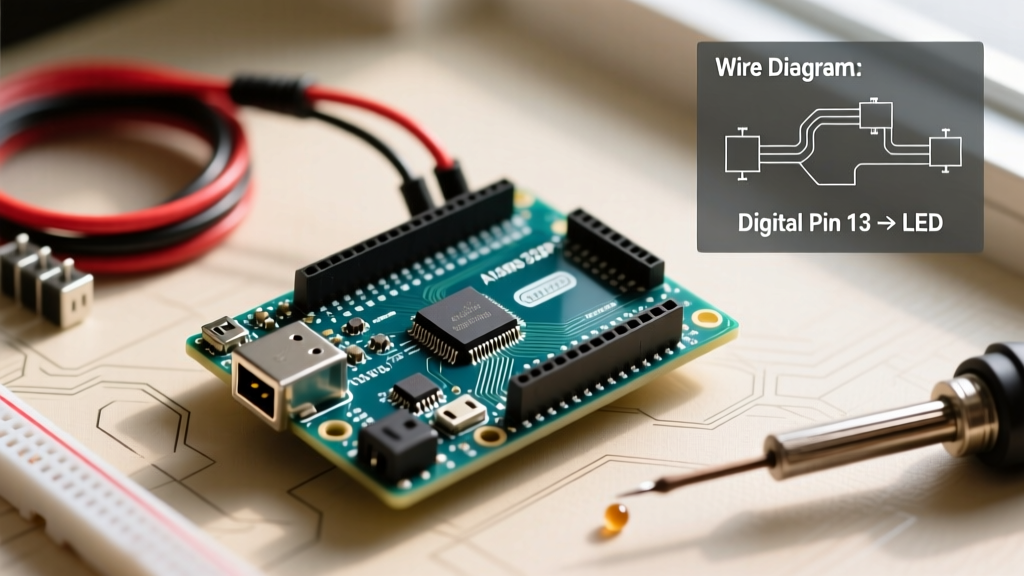
If you wire a component to Digital Pin 0 (RX) or Pin 1 (TX), the Uno uses these pins to communicate with the PC via USB. If an external sensor is pulling Pin 0 LOW during boot, the ATmega328P will fail to sync with the IDE, resulting in an avrdude: stk500_recv(): programmer is not responding error. Solution: Always disconnect wires from Pins 0 and 1 when uploading code.
3. The Magic Smoke: Wiring 5V to 3.3V Sensors
The classic Uno Rev3 is a 5V logic board. Many modern sensors, SD card modules, and ESP8266 Wi-Fi chips operate strictly at 3.3V. Connecting a 5V digital output directly to a 3.3V module's RX pin will permanently destroy the module's silicon. You must use a bi-directional logic level shifter (like the BSS138 MOSFET-based shifters) or a simple resistor voltage divider to drop the 5V signal down to a safe 3.3V.
Summary: Is the Arduino Uno Still Relevant?
Absolutely. While advanced users may eventually migrate to the ESP32 for Wi-Fi capabilities or the STM32 for raw processing power, the Arduino Uno remains the undisputed king of hardware education. Its physical footprint, standardized shield compatibility, and massive repository of community troubleshooting data make it the most cost-effective and frustration-free entry point into embedded electronics. Whether you choose the classic ATmega328P Rev3 or the modern 32-bit R4 Minima, mastering the Uno provides the foundational knowledge required to tackle any microcontroller platform on the market.
For further reading on sourcing authentic components and exploring the broader microcontroller ecosystem, check out the Official Arduino Store and always verify your component datasheets before applying power to your breadboard.