
The Evolution of the Arduino Uno Shield in 2026
The bare microcontroller board is rarely enough for real-world embedded systems. When selecting an arduino uno shield for your next project, you are essentially choosing the physical and electrical bridge between your microcontroller's logic and the high-power, high-noise realities of sensors, motors, and industrial buses. With the widespread adoption of the Arduino Uno R4 Minima and WiFi variants alongside the legacy R3, the shield ecosystem has matured significantly. However, not all shields are created equal, and hardware incompatibilities can silently destroy your setup.
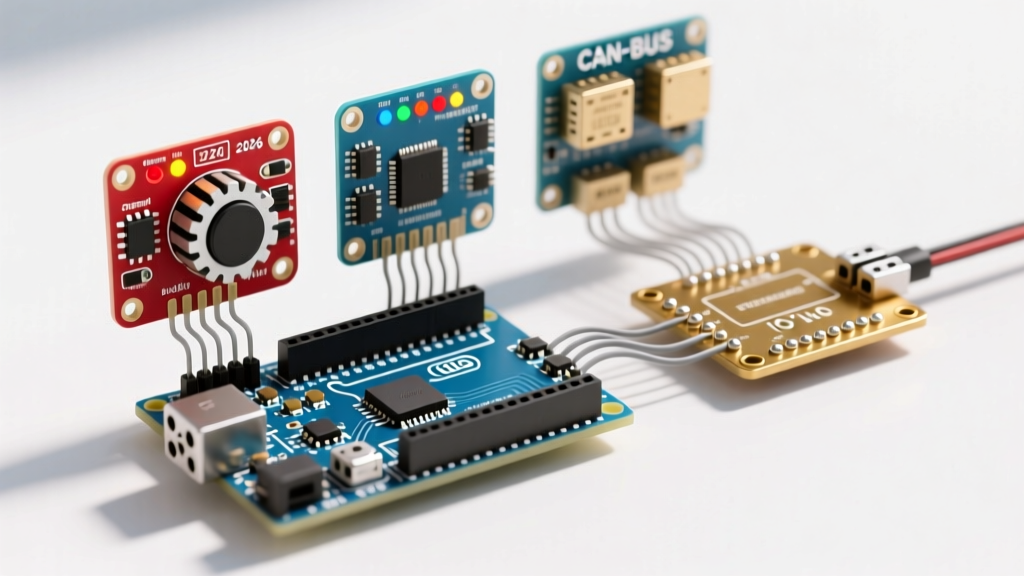
In this comprehensive board review and comparison, we evaluate three of the most critical shield categories for 2026: Motor Control, Sensor IO Expansion, and Automotive/Industrial CAN-BUS. We will dissect exact silicon, real-world pricing, and the specific failure modes that plague beginners and veterans alike.
Anatomy of a Perfect Shield Stack: R3 vs. R4 Compatibility
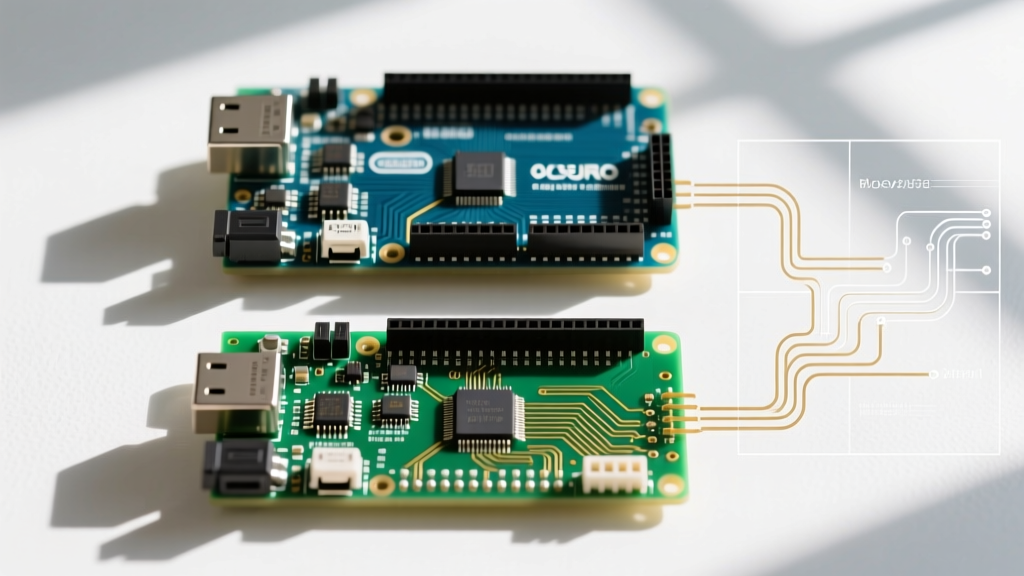
Before diving into specific models, we must address the elephant in the room: the transition from the 8-bit AVR ATmega328P (Uno R3) to the 32-bit ARM Cortex-M4 Renesas RA4M1 (Uno R4). While the physical 1.0 shield footprint (15-pin headers with 0.160" stacking height) remains identical, the underlying architecture has shifted.
Expert Warning: Older shields that rely on direct AVR port manipulation (e.g., writing directly to
PORTBorPORTDregisters) will completely fail on the Uno R4. Always opt for modern shields that communicate via standard protocols like I2C, SPI, or UART to ensure cross-platform longevity.
2026 Shield Showdown: The Top 3 Contenders
1. Adafruit Motor Shield V2.3 (Best for Actuation & Robotics)
Price: ~$24.50 | Protocol: I2C | Driver IC: PCA9685 (PWM) + TB6612FNG (MOSFET)
The Adafruit Motor Shield V2 remains the gold standard for driving DC motors and steppers. Unlike the disastrous V1 which relied on direct pin manipulation and L293D H-bridges (which dropped nearly 2V and overheated rapidly), the V2.3 utilizes an I2C PWM chip to handle motor control. This means it only uses two pins (SDA/SCL) on your Arduino, leaving the rest of your digital and analog pins completely free for other shields.
- Capacity: 4x DC motors (1.2A continuous, 3A peak per channel) or 2x Stepper motors.
- Voltage Range: 4.5V to 13.5V DC via the screw terminal.
- Standout Feature: Built-in flyback diodes and a dedicated 5V regulator for the logic level, preventing motor noise from resetting your Uno.
2. DFRobot IO Expansion Shield V7 (Best for Industrial Wiring)
Price: ~$12.90 | Protocol: I2C / Passthrough
If you have ever tried to cram 14 AWG wires into the tiny female headers of a standard Uno, you understand the necessity of the DFRobot IO Expansion Shield V7. This board breaks out every single pin of the Arduino Uno into rugged, industrial-grade screw terminals. It includes dedicated I2C and UART connectors with standard Grove/Xadow compatibility.
- Power Isolation: Features an onboard DC-DC converter capable of handling up to 2A, completely isolating your external 12V/24V sensor power from the Uno's fragile 5V rail.
- Standout Feature: Color-coded terminal blocks and a dedicated servo power rail with capacitor filtering to prevent brownouts when driving high-torque servos.
3. SparkFun CAN-BUS Shield V2.0 (Best for Automotive & Telemetry)
Price: ~$44.95 | Protocol: SPI | Controller: MCP2515 + MCP2551 Transceiver
For automotive diagnostics, tractor telemetry, or industrial robotics, the SparkFun CAN-BUS Shield is the premier choice. It interfaces with the Uno via the SPI bus (pins 10-13) and includes a standard DB9 connector wired to the CAN_H and CAN_L pins, complete with a 120-ohm termination resistor jumper.
- Peripherals: Includes a microSD card slot for local data logging and a joystick for menu navigation.
- Standout Feature: The MCP2551 transceiver is highly robust against ESD and voltage spikes common in 12V automotive environments, though it strictly requires a 5V logic level.
Head-to-Head Specification Matrix
| Feature | Adafruit Motor V2.3 | DFRobot IO Exp V7 | SparkFun CAN-BUS V2 |
|---|---|---|---|
| Primary Bus | I2C (Address 0x60) | I2C / Direct Passthrough | SPI (Pins 10-13) |
| Max External Power | 13.5V @ 3A (per channel) | 24V @ 2A (DC-DC) | 12V (Automotive Std) |
| Uno R4 Compatible? | Yes (I2C) | Yes (Passthrough) | Yes (SPI) |
| Stackability | Excellent (ICSP routed) | Poor (Top-mounted terminals) | Moderate (SD slot blocks) |
| Est. 2026 Price | $24.50 | $12.90 | $44.95 |
Critical Failure Modes When Stacking Shields
Stacking multiple shields on a single Arduino Uno is a rite of passage, but it introduces severe electrical risks. Here are the most common failure modes we see in the field:
1. The 5V Regulator Thermal Throttle
The onboard NCP1117 5V voltage regulator on the Arduino Uno is rated for 1A on paper. In reality, without a heatsink and with a 12V input (dropping 7V across the regulator), it will thermally throttle and shut down at around 300mA to 400mA. If your stacked shields attempt to draw power for sensors, relays, or displays from the 5V pin, you will experience random reboots or permanently fry the regulator. Solution: Always power high-draw shields via their dedicated VIN or external screw terminals, bypassing the Uno's onboard regulator entirely.
2. I2C Address Collisions
When stacking the Adafruit Motor Shield with an I2C OLED display or a BME280 sensor, you may encounter address collisions. The Motor Shield defaults to I2C address 0x60. If you need to stack two motor shields for an 8-wheel rover, you must manually alter the address.
- Locate the six pairs of copper jumper pads on the bottom left of the shield.
- Use a soldering iron with a fine chisel tip (e.g., 1.5mm) and 63/37 rosin-core solder.
- Bridge the specific pads to add binary offsets to the base address (e.g., bridging A0 changes the address to
0x61).
3. SPI Chip Select (CS) Pin Conflicts
If you stack the SparkFun CAN-BUS shield with an Ethernet shield (W5500), both will attempt to use the SPI bus. While the MOSI, MISO, and SCK pins are shared safely, the Chip Select (CS) pins must be unique. The CAN-BUS shield typically uses Pin 9 or 10 for CS. You must physically cut the default CS trace on the bottom of one shield and use a jumper wire to route it to an unused digital pin, updating your C++ library initialization accordingly.
Prototyping vs. Production: When to Ditch the Shield Format
While an arduino uno shield is unbeatable for rapid prototyping, it is a poor choice for final production deployment. Consider the economics of a 2026 commercial IoT sensor node:
- Prototype Cost: Arduino Uno R4 WiFi ($27.50) + DFRobot IO Shield ($12.90) + Enclosure = ~$55.00 per unit.
- Production Cost: Custom PCB designed in KiCad integrating the ATmega328P-AU (SMD), MCP2551, and screw terminals. Fabricated via JLCPCB/PCBWay = ~$8.50 per unit (at 100-piece volume).
Shields introduce mechanical points of failure (header vibration, oxidation) and unnecessary spatial overhead. Once your code is stable and your pinout is finalized, migrate to a custom carrier board.
Frequently Asked Questions (FAQ)
Can I use a 3.3V shield on a 5V Arduino Uno?
Directly plugging a 3.3V I2C or SPI shield into a 5V Uno will eventually degrade the 3.3V shield's silicon due to overvoltage on the data lines. You must use a bi-directional logic level converter (like the BSS138 MOSFET-based shifters) between the Uno and the shield's data pins.
Why does my Uno reset when my motor shield engages?
This is caused by inductive kickback or voltage sag. When a DC motor starts, it draws a massive stall current (often 3x to 5x its running current). If the motor power is sourced from the same battery as the Uno, the voltage dips below the Uno's brown-out detection (BOD) threshold of 2.7V, triggering a reset. Use separate power supplies or add a 2200µF electrolytic capacitor across the shield's power terminals.
Are there shields compatible with both Uno and Mega?
Yes, most modern shields utilize the standard R3 footprint and route the SPI bus through the 6-pin ICSP header rather than pins 11-13. Since the Mega2560 shares the same ICSP pinout and the first 54 pins of the R3 layout, these shields are fully cross-compatible. Always check the manufacturer's documentation for ICSP routing before purchasing.