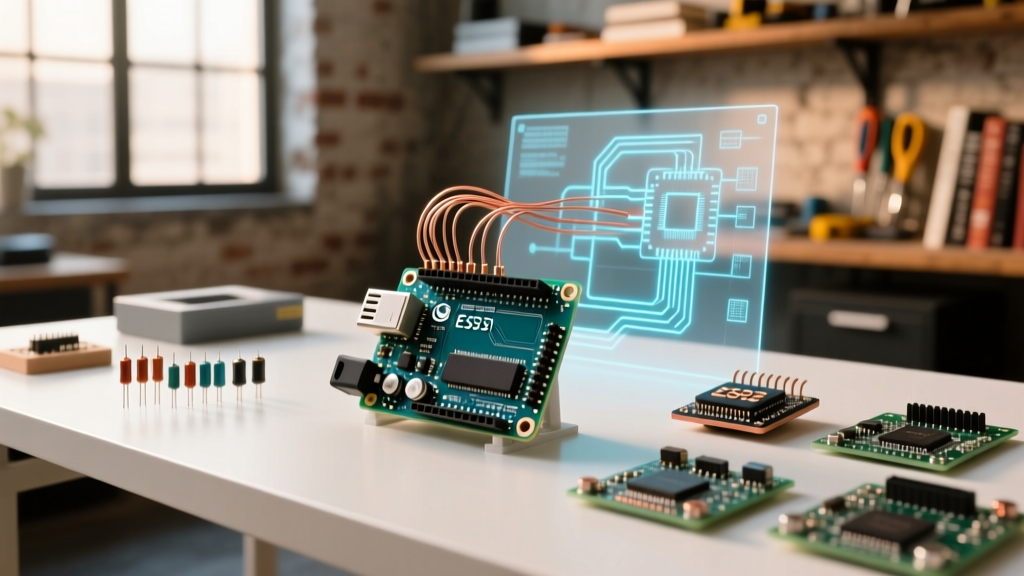

The Baseline: Arduino Uno Power Consumption Realities
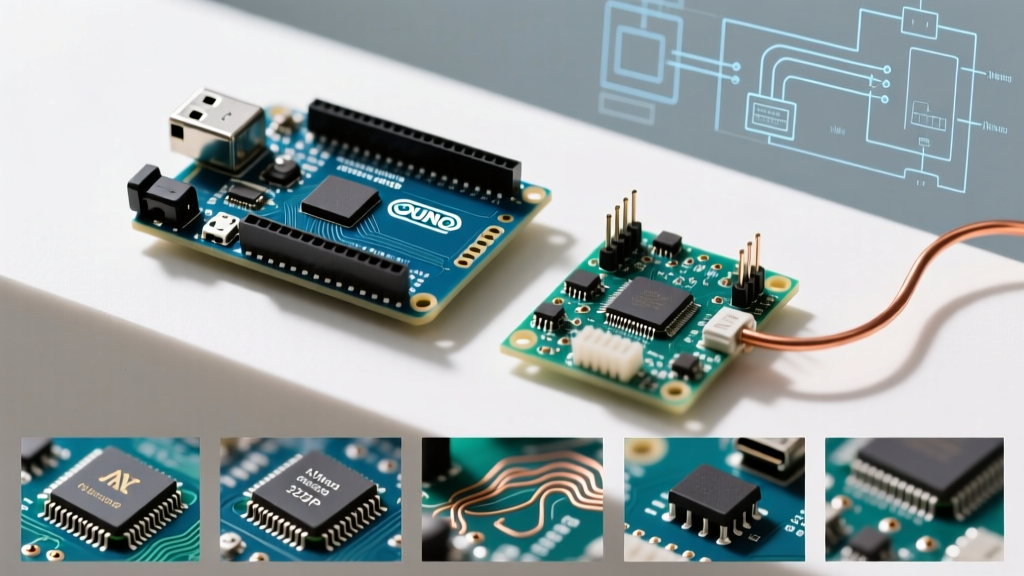
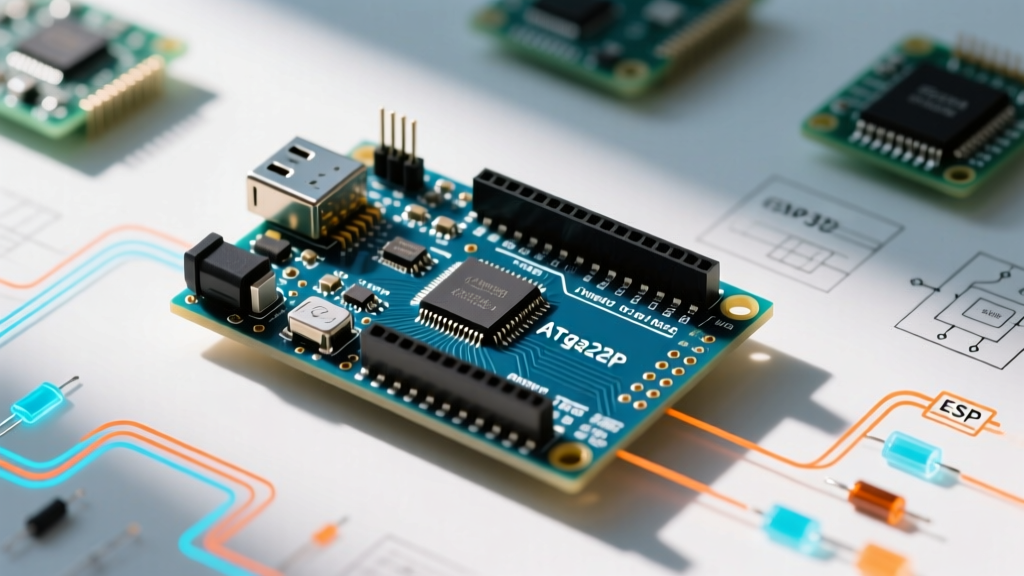
When makers first transition from USB-tethered prototypes to remote, battery-powered sensor nodes, the arduino uno power envelope often becomes a harsh reality check. A stock Arduino Uno R3 drawing ~45mA in active mode will drain a standard 2000mAh 18650 lithium-ion cell in less than two days. However, by leveraging community-developed libraries and forum-sourced hardware modifications, you can push the ATmega328P (and the newer Renesas RA4M1 on the Uno R4) into micro-amp sleep states, extending battery life to months or even years.
In 2026, the community ecosystem has matured significantly. While the official Arduino IDE provides basic clock control, true low-power optimization requires tapping into the microcontroller's hardware sleep modes via specialized, open-source libraries maintained by the maker community.
Power State Comparison: ATmega328P vs. Renesas RA4M1
Understanding the silicon is the first step. The community has extensively documented the differences between the classic AVR architecture (Uno R3) and the ARM Cortex-M4 architecture (Uno R4 Minima). Below is a breakdown of the theoretical minimums achievable via community libraries before accounting for onboard peripheral drain.
| Microcontroller | Active Mode (5V) | Idle Sleep | Power-Down / Deep Sleep | Wake-Up Sources |
|---|---|---|---|---|
| ATmega328P (Uno R3) | ~20 mA | ~5 mA | 0.1 µA (Core only) | INT0/INT1, Pin Change, WDT |
| Renesas RA4M1 (Uno R4 Minima) | ~12 mA (48MHz) | ~3 mA | ~1.5 µA (Software Standby) | IRQ Pins, RTC, WDT |
Note: Data sourced from the Microchip ATmega328P Datasheet and Arduino Uno R4 Minima Documentation. Core currents do not include onboard voltage regulators or USB-serial bridge chips.
Essential Community Libraries for Deep Sleep
The official Arduino API lacks native, easy-to-use functions for AVR sleep modes. The community stepped in to fill this gap, creating robust wrappers that handle register manipulation, ADC disabling, and Brown-Out Detector (BOD) management.
1. rocketscream/Low-Power (The AVR Standard)
For the Uno R3, the rocketscream/Low-Power library remains the undisputed gold standard in 2026. It provides a simple API to trigger the ATmega328P's power-down mode.
- Key Function:
LowPower.powerDown(SLEEP_8S, ADC_OFF, BOD_OFF); - How it works: It disables the Analog-to-Digital Converter (saving ~150µA) and turns off the Brown-Out Detection circuit (saving ~20µA), then engages the Watchdog Timer (WDT) to wake the chip after 8 seconds.
- Edge Case: The WDT hardware limit is 8 seconds. For longer sleep durations, the community standard practice is to wrap this function in a
forloop (e.g., looping 15 times for a 2-minute sleep).
2. ArduinoLowPower (For Uno R4 / ARM Cortex)
With the massive adoption of the Uno R4 Minima, the community pivoted to ARM-based power management. The Renesas RA4M1 uses 'Software Standby' and 'Snooze' modes rather than AVR power-down.
- Key Function:
LowPower.deepSleep(); - Advantage: The R4 Minima lacks the ATmega16U2 USB-to-Serial bridge chip found on the R3, instantly eliminating ~10mA of parasitic drain, making the community sleep libraries vastly more effective on this board out-of-the-box.
⚠️ The LDO Quiescent Current Trap
A frequent trap for beginners discussed on the Arduino forums is ignoring the onboard NCP1117-5.0 Linear Voltage Regulator. Even if the ATmega328P is drawing 0.1µA in power-down, the NCP1117 has a quiescent current of ~4.5mA. If you power your Uno via the 'Vin' pin or the barrel jack, your battery will still drain in weeks. Community Solution: Bypass the LDO entirely by feeding a regulated 3.3V-5V directly into the '5V' pin, or physically remove the LDO for extreme low-power nodes.
Hardware Modifications Dictated by Forum Wisdom
Software libraries can only put the microcontroller to sleep; they cannot turn off the surrounding support circuitry on the Uno PCB. To achieve true micro-amp arduino uno power draws, the community recommends the following hardware modifications for the Uno R3:
- Remove the Power LED: The ON LED and its current-limiting resistor draw ~12mA continuously. Desoldering it or cutting the trace is mandatory for battery nodes.
- Isolate the USB-Serial Bridge: The ATmega16U2 chip stays awake even when the main 328P is sleeping. Cutting the 'USB-VCC' trace or physically removing the 16U2 chip eliminates its ~10mA idle draw.
- Remove TX/RX LEDs: If using hardware serial in your wake cycles, these LEDs will flash and drain current. Desolder them if serial debugging is no longer needed in the field.
Step-by-Step: Deploying an 8-Second WDT Sleep Loop
Here is a practical, community-validated workflow for deploying a soil moisture sensor that wakes every 8 minutes, takes a reading, transmits via LoRa, and returns to sleep.
Step 1: Hardware Preparation
Power the Uno R3 directly via the 5V pin using a 3.7V LiPo battery stepped up to 5V via an external, high-efficiency switching regulator (like the Pololu S7V7F5, which has a quiescent current of just 0.1mA, unlike the onboard LDO). Ensure the power LED is removed.
Step 2: Library Implementation
Install the Low-Power library via the Arduino Library Manager. Implement the WDT loop in your setup() or main loop():
#include 'LowPower.h'

void enterDeepSleep() {
  // Disable ADC
  ADCSRA = 0;

  // Sleep for approx 8 minutes (60 loops * 8 seconds)
  for (int i = 0; i < 60; i++) {
    LowPower.powerDown(SLEEP_8S, ADC_OFF, BOD_OFF);
  }
}
Step 3: Wake-Up Interrupt Configuration
If your sensor needs to wake on an external event (e.g., a rain gauge tipping), you must attach an interrupt before sleeping. The community warns that attachInterrupt() must be called before the sleep function, and the pin must be pulled high/low with a resistor to prevent floating states from causing phantom wake-ups.
Step 4: Multimeter Validation
Use a multimeter capable of micro-amp resolution (like the Keithley DMM6500 or a standard UNI-T UT61E+). Measure the current inline on the positive battery lead. You should see spikes to ~25mA during the 2-second awake/transmit phase, and a baseline of 0.15mA - 0.3mA during the sleep phase.
Navigating 2026 Community Support Channels
When your sleep code fails or your Uno wakes up randomly, knowing where to ask for help is crucial. The landscape has shifted over the last few years:
- Arduino Forum (Hardware & AVR Sections): Still the best repository for legacy ATmega328P edge cases. Search for threads by users like 'Nick Gammon', whose extensive power-saving guides remain the foundational texts for AVR sleep modes.
- Reddit (r/arduino & r/AskElectronics): Ideal for quick schematic reviews and debugging parasitic drain issues. Use the flair 'Low Power' to filter for relevant experts.
- Discord (Arduino Community Server): The fastest way to get real-time help with Uno R4 Renesas sleep mode bugs, as the ARM architecture requires different register configurations that are still being actively documented by early adopters.
Frequently Asked Questions
Can I use the internal RTC of the Uno R4 to wake from deep sleep?
Yes. The Renesas RA4M1 on the Uno R4 Minima features an independent Real-Time Clock (RTC) that can remain active in Software Standby mode. Community libraries like RTC.h paired with ArduinoLowPower allow you to set an alarm interrupt, eliminating the need for the 8-second WDT loop required on the older Uno R3.
Why does my Uno wake up immediately after calling LowPower.powerDown?
This is a classic edge case. If you have Serial.begin(9600) active and data is arriving on the RX pin (Pin 0), or if you have an un-debounced mechanical switch on an interrupt pin, the microcontroller will trigger a Pin Change Interrupt and wake instantly. Always detach serial and stabilize interrupt pins before calling the sleep function.
Is the Uno R4 WiFi suitable for battery-powered sleep nodes?
Generally, no. While the RA4M1 core can sleep, the ESP32-S3 coprocessor on the Uno R4 WiFi board has its own power requirements and quiescent draw. For ultra-low-power battery nodes in 2026, the community overwhelmingly recommends the Uno R4 Minima or dedicated ESP32-C3 boards, reserving the WiFi variant for mains-powered or large solar-buffered projects.