
Why Migrate to the ESP8266?
For over a decade, the ATmega328P-based Arduino Uno was the default prototyping board for makers and engineers. However, as IoT requirements became standard, the lack of native connectivity became a major bottleneck. Running Arduino on ESP8266 via the community-maintained core allows you to use the familiar Arduino IDE while leveraging the ESP8266EX's 80 MHz (overclockable to 160 MHz) Tensilica L106 core and built-in 802.11 b/g/n radio.
In 2026, while the ESP32 dominates complex edge-AI and dual-core tasks, the ESP8266 (specifically the Wemos D1 Mini and NodeMCU v3 form factors) remains the undisputed ultra-budget champion for simple sensor-to-cloud telemetry. Migrating your existing AVR codebase to the ESP8266 requires understanding critical hardware and software differences to avoid silicon damage and runtime crashes.
Hardware Architecture & Pinout Mapping
The most common mistake when migrating from an Arduino Uno to an ESP8266 is assuming pin compatibility. The ESP8266 operates at 3.3V logic, whereas the Uno uses 5V. Feeding 5V into an ESP8266 GPIO pin will permanently destroy the silicon.
| Feature | Arduino Uno (ATmega328P) | NodeMCU / D1 Mini (ESP8266EX) |
|---|---|---|
| Operating Voltage | 5V Logic | 3.3V Logic (5V tolerant on some pins) |
| Clock Speed | 16 MHz | 80 MHz (Default) / 160 MHz |
| Flash Memory | 32 KB | 4 MB (Typical Wemos/NodeMCU) |
| SRAM | 2 KB | ~50 KB usable |
| ADC Resolution | 10-bit (0-5V range) | 10-bit (0-1V range strictly) |
| Wi-Fi | None | 802.11 b/g/n (2.4 GHz) |
Expert Hardware Tip: If your legacy project relies on 5V sensors (like the HC-SR04 ultrasonic sensor or standard 5V I2C LCDs), you must use a bidirectional logic level shifter (such as the BSS138 MOSFET-based modules or the CD4050 buffer) to safely interface them with the ESP8266's 3.3V GPIOs.
Step-by-Step IDE & Filesystem Configuration
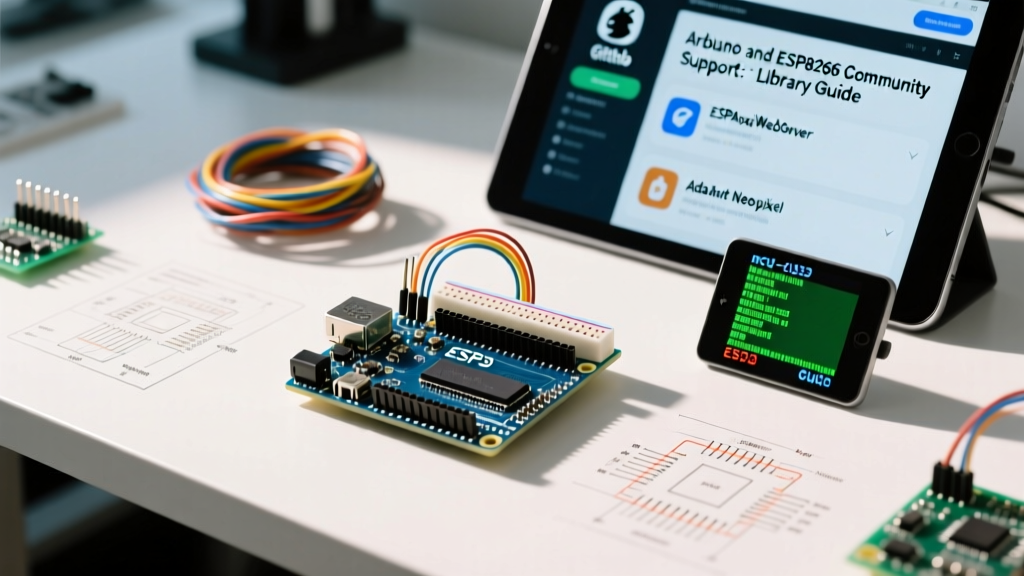
To run Arduino on ESP8266, you must install the community core. Espressif does not maintain this core directly; it is managed by the open-source community via the ESP8266 Community Arduino Core GitHub repository.
- Open the Arduino IDE (version 2.3.x or newer recommended for 2026 workflows).
- Navigate to File > Preferences and paste the following into the Additional Boards Manager URLs:
http://arduino.esp8266.com/stable/package_esp8266com_index.json - Open the Boards Manager, search for esp8266, and install the latest 3.x release.
- Select your specific board (e.g., LOLIN(WEMOS) D1 R2 & mini or NodeMCU 1.0).
Filesystem Migration: SPIFFS to LittleFS
If your legacy code uses SPIFFS for storing web server assets or configuration JSON files, you must migrate to LittleFS. As of the 3.0 core release, SPIFFS is fully deprecated due to wear-leveling inefficiencies and memory overhead. Simply replace #include and SPIFFS.begin() with #include and LittleFS.begin(). Ensure you use the LittleFS upload plugin for the Arduino IDE to flash your data partition correctly.
Critical Code Migration Pitfalls
Migrating code is rarely as simple as changing the board selection and clicking upload. The ESP8266 runs a background Real-Time Operating System (RTOS) to manage the Wi-Fi stack. Your Arduino loop() is essentially a task running alongside this RTOS. Ignoring this architecture leads to three primary failure modes.
1. The ADC Voltage Trap
The Arduino Uno's analog pins read 0-5V, mapping to 0-1023. The ESP8266 has a single analog pin (A0), but its internal ADC maxes out at 1.0V. Applying 3.3V or 5V to A0 will yield a flat 1023 reading and may degrade the internal multiplexer over time. To read a 3.3V battery voltage or a standard 3.3V sensor, you must build a voltage divider. A 220kΩ and 100kΩ resistor pair will safely scale a 3.3V signal down to ~1.03V, which you can then calibrate in software.
2. Watchdog Timer (WDT) Resets
The ESP8266 hardware watchdog timer will reset the chip if it is not fed within a specific timeframe (typically under 3 seconds). If your legacy code uses long blocking delays (e.g., delay(5000)) or extensive while() loops waiting for a serial response without yielding, the ESP8266 will reboot with a wdt reset exception in the serial monitor.
The Fix: Never use delay() for long pauses. Instead, use non-blocking timing with millis(). If you must use a blocking loop, insert yield(); or delay(0); inside the loop to pass control back to the Wi-Fi stack.
3. Memory Fragmentation & Strings
The ESP8266 has vastly more RAM than the Uno (~50KB vs 2KB), but it is heavily utilized by the Wi-Fi buffers. Using the Arduino String object for heavy JSON parsing or HTTP payload concatenation causes severe heap fragmentation, leading to Soft WDT reset or Exception 29 (StoreProhibited) crashes after a few hours of runtime.
The Fix: Use String.reserve() to pre-allocate memory before concatenation, or better yet, migrate to standard C-style char arrays and functions like snprintf() for payload construction. For JSON, use the ArduinoJson library with JsonDocument properly sized to your exact payload requirements.
Power Delivery & Brownout Prevention
According to the official Espressif ESP8266 specifications, the chip can draw current spikes up to 350mA during peak Wi-Fi transmission (RF TX). Many cheap clone NodeMCU boards use substandard AMS1117-3.3 linear voltage regulators that overheat or drop voltage when powered via USB, especially if the USB port cannot supply consistent current.
When the voltage dips below 2.9V, the internal brownout detector triggers, causing the infamous boot-loop where the blue LED flashes rapidly and the serial monitor prints rl or garbage characters.
- Hardware Fix: Solder a 470µF low-ESR electrolytic capacitor directly across the
3V3andGNDpins on the dev board to act as a local energy reservoir for RF spikes. - Software Fix: In the Arduino IDE Tools menu, set WiFi TX Power to a lower dBm value (e.g., 10dBm instead of 20.5dBm) if your router is close by, drastically reducing peak current draw.
Deep Sleep Wiring Requirements
For battery-operated IoT nodes, deep sleep is mandatory. The ESP8266 can drop its current consumption to roughly 20µA in deep sleep. However, unlike modern microcontrollers that can wake from any interrupt pin, the ESP8266 requires a hard reset to wake up.
To enable timer-based wakeups, you must physically wire GPIO16 (labeled D0 on NodeMCU/Wemos boards) directly to the RST pin. Without this physical jumper wire, the chip will enter deep sleep but will never wake up, requiring a manual button press to reset. Note that GPIO16 cannot be used for standard I/O or PWM when configured for deep sleep wake.
2026 Component Sourcing & Costs
When planning a platform migration for a production run or large-scale deployment, cost and availability are key. As of 2026, the ESP8266 remains highly available despite being an older architecture.
- Wemos D1 Mini Clones (CH340G USB-UART): ~$2.80 - $3.50 per unit on AliExpress/bulk marketplaces. Ideal for tight enclosures.
- NodeMCU v3 (CP2102 USB-UART): ~$4.00 - $4.80 per unit. Better for breadboarding due to wider pin spacing.
- Bare ESP-12F Modules: ~$1.90 per unit. Requires custom PCB design with an integrated 3.3V LDO and USB-to-Serial auto-program circuit for production.
By migrating your Arduino projects to the ESP8266, you unlock native cloud connectivity and vastly superior processing power, provided you respect the 3.3V logic constraints and RTOS background task requirements detailed in this guide. For deeper architectural reference, consult the ESP8266 Arduino Core Documentation.