
Why the Arduino Nano Every Changed the Prototyping Game
For over a decade, the classic Arduino Nano was the undisputed king of breadboard-friendly microcontrollers. However, as projects grew more complex, the limitations of its aging ATmega328P chip became apparent. Enter the Arduino Nano Every. Designed as the ultimate 'everyday' board for hobbyists and students, it retains the exact same 18mm x 45mm physical footprint as its predecessor but completely overhauls the internal architecture.
In this comprehensive beginner guide, we will walk through the hardware setup, wiring best practices, and the critical software differences you need to know to avoid common compilation errors. Whether you are building a simple LED matrix or a sensor-logging weather station, mastering this board is your gateway to efficient embedded design.
Quick Specs Snapshot: ATmega4809
- Microcontroller: Microchip ATmega4809 (megaAVR 0-series)
- Operating Voltage: 5V Logic
- Flash Memory: 48 KB (vs 32 KB on classic Nano)
- SRAM: 6 KB (vs 2 KB on classic Nano)
- Clock Speed: 20 MHz
- USB Interface: ATSAMD11C14A (ARM Cortex-M0+)
- Current Pricing (2026): ~$11.50 (Official) | ~$5.50 (Third-party clones)
Classic Nano vs. Nano Every: The Hardware Shift
Understanding the differences between the classic Nano and the Nano Every is crucial for selecting the right board and troubleshooting legacy code. The most significant change is the jump to Microchip's megaAVR 0-series architecture, which introduces a modern peripheral system and vastly more memory.
| Feature | Classic Nano (ATmega328P) | Nano Every (ATmega4809) |
|---|---|---|
| Flash Memory | 32 KB | 48 KB |
| SRAM | 2 KB | 6 KB |
| EEPROM | 1 KB (Dedicated) | 256 Bytes (Emulated in Flash) |
| USB-to-Serial Chip | FT232RL or CH340 | ATSAMD11C14A (ARM Cortex-M0+) |
| I2C Pins | A4 (SDA), A5 (SCL) | A4/A5 and dedicated SDA/SCL pins |
Step-by-Step Hardware and IDE Setup
Getting your Nano Every recognized by your computer requires a slightly different approach than the classic Nano, primarily due to the new megaAVR core architecture.
1. Installing the Correct Board Core
Out of the box, the Arduino IDE might not show the Nano Every in the default boards list. You need to install the specific megaAVR core.
- Open Arduino IDE 2.x (ensure you are using the modern 2.x branch for best compatibility).
- Navigate to Tools > Board > Boards Manager.
- Search for
Arduino megaAVR Boardsand click Install. (You can also track core updates via the official Arduino megaAVR GitHub repository). - Go to Tools > Board > Arduino megaAVR Boards and select Arduino Nano Every.
- Crucial Step: Under Tools > Registers Emulation, select ATMEGA328. This enables a software compatibility layer that allows older libraries to compile by mapping legacy registers to the new architecture. If you leave this on 'None', many third-party libraries will fail to compile.
2. Wiring Your First Circuit
The Nano Every is breadboard-friendly. When plugging it in, ensure the USB connector faces the edge of the breadboard. For a standard LED blink test:
- Connect a 220Ω resistor to Digital Pin 13 (D13).
- Connect the anode (long leg) of the LED to the resistor.
- Connect the cathode (short leg) to the GND rail.
- Plug the board into your PC via a data-capable Micro-USB cable. (Power-only cables are the #1 cause of 'board not found' errors).
Software Quirks: The ATmega4809 Learning Curve
The most common stumbling block for beginners migrating to the Nano Every is code compilation failure. This is almost always due to direct port manipulation.
"The ATmega4809 abandons the legacy AVR port architecture. If you try to use
PORTBorDDRBwithout the emulation layer enabled, the compiler will throw a 'not declared in this scope' error."
Understanding VPORT and PORTMUX
In the legacy ATmega328P, you manipulated hardware registers directly (e.g., PORTB |= (1 << 5);). The megaAVR 0-series uses a new system called VPORT (Virtual Ports) and PORTMUX for routing peripherals. If you are writing high-speed code and need direct register access, you must use the new syntax:
VPORTB.OUT |= PIN5_bm;
For 95% of beginners, sticking to standard Arduino functions like digitalWrite(), analogRead(), and pinMode() will completely bypass this issue, as the core handles the translation automatically. You can explore the full silicon capabilities in the official Microchip ATmega4809 product documentation.
Power Delivery and Voltage Limits
Misunderstanding the power rails on the Nano Every is a fast track to frying your board or attached sensors. Here is the exact breakdown of how to power the board safely:
- USB Power (5V): The safest method. The board draws power directly from the USB port, regulated down to the required logic levels.
- VIN Pin (7V - 12V Recommended): Use this when powering the board from a battery pack or wall adapter. The onboard linear regulator will drop this voltage to 5V. Warning: Do not exceed 12V under heavy load, or the regulator will overheat and trigger thermal shutdown.
- 5V Pin (Bypass): This pin outputs 5V when powered via USB/VIN. However, if you feed 5V directly into this pin, you are bypassing the onboard regulator and USB protection diodes. Ensure your external 5V source is incredibly clean and never exceeds 5.5V, or you will instantly destroy the ATmega4809.
- 3.3V Pin: The Nano Every features a dedicated 3.3V output pin. However, it is limited to roughly 50mA. It is sufficient for low-power sensors (like a BME280) but will brownout if you try to power an ESP-01 or a cellular module.
Decision Framework: Is the Nano Every Right for Your Project?
With dozens of microcontrollers available in 2026, how do you know if the Nano Every is the correct choice? Use this quick framework:
| Project Requirement | Recommended Board | Why? |
|---|---|---|
| Simple 5V logic, basic sensors, learning C++ | Arduino Nano Every | Perfect balance of 5V compatibility, low cost, and breadboard form factor. |
| Wi-Fi / Bluetooth IoT connectivity | ESP32-C3 or ESP32-S3 | Nano Every lacks native wireless radios. ESP32 offers built-in RF. |
| High-speed audio processing or complex math | Raspberry Pi Pico (RP2040) | 32-bit ARM Cortex-M0+ dual-core at 133MHz vastly outperforms the 8-bit AVR. |
| Strict legacy shield compatibility | Classic Arduino Nano | Some ancient shields rely on exact ATmega328P hardware quirks. |
Real-World Troubleshooting & Edge Cases
Even with the best setup, beginners encounter specific hardware and software snags. Here is how to resolve the most common Nano Every failure modes:
1. 'Board Not Recognized' or Missing COM Port
Unlike the classic Nano which used a dedicated FTDI or CH340 chip, the Every uses the ATSAMD11C14A. If the firmware on this USB bridge gets corrupted (often due to a short circuit on the 5V rail), the board will vanish from your OS. Fix: You will need a second Arduino to act as an ISP programmer to re-flash the SAMD11 bootloader via the ICSP headers.
2. Upload Fails with 'Timeout' or 'Programmer Not Responding'
The Nano Every does not use the traditional 1200-bps software reset trick in the exact same way as the Leonardo or Micro. If the upload hangs:
- Press the physical RESET button twice quickly. The onboard LED will pulse, indicating the bootloader is active and waiting for code.
- Immediately click 'Upload' in the IDE while the LED is pulsing.
3. I2C Devices Not Communicating
Because the Nano Every operates at strict 5V logic, connecting a 3.3V I2C sensor (like an MPU6050 or OLED display) directly to A4/A5 can damage the sensor over time or cause data corruption due to voltage threshold mismatches. Fix: Always use a bi-directional logic level converter (like the BSS138 MOSFET-based shifters) between the Nano Every's 5V I2C pins and your 3.3V sensors.
Frequently Asked Questions (FAQ)
Can I use the Nano Every with a solderless breadboard?
Yes. The pin spacing is exactly 0.6 inches (15.24mm) wide, which perfectly straddles the center ditch of a standard 830-point or 400-point solderless breadboard, leaving one row of holes free on each side for jumper wires.
Does the Nano Every have a built-in LED?
Yes, there is a built-in LED connected to Digital Pin 13 (D13), just like the classic Nano. There is also an 'L' LED for the TX/RX serial activity and an 'ON' power indicator.
Where can I buy genuine boards versus clones?
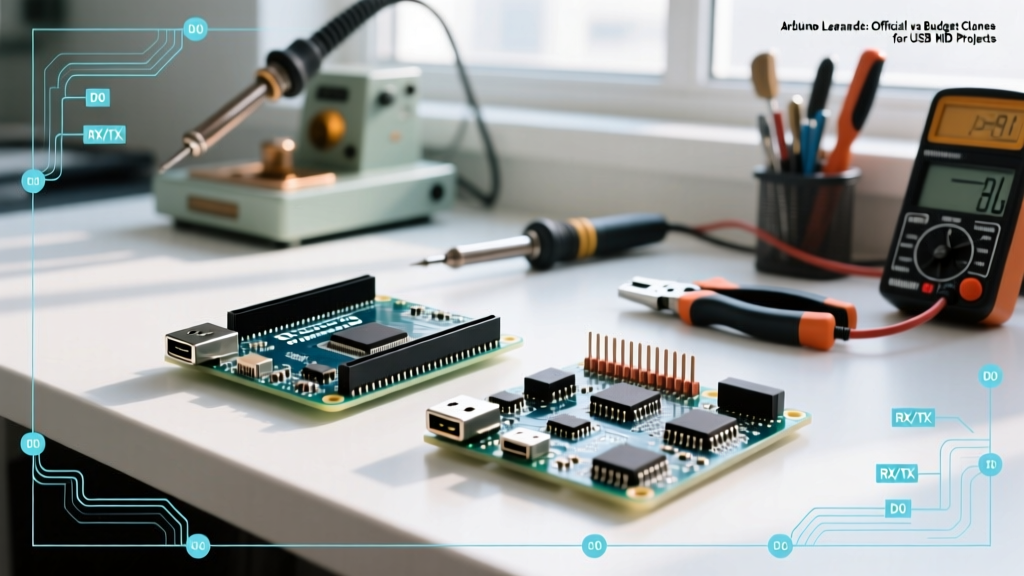
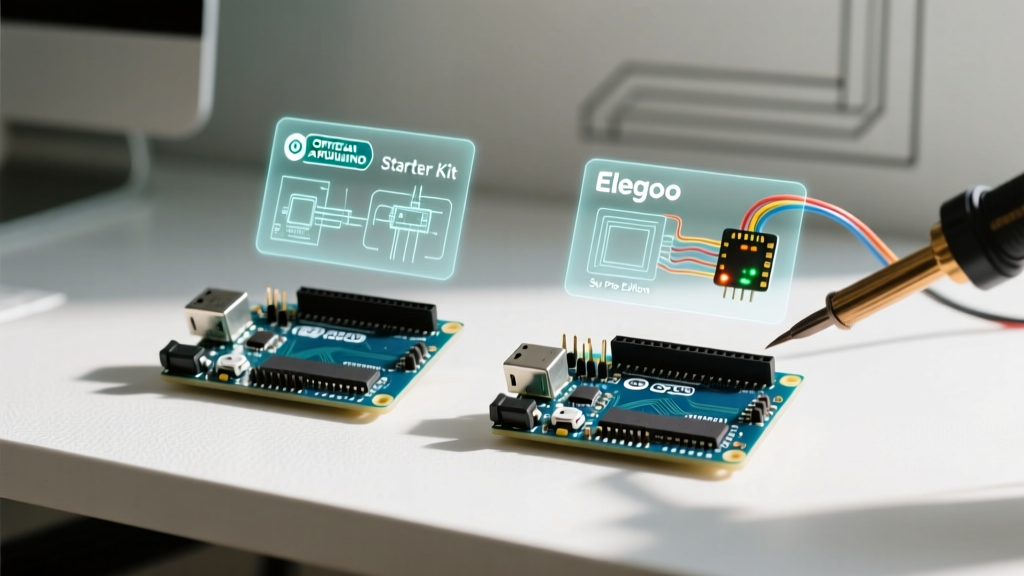
Genuine boards can be purchased directly from the official Arduino Store or authorized distributors like DigiKey and Mouser for around $11.50. Third-party clones using the exact same ATmega4809 silicon are widely available on Amazon and AliExpress for $5.00 to $6.50. Clones are generally fine for learning, but genuine boards support the Arduino foundation and feature higher-quality USB-C/Micro-USB connectors and voltage regulators.