
Why Migrate? The Shift from Nano to Micro in 2026
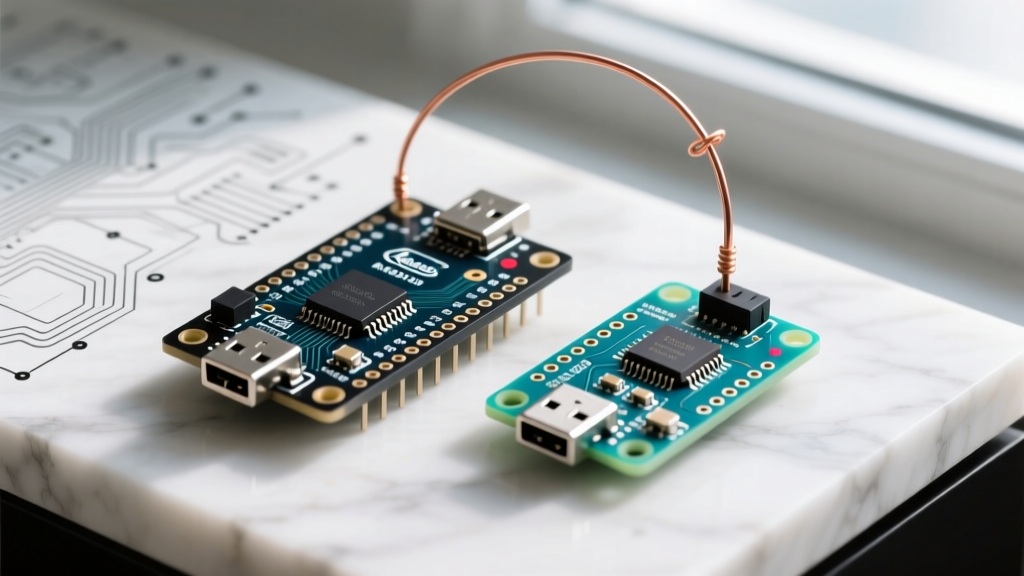
For years, the Arduino Nano has been the undisputed king of compact, breadboard-friendly prototyping. However, as DIY projects evolve from simple sensor logging to complex human-interface devices (HID) and native USB communication, makers are increasingly evaluating the Arduino Nano vs Micro debate. Migrating your platform from the Nano to the Micro (or vice versa) is not a simple drop-in replacement. It requires a fundamental understanding of silicon architecture, physical footprint limitations, and peripheral routing.
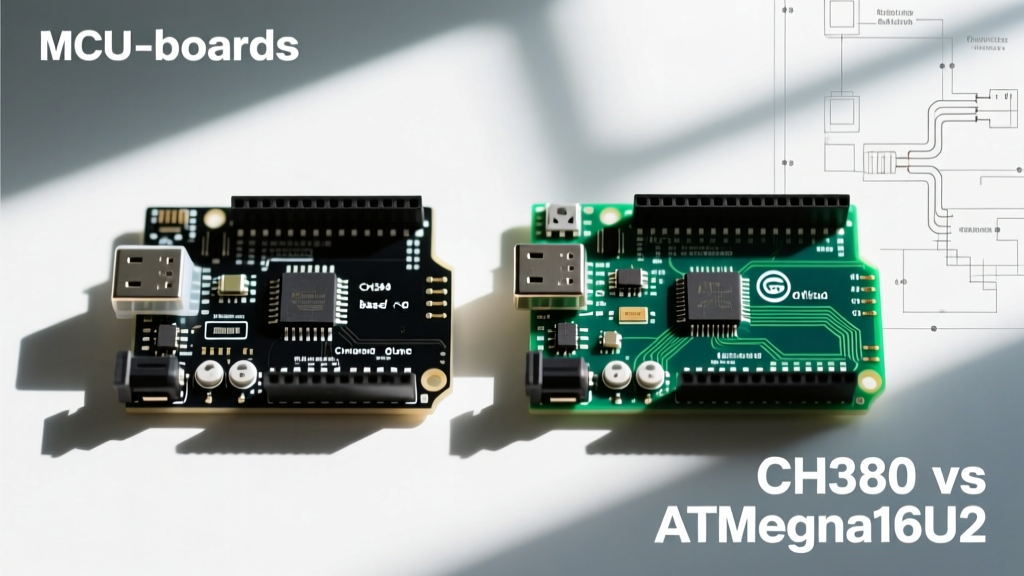
In 2026, the market is saturated with third-party clones. While a standard CH340-based Nano clone costs between $4.50 and $6.00, ATmega32U4-based Micro clones (often sold as 'Pro Micro' variants) hover around $7.00 to $9.00. Genuine boards remain priced at approximately $22.00 for the Nano and $20.00 for the Micro. Before you order your next batch of PCBs or wire up a new breadboard, this migration guide will walk you through the critical hardware and software gotchas you must address.
Silicon Architecture: ATmega328P vs ATmega32U4
The most profound difference between these two boards lies in their microcontroller units (MCUs). The classic Nano relies on the ATmega328P, while the Micro is built around the ATmega32U4. According to the Microchip ATmega32U4 product specifications, the 32U4 features an integrated USB controller, eliminating the need for a secondary USB-to-Serial bridge chip.
Memory and Bootloader Overhead
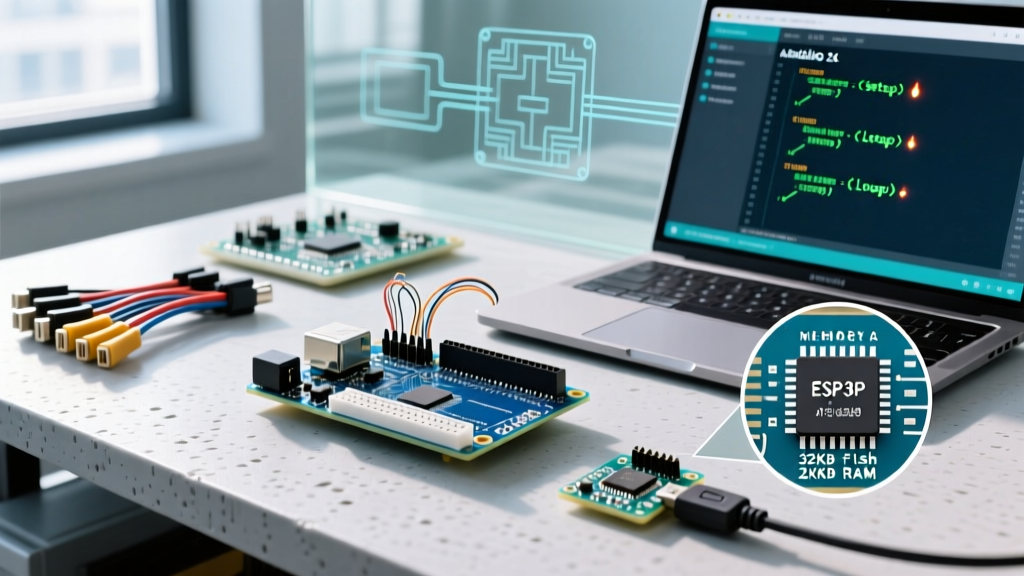
Both chips boast 32KB of flash memory, but your usable space differs significantly due to the bootloader:
- Arduino Nano (Optiboot): The Optiboot bootloader consumes a mere 0.5KB, leaving 31.5KB for your sketch.
- Arduino Micro (Caterina): The Caterina bootloader requires 4KB of flash to support native USB enumeration, leaving only 28KB for user code.
If your project involves heavy libraries (like TFT displays or complex audio processing), that 3.5KB deficit on the Micro can force you to optimize your code or switch to external flash memory.
Physical Footprint and Breadboard Compatibility
One of the most frustrating edge cases when migrating from a Nano to a Micro is the physical form factor. Many makers assume both boards share the exact same 15-pin dual-row layout. They do not.
Critical Hardware Warning: The Arduino Nano is 0.9 inches (22.86mm) wide. When plugged into a standard solderless breadboard, it spans the center ditch and leaves exactly one row of holes exposed on either side for jumper wires. The Arduino Micro is 0.7 inches (17.78mm) wide. It spans the center ditch but covers the adjacent holes entirely, leaving zero room to plug in jumper wires on a standard breadboard without using a custom shield or stacking headers.
If your migration involves moving from a breadboard prototype to a custom PCB, you must update your footprint libraries. The Nano uses a 2x15 pin header layout, while the Micro uses a 2x12 layout with different longitudinal spacing.
Pinout and Peripheral Routing: The Migration Matrix
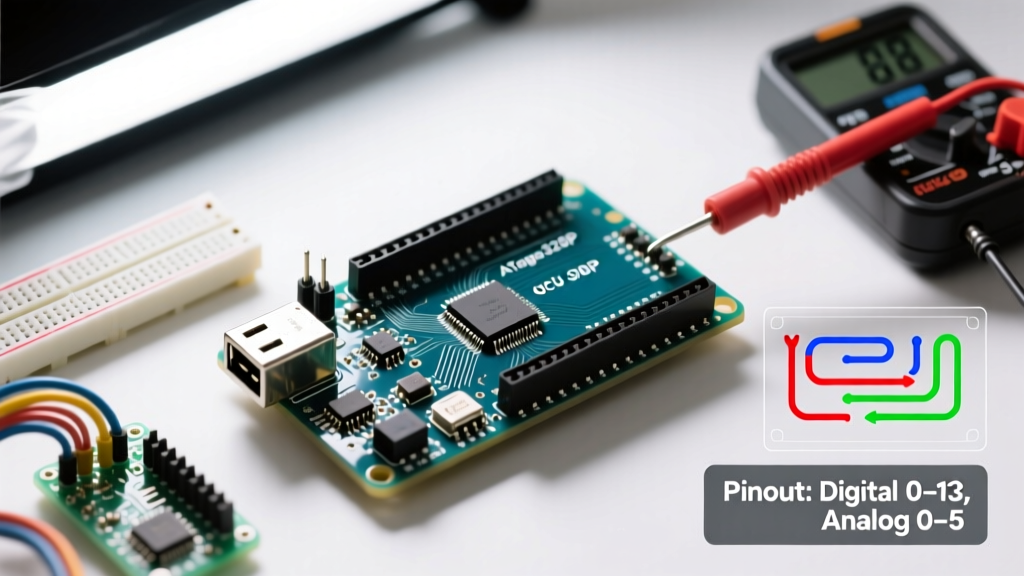
The most common point of failure during an Arduino Nano vs Micro migration is assuming that digital and analog pins map to the same internal hardware peripherals. They do not. Below is a structural comparison of how critical communication buses are routed on each platform.
| Feature / Bus | Arduino Nano (ATmega328P) | Arduino Micro (ATmega32U4) | Migration Action Required |
|---|---|---|---|
| I2C (SDA / SCL) | A4 / A5 | D2 / D3 | Rewire I2C sensors. Nano shields will not work on Micro without jumpers. |
| SPI (MOSI/MISO/SCK) | D11 / D12 / D13 | ICSP Header Only | Do not use D11-D13 for SPI on Micro. Route to the 2x3 ICSP header. |
| Hardware UART | D0 (RX) / D1 (TX) | D0 (RX) / D1 (TX) | Map to Serial1 on Micro, not Serial. |
| Analog Pins | A0 - A7 (8 pins) | A0 - A5, plus D4, D6, D8-D12 | Update analogRead() pin definitions for channels A6-A11. |
| PWM Capable Pins | D3, D5, D6, D9, D10, D11 | D3, D5, D6, D9, D10, D11, D13 | Verify timer conflicts if using high-frequency PWM libraries. |
The SPI Gotcha: Why Your SD Card Module Just Failed
On the Nano, the hardware SPI bus is broken out to digital pins 11, 12, and 13. On the Micro, those digital pins are standard GPIOs. The hardware SPI bus on the ATmega32U4 is only accessible via the 6-pin ICSP header. If you are migrating a project that uses an SD card module, an RFID reader (RC522), or an SPI-based TFT screen, you must physically rewire the MOSI, MISO, and SCK lines to the ICSP header, or your code will hang indefinitely.
Software Porting: Serial, USB, and HID
Porting your sketch requires addressing how the microcontroller talks to the outside world. The Arduino Nano documentation shows that the board uses a secondary chip (like the CH340 or FT232) to handle USB-to-Serial conversion. The Serial object communicates with both the USB port and the hardware UART on pins D0/D1 simultaneously.
The Arduino Micro hardware guide outlines a completely different paradigm. Because the 32U4 has native USB, the Serial object refers exclusively to the virtual COM port over USB. The physical hardware UART on pins D0/D1 is now mapped to Serial1.
Code Adaptation Checklist
- Change Hardware UART Calls: Replace all instances of
Serial.begin(9600)withSerial1.begin(9600)if you are communicating with external modules like GPS or Bluetooth over pins D0/D1. - Implement USB Handshaking: Because the Micro's USB connection is virtual and established by the sketch itself, you must add a delay or handshake in your
setup()function to allow the host PC to enumerate the device before sending data:while (!Serial) { ; // wait for serial port to connect } - Embrace HID Capabilities: The primary reason to migrate to the Micro is native HID support. You can now include the
Keyboard.handMouse.hlibraries to turn your project into a custom macro pad or automated mouse jiggler without needing external USB host shields.
Power Delivery and Bootloader Edge Cases
Migrating platforms also changes how you manage power and firmware recovery.
Voltage Regulators and Current Draw
Both boards feature onboard 5V linear regulators, but their behavior under load differs. The Nano's regulator (often an AMS1117-5.0 on third-party clones) can handle up to 800mA of heat dissipation (though practically limited to ~300mA without a heatsink). The Micro's native USB controller draws higher peak current during the initial USB enumeration phase. If you are powering a Micro from a low-current USB hub or a weak 5V wall adapter, the voltage drop during enumeration can cause the board to brownout and fail to mount as a COM port.
The Caterina Bootloader 'Bricking' Risk
The Nano's Optiboot bootloader is incredibly robust. If your code crashes, you can simply hit upload, and the IDE will catch the bootloader on the next reset. The Micro's Caterina bootloader operates differently. It only listens for a new sketch for exactly 8 seconds after a reset.
Failure Mode: If your migrated sketch floods the native USB port with Keyboard.print() commands or enters a tight while() loop that interrupts USB polling, the host PC may fail to initiate the bootloader handshake. The board will appear 'bricked.'
The Fix: You must perform a double-tap reset. Quickly press the physical reset button twice. This forces the Caterina bootloader to enter an infinite listening state, bypassing the broken sketch and allowing the Arduino IDE to flash new firmware.
Decision Matrix: Should You Migrate?
Use this framework to finalize your platform selection for your next hardware revision:
- Stay on the Nano if: Your project requires standard breadboard prototyping, relies heavily on legacy SPI shields that plug into D11-D13, demands maximum flash memory, or requires simple, foolproof firmware uploading.
- Migrate to the Micro if: Your project requires native USB HID (keyboard/mouse emulation), needs direct USB MIDI or Joystick library support without external bridge chips, or requires additional analog input channels (A6-A11) mapped to digital pins.
Conclusion
The Arduino Nano vs Micro comparison is not about which board is objectively better, but rather which silicon architecture aligns with your project's end goal. By understanding the I2C/SPI routing shifts, adapting your Serial communication logic, and respecting the physical breadboard constraints, you can execute a seamless platform migration in 2026 and unlock the full potential of native USB microcontrollers.