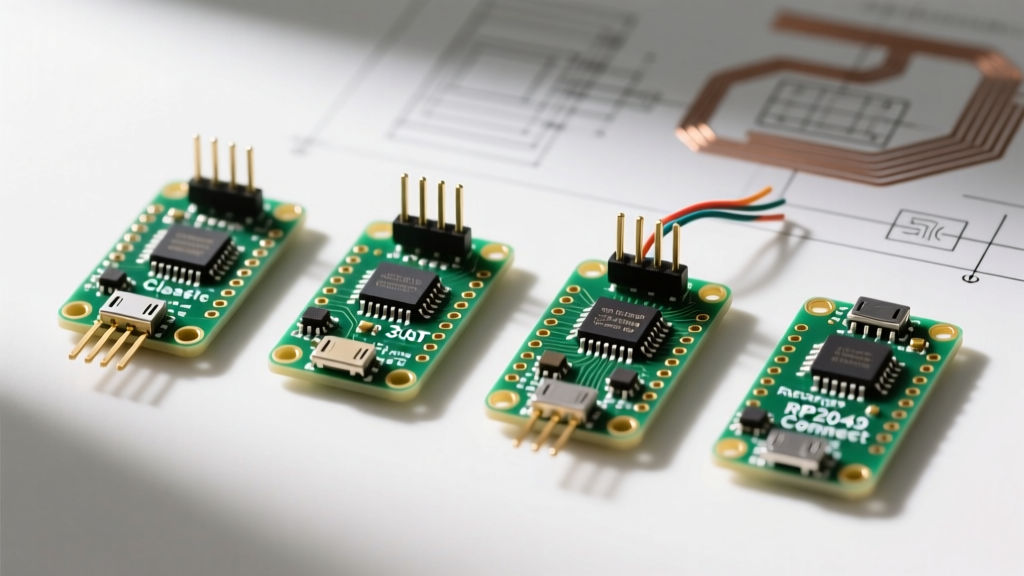

The Evolution of the Arduino Nano Ecosystem
Since its original release, the Arduino Nano has remained the definitive footprint for breadboard-friendly microcontroller projects. Measuring just 0.70 × 1.70 inches, it packs the utility of the Uno into a DIP-30 compatible form factor. However, as of 2026, the "Nano" is no longer a single board. It is a diverse family of four distinct platforms, each targeting vastly different architectural needs. Choosing the wrong variant can lead to immediate silicon failure, incompatible library dependencies, or severe power delivery bottlenecks.
In this comprehensive hardware review, we dissect the Arduino Nano Classic, Nano Every, Nano 33 IoT, and Nano RP2040 Connect. We will bypass marketing fluff and focus on silicon-level specifications, real-world failure modes, and precise logic-level thresholds.
Hardware Specifications Matrix
Before diving into specific edge cases, it is critical to understand the baseline silicon differences. The shift from 8-bit AVR to 32-bit ARM architectures fundamentally changes how you must wire external peripherals.
| Feature | Nano Classic | Nano Every | Nano 33 IoT | Nano RP2040 Connect |
|---|---|---|---|---|
| Microcontroller | ATmega328P (8-bit AVR) | ATmega4809 (8-bit AVR) | SAMD21G18A (32-bit ARM Cortex-M0+) | Raspberry Pi RP2040 (Dual-core ARM Cortex-M0+) |
| Operating Voltage | 5V | 5V | 3.3V | 3.3V |
| Clock Speed | 16 MHz | 20 MHz | 48 MHz | 133 MHz |
| Flash / SRAM | 32 KB / 2 KB | 48 KB / 6 KB | 256 KB / 32 KB | 16 MB (External) / 264 KB |
| Connectivity | None | None | WiFi / Bluetooth (NINA-W102) | WiFi / Bluetooth (NINA-W102) |
| 2026 Pricing (Approx) | $23.00 (Official) / $4.00 (Clone) | $11.50 | $20.00 | $22.00 |
Deep Dive: Arduino Nano Classic (ATmega328P)
The original Nano remains the most cloned microcontroller board in history. While official boards utilize the ATmega16U2 for USB-to-Serial conversion, the market is flooded with third-party clones utilizing the CH340G or CH340C bridge chips.
The A6/A7 Analog Trap
A frequent point of failure for engineers migrating from the Arduino Uno to the Nano Classic involves pins A6 and A7. On the ATmega328P, these two pins are strictly analog inputs. They are not connected to the internal digital multiplexer. Attempting to use digitalRead(A6) or pinMode(A6, OUTPUT) will fail silently or return garbage data. If your project requires 8 digital I/O pins alongside standard serial/I2C, the Classic Nano will fall short compared to its larger counterparts.
Expert Troubleshooting Tip: If you are using a CH340-based clone on Windows 11, automatic driver updates occasionally overwrite the functional WCH driver with a broken generic serial driver. If your IDE suddenly reports "Port not found," manually reinstall the CH340 driver and block automatic updates for that specific USB VID/PID in the Device Manager.
Deep Dive: Arduino Nano Every (ATmega4809)
Positioned as the modern, cost-effective successor to the Classic, the Nano Every utilizes the Microchip ATmega4809. It operates at 20 MHz and offers 50% more Flash memory (48 KB). Crucially, it maintains 5V logic, making it a safe drop-in replacement for legacy 5V sensors and relays.
The "Drop-in" Compatibility Myth
While the Every is footprint-compatible with the Classic, it is not entirely code-compatible at the register level. The ATmega4809 features a completely redesigned peripheral set, including a new Configurable Custom Logic (CCL) block and a different timer architecture. Libraries that directly manipulate AVR hardware registers (e.g., TCCR1A or PORTB) will fail to compile. You must rely on the Arduino HAL (Hardware Abstraction Layer) or rewrite your direct-register macros to utilize the 4809's new memory-mapped I/O structure.
Deep Dive: Nano 33 IoT & Nano RP2040 Connect
For connected applications, Arduino introduced the 32-bit IoT and RP2040 variants. Both share the exact same physical footprint and include the NINA-W102 module (an ESP32-based coprocessor handling 2.4GHz WiFi and Bluetooth LE). However, their core architectures differ wildly.
Nano 33 IoT: The SAMD21 Workhorse
The 33 IoT relies on the Microchip SAMD21G18A. It includes an onboard BQ24074 battery management IC and an IMU (Inertial Measurement Unit). It is deeply integrated with the Arduino IoT Cloud, supporting over-the-air (OTA) updates natively via the Arduino Create Agent.
Nano RP2040 Connect: The Dual-Core Powerhouse
The RP2040 Connect swaps the SAMD21 for the Raspberry Pi RP2040, as detailed in the Raspberry Pi RP2040 Datasheet. This board introduces 16MB of external QSPI Flash and dual 133MHz cores. It also features an ATECC608A cryptographic co-processor, enabling secure TLS handshakes and hardware-backed key storage—essential for enterprise-grade MQTT deployments. Furthermore, the RP2040 Connect fully supports MicroPython, allowing developers to bypass the C++ compiler entirely for rapid prototyping.
Power Delivery & Logic Level Edge Cases
The most common cause of catastrophic failure in the Nano ecosystem is ignoring logic level thresholds. The transition from 5V to 3.3V platforms introduces severe wiring constraints.
- The 5V Sensor Trap: The Nano 33 IoT and RP2040 Connect operate strictly at 3.3V logic. Connecting a standard 5V HC-SR04 ultrasonic sensor or a 5V WS2812B LED strip directly to the GPIO pins will overvoltage the silicon, instantly destroying the SAMD21 or RP2040. You must use a bidirectional logic level shifter (e.g., BSS138 MOSFETs) or a dedicated 74LVC245 buffer IC.
- Voltage Regulator Thermal Throttling: When powering a Classic Nano clone via the "Vin" pin with a 9V battery or 12V wall adapter, the onboard linear regulator (typically an AMS1117-5.0 in SOT-223) must dissipate the excess voltage as heat. At 12V input, drawing just 150mA will cause the regulator to hit its 150°C thermal shutdown threshold. For projects requiring high current (servos, LED matrices), bypass the onboard regulator and inject regulated 5V directly into the "5V" pin.
- USB-C Transition: As of 2026, while the official Arduino Nano lineup largely retains the Micro-USB connector for legacy footprint compatibility, the third-party clone market has aggressively adopted USB-C. If purchasing clones for field deployment, actively seek out "Nano Type-C" variants to standardize your cable ecosystem.
Decision Framework: Which Nano Should You Choose?
Use this step-by-step diagnostic flow to select the correct board for your BOM (Bill of Materials):
- Do you require WiFi, Bluetooth, or Cloud connectivity?
- Yes, and you need hardware cryptography / MicroPython: Choose the RP2040 Connect.
- Yes, and you are using the Arduino IoT Cloud with a LiPo battery: Choose the 33 IoT.
- No: Proceed to step 2.
- Are you interfacing with legacy 5V industrial equipment, relays, or 5V-only sensors without level shifters?
- Yes, and you need modern memory/directive support: Choose the Nano Every.
- Yes, and you are maintaining legacy codebases with direct register manipulation: Choose the Classic Nano.
- Is budget the primary constraint for mass production prototyping?
- Yes: Source Classic Nano clones (ATmega328P + CH340C) in bulk, typically available for $3.50 - $5.00 per unit.
Frequently Asked Questions
Can I power the Arduino Nano directly via the 5V pin?
Yes, but with a critical caveat. The 5V pin bypasses the onboard voltage regulator and feeds directly into the microcontroller's power rail. You must supply a highly regulated, clean 5V source (tolerance ±0.2V). Supplying 5.5V or higher will permanently damage the ATmega328P or RP2040 silicon.
Why does my Nano RP2040 Connect show up as a mass storage device?
The RP2040 features a native USB bootloader. When you double-tap the reset button, the board enters "BOOTSEL" mode, mounting its 16MB flash memory as a virtual USB drive (RPI-RP2). This allows you to drag-and-drop compiled .uf2 firmware files directly onto the board without using the Arduino IDE.
Is the Nano Every compatible with standard Uno shields?
Physically, no. The Nano footprint is designed for breadboards. However, electrically, the Nano Every's 5V logic and SPI/I2C pin mappings are compatible with Uno shields if you use a Nano-to-Uno expansion adapter board.
For further technical schematics and pinout diagrams, always refer to the Arduino Nano Official Documentation before finalizing your PCB layout.