
The ESP32 and Arduino IDE Ecosystem in 2026
Pairing the Espressif ESP32 family with the Arduino IDE 2.x remains the dominant entry point for IoT development. However, as the ESP32 Arduino Core has matured into version 3.x (built on ESP-IDF v5.1+), the line between hobbyist prototyping and commercial deployment has blurred. This project suitability analysis dissects when you should leverage the ESP32 and Arduino IDE, and when you must pivot to native environments.
Project Suitability Matrix
Not every IoT application benefits from the Arduino abstraction layer. Use this matrix to evaluate your project requirements against the capabilities of the ESP32 and Arduino IDE combination.
| Project Category | Suitability | Recommended Variant | Primary Bottleneck / Risk |
|---|---|---|---|
| Smart Home Sensors (Matter/MQTT) | Excellent | ESP32-C6 / ESP32-H2 | Deep sleep wake-up latency (approx. 400ms) |
| Real-Time Audio Processing | Poor | ESP32-S3 (with PSRAM) | Arduino loop() overhead; I2S DMA buffer underruns |
| Industrial Motor Control (FOC) | Moderate | ESP32-S3 | Interrupt latency due to Wi-Fi/BT stack priority |
| High-Speed Data Logging (SDIO) | Good | ESP32-S3 | SPIFFS/LittleFS overhead; requires raw SDMMC host |
| Battery-Powered Agri-Sensors | Excellent | ESP32-C3 / ESP32-H2 | GPIO leakage during deep sleep if misconfigured |
When the ESP32 and Arduino IDE Shines
Rapid Integration of Cloud and BLE
The primary advantage of using the ESP32 and Arduino IDE is the vast repository of community-maintained libraries. Integrating AWS IoT Core, Home Assistant via MQTT, or Bluetooth Low Energy (BLE) beacons takes minutes rather than days. The WiFiClientSecure and BLEDevice classes abstract away the complex handshake and certificate management required in the native ESP-IDF.
Cost-Effective Prototyping
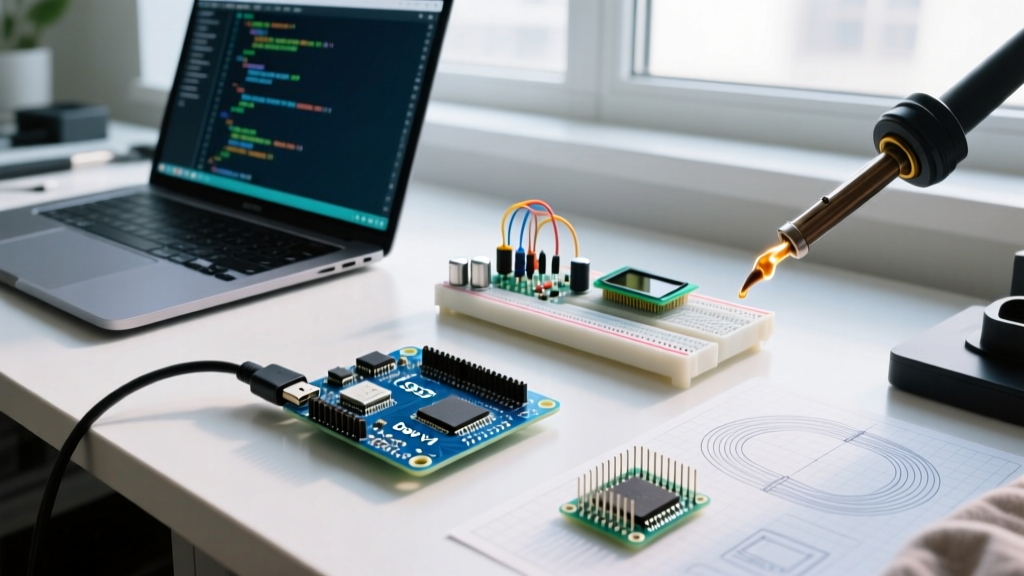
In 2026, the hardware landscape is highly fragmented but affordable. An ESP32-C3 SuperMini development board costs between $3.50 and $5.00, while a feature-rich ESP32-S3-WROOM-1 (N8R8 with 8MB Flash and 8MB Octal PSRAM) dev kit retails for $9.00 to $12.00. The Arduino IDE allows developers to validate hardware viability on these cheap dev boards before committing to custom PCB designs.
Critical Failure Modes and Edge Cases
While the Arduino IDE accelerates development, its abstraction layer hides critical hardware behaviors. Failing to account for these leads to the most common field failures.
The Brownout Detector (BOD) Trap
When the ESP32 transmits a Wi-Fi packet, current draw spikes to 240mA–300mA for a few milliseconds. If you power your project via a cheap USB-to-UART bridge or a low-quality AMS1117 LDO, the voltage will sag below the 2.4V threshold, triggering a hardware reset. You will see Brownout detector was triggered in the serial monitor.
- The Fix: Always place a 100µF to 470µF low-ESR tantalum or ceramic capacitor directly across the 3.3V and GND pins on your custom PCB.
- Software Bypass: You can disable BOD via
WRITE_PERI_REG(RTC_CNTL_BROWN_OUT_REG, 0);, but this risks flash corruption during brownouts.
Deep Sleep GPIO Leakage
Achieving the advertised 10µA deep sleep current is notoriously difficult. If you leave GPIO pins floating, or if you have external pull-up resistors tied to a peripheral that is powered down, current will leak through the ESP32's internal protection diodes.
Expert Insight: Never use GPIO12 (MTDI) as a standard input if you need deep sleep. On the original ESP32, GPIO12 is a strapping pin that selects the flash voltage. If pulled high externally, it forces the flash to 1.8V, causing boot failures. Furthermore, isolate all I2C sensors using a MOSFET (like the BSS138) to cut power completely before entering esp_deep_sleep_start().
Memory Fragmentation with the String Class
The Arduino String object dynamically allocates heap memory. In a long-running IoT device parsing JSON payloads over MQTT, this causes severe heap fragmentation, eventually leading to a Guru Meditation Error: Core 1 panic'ed (LoadProhibited) when the allocator fails to find a contiguous block.
Actionable Advice: Abandon the String class for payload parsing. Use standard C-strings (char[]) or streaming parsers like ArduinoJson configured with pre-allocated static memory pools.
Task Pinning and FreeRTOS in the Arduino Wrapper
Under the hood, the ESP32 Arduino Core runs on top of FreeRTOS. The original dual-core ESP32 assigns the Wi-Fi and Bluetooth stacks to Core 0, while your setup() and loop() functions execute on Core 1. However, if you are building a high-throughput data logger, running SD card writes and Wi-Fi transmissions on the same core can cause buffer underruns.
You can bypass the Arduino single-threaded illusion by creating native FreeRTOS tasks pinned to specific cores:
xTaskCreatePinnedToCore(sensorPollingTask, "SensorTask", 4096, NULL, 1, NULL, 0);This ensures that heavy I2C sensor polling happens on Core 0 without interrupting the Wi-Fi TX queue on Core 1. Be warned: managing inter-task communication requires implementing FreeRTOS queues or mutexes, which the Arduino IDE does not abstract natively.
Hardware Selection: Matching the Variant to the IDE
The "ESP32" is no longer a single chip; it is a family. The Espressif Hardware Design Guidelines detail the nuances, but here is how they map to Arduino IDE development:
- Original ESP32 (Xtensa LX6): Best for general-purpose Wi-Fi/BT. Dual-core allows you to pin the Wi-Fi stack to Core 0 and run your Arduino loop on Core 1. Suffers from higher deep sleep current (~10µA) compared to newer variants.
- ESP32-S3 (Xtensa LX7): The 2026 standard for AI and HMI. Includes vector instructions for neural networks and native USB OTG. Ideal if your Arduino sketch involves camera interfaces (OV2640) or TFT displays (RGB/LCD).
- ESP32-C3 / C6 (RISC-V): Single-core, ultra-low cost. Perfect for simple Matter/Thread sensors. Because it is single-core, blocking code in the Arduino loop will starve the Wi-Fi stack, causing disconnects. You must use
yield()ordelay(1)in long loops.
When to Graduate from the Arduino IDE to ESP-IDF
The Arduino IDE is a wrapper around the ESP-IDF (IoT Development Framework). You should abandon the IDE and transition to native ESP-IDF (using VS Code and PlatformIO) if your project requires:
- Custom Partition Tables: Allocating specific flash sectors for OTA updates, NVS (Non-Volatile Storage), and core dumps.
- Advanced Power Management: Utilizing Dynamic Frequency Scaling (DFS) and automatic light-sleep modes tied to specific peripheral clocks.
- Mesh Networking: Implementing ESP-WIFI-MESH for large-scale industrial sensor networks, which lacks robust Arduino library support.
- Strict Certification: Passing FCC/CE RF pre-compliance testing requires fine-tuning RF PHY parameters only exposed in the IDF
menuconfig.
Final Verdict
The ESP32 and Arduino IDE combination remains unbeatable for rapid IoT prototyping, smart home integrations, and educational platforms. By understanding the underlying hardware constraints—specifically power delivery transients, deep sleep GPIO states, and heap management—developers can push Arduino-based ESP32 projects into reliable, long-term commercial deployment. For highly constrained, real-time, or mesh-networking applications, however, the abstraction layer becomes a liability, signaling it is time to adopt the native ESP-IDF.