
Why Migrate to the ESP32-D0WD-V3 Silicon?
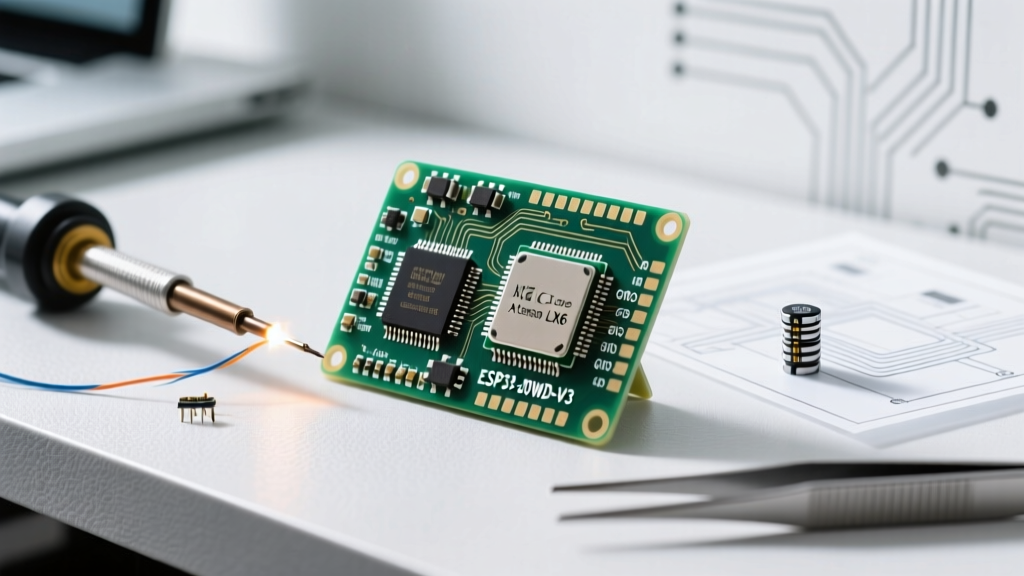
If you are transitioning from 8-bit AVR microcontrollers or the aging ESP8266, the ESP32-D0WD-V3 represents the most stable, battle-tested dual-core Wi-Fi/Bluetooth SoC available for IoT prototyping in 2026. The 'D0WD' designation indicates a dual-core Xtensa LX6 processor with no embedded PSRAM (relying on external SPI flash), while the 'V3' denotes Espressif's third silicon revision (ECO V3).
Why does the V3 revision matter for your ESP32-D0WD-V3 Arduino projects? Early ESP32 silicon (V1 and V2) suffered from notorious hardware errata, including severe CAN bus timing bugs, flash encryption vulnerabilities, and high deep-sleep current leakage. The V3 revision permanently resolves these issues, dropping deep-sleep current to an impressive ~10µA and enabling Secure Boot V2. When housed in popular modules like the ESP32-WROOM-32E (typically priced between $4.50 and $6.50 per unit on dev boards in 2026), it offers an unbeatable price-to-performance ratio.
According to the official Espressif ESP32 documentation, the V3 silicon is the recommended baseline for all new commercial and hobbyist designs. However, migrating your existing codebase and hardware layouts requires navigating specific architectural shifts, particularly within the modern Arduino IDE ecosystem.
Hardware Migration: Pinout and Strapping Pin Traps
The most common point of failure when migrating from Arduino Uno/Mega or ESP8266 to the ESP32-D0WD-V3 is ignoring the chip's 'strapping pins'. These pins dictate boot modes and flash voltage regulators during power-on reset.
The GPIO 12 (MTDI) Boot Loop Trap
On the ESP32-D0WD-V3, GPIO 12 controls the internal flash voltage regulator. If GPIO 12 is pulled HIGH during boot, the regulator outputs 1.8V instead of the default 3.3V. If your external SPI flash requires 3.3V, the chip will immediately brownout and enter an infinite boot loop. Never use GPIO 12 as an output to drive relays or LEDs without hardware pull-down resistors.
The ADC2 vs. Wi-Fi Conflict
Unlike the ESP8266, which features a single, somewhat erratic ADC, the ESP32-D0WD-V3 boasts two ADC units (ADC1 and ADC2). However, due to internal hardware routing, ADC2 is completely disabled when the Wi-Fi radio is active. If your migration involves reading analog sensors while maintaining a Wi-Fi connection, you must exclusively route those sensors to ADC1 pins (GPIO 32-36).
| Feature | ESP8266 (NodeMCU) | ESP32-D0WD-V3 (WROOM-32E) |
|---|---|---|
| Architecture | Single-core Tensilica L106 | Dual-core Xtensa LX6 (32-bit) |
| Max Clock Speed | 160 MHz | 240 MHz |
| Wireless | Wi-Fi 4 (2.4GHz) | Wi-Fi 4 + Bluetooth 4.2/BLE |
| ADC Resolution | 10-bit (Single pin) | 12-bit (Up to 18 channels) |
| Deep Sleep Current | ~20 µA | ~10 µA (V3 Silicon) |
| Capacitive Touch | No | Yes (10 channels) |
ESP32-D0WD-V3 Arduino IDE Setup for 2026
The Arduino ecosystem for ESP32 has undergone a massive paradigm shift. In 2026, the standard is the ESP32 Arduino Core v3.x, which is built on top of Espressif's ESP-IDF v5.1+. This transition broke several legacy functions, meaning code written for Core v2.x will not compile without modifications.
Step-by-Step Board Manager Configuration
- Open the Arduino IDE 2.x and navigate to File > Preferences.
- Paste the official Espressif Board Manager URL into the 'Additional boards manager URLs' field:
https://raw.githubusercontent.com/espressif/arduino-esp32/gh-pages/package_esp32_index.json - Open the Boards Manager, search for 'esp32', and install version 3.0.0 or higher.
- Select ESP32 Dev Module from the boards dropdown.
Critical Core v3.x API Changes
If you are migrating older tutorials or legacy code, be aware of these breaking API changes in the modern ESP32-D0WD-V3 Arduino core:
- LED Control (LEDC): The legacy
ledcSetup()andledcAttachPin()functions are deprecated. You must now use the simplifiedledcAttach(pin, freq, resolution)andledcWrite(pin, duty)syntax. - Analog Resolution:
analogRead()now defaults to 12-bit resolution, but you can dynamically change it usinganalogReadResolution(bits), a feature absent in older cores. - Wi-Fi Events: The
WiFi.onEvent()callback signature has been updated to align with ESP-IDF v5 event structures.
Code Translation Matrix: ESP8266 to ESP32-D0WD-V3
Migrating your codebase requires swapping out ESP8266-specific libraries for their ESP32 equivalents. Below is a quick-reference translation matrix for common IoT operations.
| Functionality | ESP8266 Legacy Code | ESP32-D0WD-V3 (Arduino Core v3.x) |
|---|---|---|
| Wi-Fi Library | #include <ESP8266WiFi.h> | #include <WiFi.h> |
| Web Server | #include <ESP8266WebServer.h> | #include <WebServer.h> |
| Deep Sleep | ESP.deepSleep(time_us) | esp_sleep_enable_timer_wakeup(time_us); esp_deep_sleep_start(); |
| HTTP Client | #include <ESP8266HTTPClient.h> | #include <HTTPClient.h> (Requires WiFiClient instantiation) |
| Unique Chip ID | ESP.getChipId() | ESP.getEfuseMac() (Returns 6-byte MAC) |
Pro-Tip for Deep Sleep Migration: Unlike the ESP8266, which requires wiring GPIO 16 (D0) to the RST pin to wake from deep sleep, the ESP32-D0WD-V3 utilizes an internal Real-Time Clock (RTC) controller. No external jumper wires are needed; the chip wakes itself internally and executes thesetup()function from scratch. Usertc_gpio_isolate(GPIO_NUM_XX)before sleeping to prevent parasitic current draw on specific RTC-capable pins.
Real-World Failure Modes and Troubleshooting
Even with the V3 silicon fixes, hardware integration in custom PCBs or breadboards can introduce edge cases. Here is how to diagnose the most frequent ESP32-D0WD-V3 Arduino migration failures.
1. The 'Brownout Detector Was Triggered' Error
Symptom: The serial monitor spams Brownout detector was triggered and the board continuously reboots when the Wi-Fi radio initializes.
Root Cause: The ESP32's Wi-Fi PA (Power Amplifier) draws sudden current spikes up to 500mA during transmission. Standard USB cables or linear regulators (like the AMS1117 on cheap clone boards) cannot respond fast enough to the transient voltage drop, triggering the internal brownout protection.
Solution: Add a low-ESR 100µF electrolytic capacitor and a 100nF ceramic capacitor in parallel across the 3.3V and GND pins on your breadboard. If designing a PCB, ensure the 3.3V trace to the VDD3P3 pin is at least 20 mils wide and placed as close to the module as possible.
2. Flash Mode Incompatibility (QIO vs. DIO)
Symptom: Code uploads successfully, but the serial monitor remains blank or outputs garbage characters at 115200 baud.
Root Cause: The Arduino IDE defaults to QIO (Quad I/O) flash mode. However, some 2026-manufactured WROOM-32E modules utilizing specific GD25Q32C flash chips require DIO (Dual I/O) mode to boot correctly.
Solution: In the Arduino IDE Tools menu, change Flash Mode from 'QIO' to 'DIO'. Re-upload the sketch. This slight reduction in SPI bus speed is imperceptible for 99% of IoT applications but guarantees boot stability.
3. Bluetooth and Wi-Fi Coexistence Memory Panics
Symptom: Using BLE and Wi-Fi simultaneously results in a Guru Meditation Error: Core 1 panic'ed (Interrupt wdt timeout).
Root Cause: The Wi-Fi and Bluetooth radios share the same physical antenna and RF frontend. Simultaneous operation requires the ESP32's coexistence arbitration algorithm, which consumes significant RAM and CPU time on Core 0.
Solution: In the Arduino IDE Tools menu, increase the Partition Scheme to 'Huge APP (3MB No OTA/1MB SPIFFS)' to ensure sufficient IRAM allocation. Furthermore, initialize the Wi-Fi stack before the BLE stack in your setup() routine to allow the coexistence library to allocate memory buffers predictably.
Final Verdict on the Migration
Migrating to the ESP32-D0WD-V3 Arduino environment in 2026 is a highly rewarding upgrade path. While the transition from ESP8266 or legacy Core v2.x requires rewriting Wi-Fi initialization routines and updating LEDC PWM syntax, the resulting platform offers dual-core processing, native BLE, and rock-solid V3 silicon reliability. By respecting the strapping pin limitations and properly managing power delivery transients, your IoT deployments will achieve a level of stability that older 8-bit and single-core platforms simply cannot match.