
The Core Architecture: ATmega32U4 vs ATmega328P
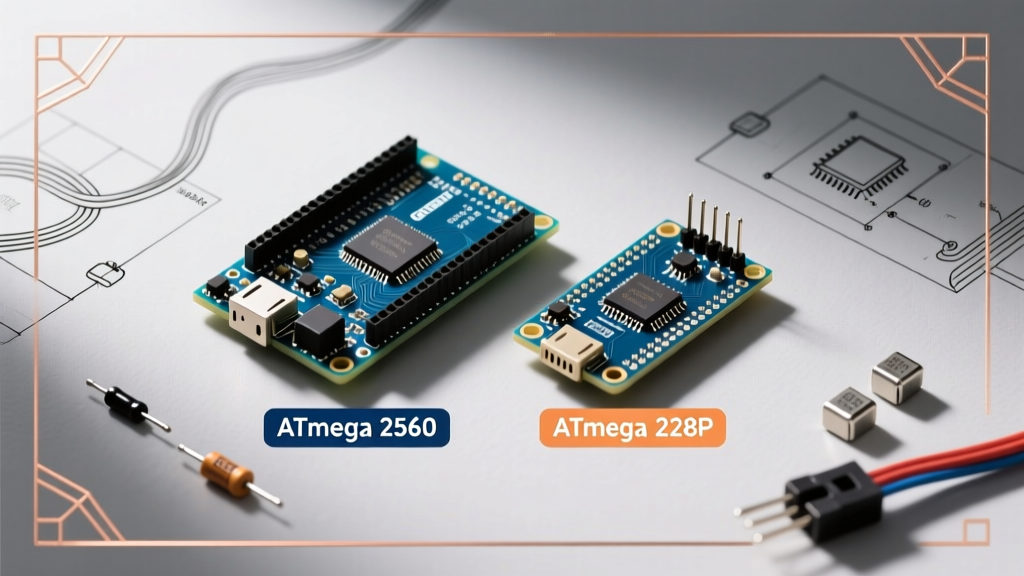
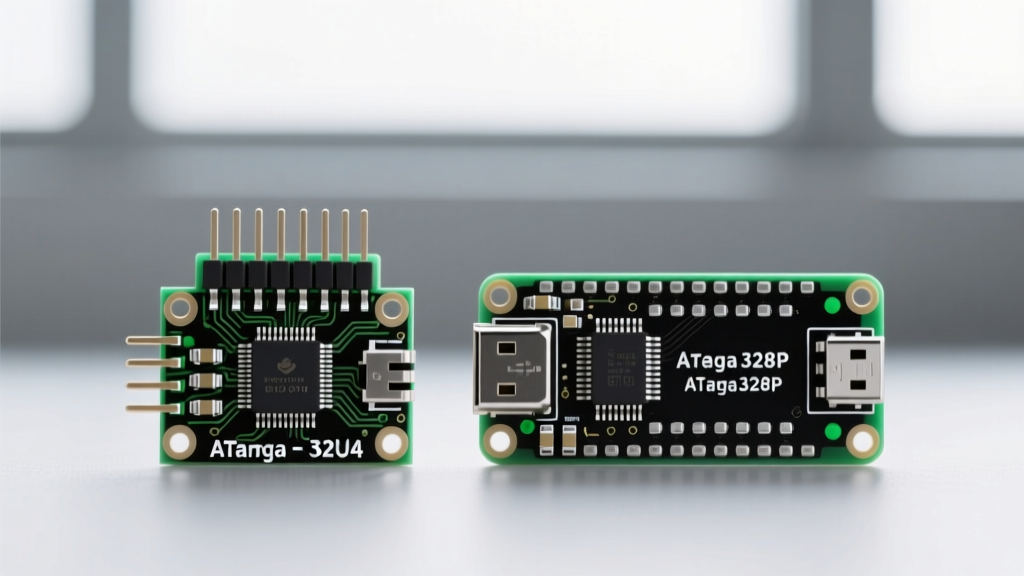
When evaluating the Arduino Micro vs Arduino Nano, the most critical divergence lies beneath the metal shielding: the silicon architecture. While both boards operate at 5V and 16MHz, they utilize entirely different microcontrollers that dictate their project viability.
The Arduino Nano is built around the legendary Microchip ATmega328P. This chip relies on an external USB-to-Serial converter (historically the FTDI FT232RL, now commonly the WCH CH340G on modern revisions and clones) to handle PC communication. It offers 32KB of Flash memory, 2KB of SRAM, and 1KB of EEPROM.
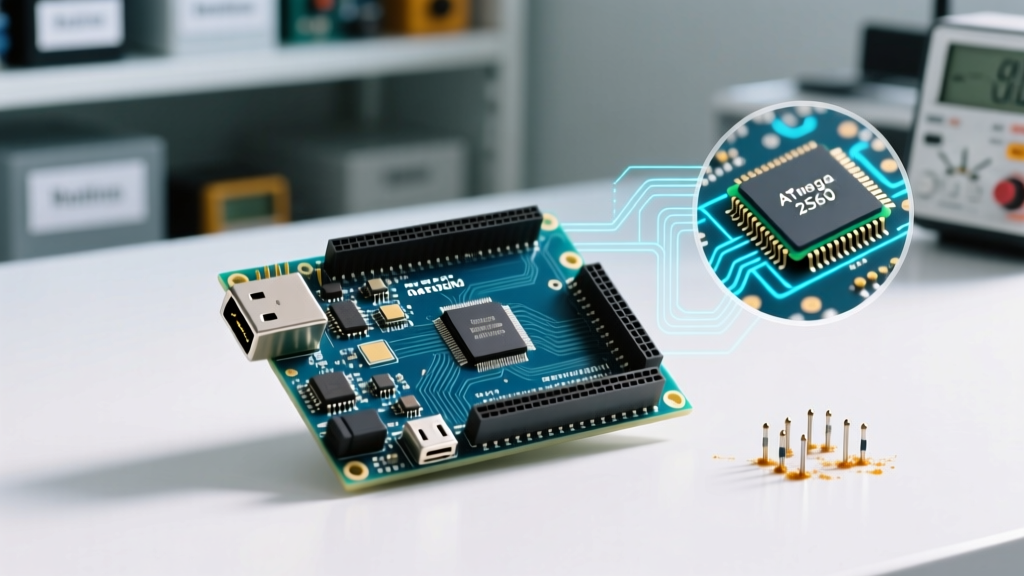
Conversely, the Arduino Micro is powered by the ATmega32U4. According to the Microchip ATmega328P and related datasheets, the 328P is a pure compute engine, but the 32U4 integrates a native USB 2.0 Full-Speed controller directly into the silicon. This architectural shift grants the Micro 2.5KB of SRAM (a 25% increase over the Nano), which is heavily utilized by the onboard USB stack buffers. Furthermore, the Micro eliminates the need for a secondary USB-Serial IC, reducing board latency and component count.
Native USB HID: The Micro's Secret Weapon
The defining feature in the Arduino Micro vs Arduino Nano debate is Human Interface Device (HID) emulation. Because the ATmega32U4 handles USB natively, the Micro can present itself to a host computer as a standard keyboard, mouse, or gamepad without requiring custom driver installations.
Expert Insight: If you are building a custom macro pad, a flight simulator throttle, or an accessibility input device, the Arduino Nano is fundamentally the wrong tool. The Nano would require complex V-USB software bit-banging (which consumes massive CPU cycles and is highly unstable) or an external hardware encoder. The Micro handles HID natively via the Arduino
Keyboard.handMouse.hlibraries with hardware-level reliability.
However, this native USB capability introduces a unique failure mode specific to the Micro, which we will address in the bootloader section below.
Specification & I/O Comparison Matrix
Below is a direct hardware comparison based on the official Arduino Micro documentation and Arduino Nano documentation.
| Feature | Arduino Micro | Arduino Nano (Classic) |
|---|---|---|
| Microcontroller | ATmega32U4 | ATmega328P |
| USB Interface | Native (Built-in) | External (CH340G / FT232RL) |
| Flash Memory | 32 KB (4 KB used by bootloader) | 32 KB (0.5 KB used by bootloader) |
| SRAM | 2.5 KB | 2 KB |
| Digital I/O Pins | 20 | 22 (14 digital + 8 analog) |
| PWM Channels | 7 | 6 |
| Dimensions (L x W) | 48 mm x 18 mm | 45 mm x 18 mm |
| HID Emulation | Native Hardware Support | Not Supported Natively |
Mechanical Realities: Breadboard Compatibility
A pervasive myth in maker forums is that both boards fit perfectly across a standard solderless breadboard's center ditch. This is mechanically false and leads to immense frustration for beginners.
The 0.6-Inch Spacing Problem
Both the Micro and the Nano feature dual inline pin headers spaced at 0.6 inches (15.24mm) apart. A standard breadboard has a center gap of 0.3 inches (7.62mm), designed for standard 0.3-inch DIP ICs. Because the Arduino boards are twice as wide as the breadboard gap, you cannot plug both sides of the board into the breadboard simultaneously while straddling the center trench.
- The Nano Workaround: Most users plug one row of the Nano into columns
a-e, allowing the other row to hang off the edge of the breadboard. Alternatively, right-angle headers can be soldered to route pins to the power rails. - The Micro Advantage: The Micro is slightly longer (48mm vs 45mm) and features a different pinout mapping. While it suffers from the same 0.6-inch spacing issue, its extended length provides better leverage when extracting it from tight breadboard contacts, reducing the risk of bending the delicate 0.025-inch square pins.
The Bootloader Trap: A Critical Micro Edge Case
When deploying code via the Arduino IDE, the Nano's bootloader (Optiboot) is straightforward: it listens for serial data for about 0.5 seconds, then immediately jumps to the user sketch. The Micro, however, utilizes the Caterina bootloader, which behaves entirely differently due to its native USB implementation.
The Serial Spam Bug
The Caterina bootloader waits for 8 seconds for a USB connection to establish. If your user sketch contains a while(!Serial); loop or aggressively spams Serial.println() immediately upon boot, it can overwhelm the USB stack before the IDE can initiate the upload handshake. This effectively "bricks" the board from a software perspective, as the IDE cannot catch the bootloader window.
The Fix: If you lock yourself out of an Arduino Micro, double-tap the physical reset button on the board. This forces the bootloader into an infinite 8-second listen mode, giving you enough time to click "Upload" in the IDE and push a patched sketch that includes a delay(2000); at the start of the setup() function.
Power Delivery and Voltage Tolerances
Both boards accept 7-12V via the VIN pin, regulated down to 5V. However, the physical footprint limits the size of the onboard voltage regulator.
- Official Boards: Typically use an NCP1117 or similar SOT-223 linear regulator. Without a heatsink or active airflow, continuous draw from the 5V pin should be capped at 400mA to prevent thermal shutdown.
- Clone Market Realities (2026): The vast majority of sub-$8 clones utilize the AMS1117-5.0 regulator. While cheap, the AMS1117 has a higher dropout voltage and inferior thermal dissipation compared to the NCP series. If your project requires driving WS2812B LED strips or high-torque servos directly from the board's 5V rail, bypass the onboard regulator entirely and inject 5V directly into the 5V pin using a dedicated buck converter.
Pricing and the 2026 Clone Ecosystem
As of 2026, the pricing gap between official boards and third-party clones remains a major factor in platform selection.
- Official Arduino Nano: ~$22.00 USD. Excellent for commercial prototyping where supply chain traceability is required.
- Official Arduino Micro: ~$24.50 USD. The premium reflects the higher cost of the ATmega32U4 and the native USB licensing.
- Third-Party Clones: Nano clones (CH340G) average $3.50 - $5.00 USD in bulk. Micro clones average $6.50 - $9.00 USD. When buying Micro clones, verify the silkscreen; some ultra-cheap manufacturers mistakenly route the I2C pins (SDA/SCL) to the wrong headers, deviating from the official Leonardo/Micro schematic.
Final Verdict: Which Board Fits Your Project?
The decision between the Arduino Micro and Arduino Nano is not about which board is "better," but which silicon architecture matches your project's I/O requirements.
Choose the Arduino Nano if: You are building a general-purpose sensor node, an I2C/SPI peripheral hub, or a project that requires maximum digital I/O density (22 pins vs 20). It remains the undisputed king of breadboard prototyping and basic automation.
Choose the Arduino Micro if: Your project interfaces directly with a PC as an input device (custom keyboards, MIDI controllers, mouse macros), or if your sketch requires the extra 0.5KB of SRAM to handle complex string manipulation or USB packet buffering. The native HID capabilities of the ATmega32U4 make it an irreplaceable tool in the maker's arsenal.