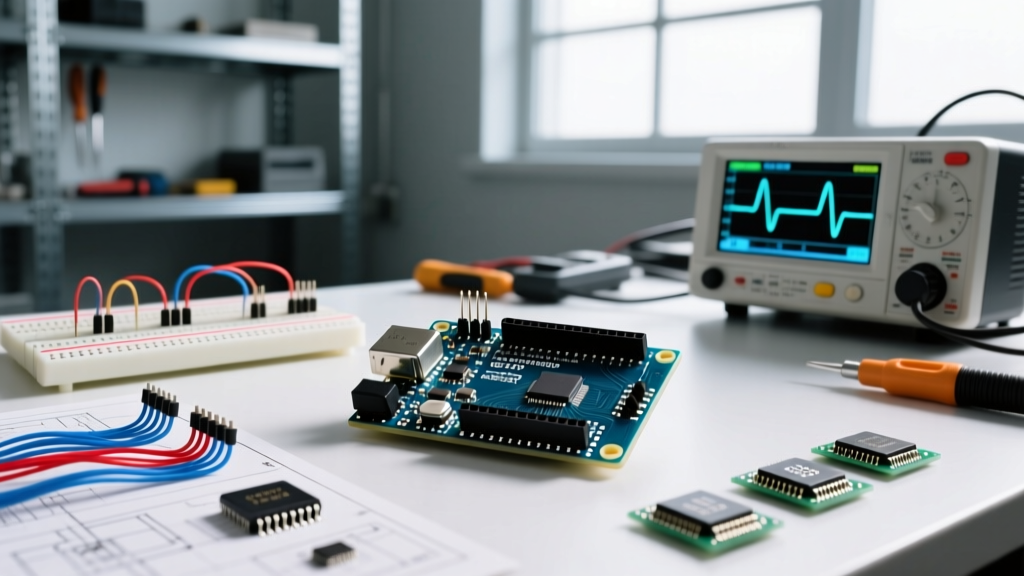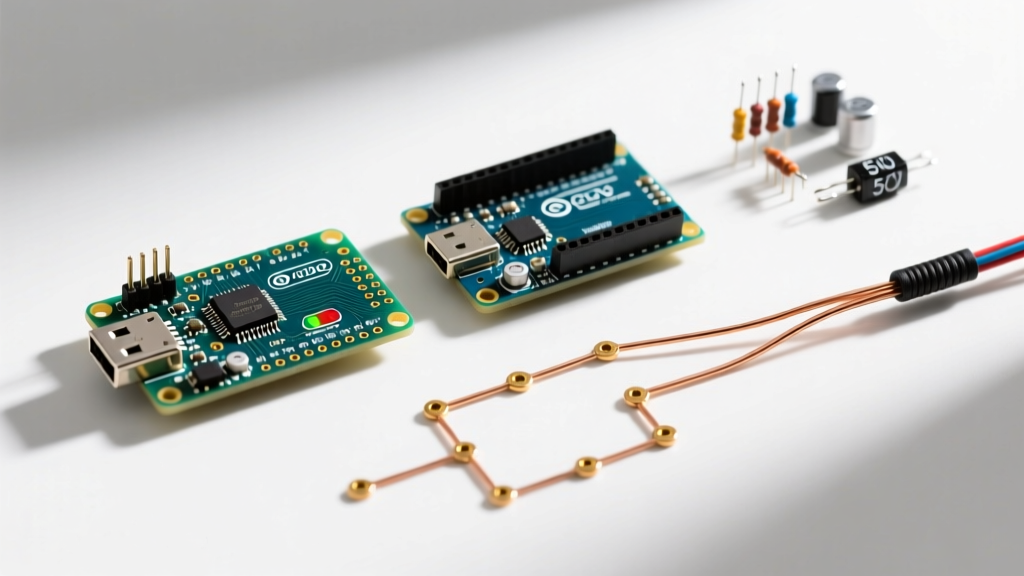

The Core Silicon: Same Brain, Different Body
When evaluating the Arduino Nano vs Uno for a new microcontroller project, the most critical piece of information to understand is that they share the exact same neural center. Both boards are built around the Microchip (formerly Atmel) ATmega328P microcontroller. However, the physical packaging differs: the Uno utilizes the through-hole DIP-28 package (ATmega328P-PU), while the Nano uses the surface-mount TQFP-32 package (ATmega328P-AU). Because the silicon is identical, both boards offer 32KB of Flash memory, 2KB of SRAM, 1KB of EEPROM, and operate at a 16MHz clock speed. The decision between the two does not come down to processing power, but rather to physical integration, power delivery topology, and ecosystem compatibility.
Hardware & Specification Matrix
Before diving into project-specific suitability, let us establish the baseline hardware differences. The following matrix compares the official Arduino implementations alongside the typical specifications of the third-party clone market that dominates the DIY space in 2026.
| Feature | Arduino Uno R3 | Arduino Nano (Rev3) | Typical 2026 Clone (Nano/Uno) |
|---|---|---|---|
| Microcontroller | ATmega328P-PU (DIP-28) | ATmega328P-AU (TQFP-32) | ATmega328P (Various packages) |
| Dimensions | 68.6 x 53.4 mm | 45 x 18 mm | Varies slightly by manufacturer |
| USB-to-Serial IC | ATmega16U2 | FT232RL (Official) / CH340 (Clone) | CH340G or CH340C |
| Vin Voltage Range | 7-12V (Recommended) | 7-12V (Recommended) | 7-12V (Often lower thermal limits) |
| Official Price (2026) | ~$27.00 - $29.00 | ~$24.00 - $26.00 | $4.00 - $8.00 (Bulk retail) |
| Breadboard Compatibility | Requires jumper wires | Fits directly (leaves 1 row per side) | Fits directly (Nano clones) |
For deeper technical specifications, you can review the official Arduino Uno R3 Documentation and the Arduino Nano Hardware Guide.
Power Delivery and Thermal Failure Modes
One of the most frequent points of failure in DIY electronics is mismanaging linear voltage regulators. Both the Uno and Nano feature onboard linear regulators to step down voltage from the Vin pin or the barrel jack (Uno only) to a stable 5V. However, their thermal dissipation capabilities are vastly different.
The Uno's Thermal Advantage
The Arduino Uno utilizes an NCP1117ST50T3G (or equivalent) 5V linear regulator paired with a relatively large copper pour on the PCB acting as a passive heatsink. While linear regulators are inherently inefficient—burning off excess voltage as heat—the Uno can safely dissipate enough heat to provide roughly 500mA to 800mA of continuous current at a 9V input before thermal shutdown occurs.
The Nano's Thermal Bottleneck
The Nano uses a similar linear regulator topology but lacks the physical PCB real estate for adequate copper heatsinking. Edge Case Warning: If you power an Arduino Nano via the Vin pin with a 12V supply and attempt to draw 200mA to power a small servo or LED strip, the regulator will overheat and trigger thermal protection, causing the board to brown out and reset in a continuous loop. For Nano projects requiring more than 100mA of 5V current, you must bypass the onboard regulator and supply a clean, external 5V source directly to the 5V pin.
Physical Integration: Breadboards, Shields, and Enclosures
Form factor dictates the prototyping workflow. The physical dimensions of the board will determine how you transition from a breadboard prototype to a soldered perfboard or custom PCB.
- The Breadboard Standard: The Arduino Nano is exactly 0.7 inches wide, which aligns perfectly with standard 830-point solderless breadboards. When plugged in across the center trench, it leaves exactly one row of holes exposed on either side for jumper wires. The Uno cannot be plugged directly into a breadboard; it requires a dedicated tethered setup using male-to-female or male-to-male jumper wires, which increases wiring clutter and the risk of loose connections.
- The Shield Ecosystem: The Uno's primary advantage is the R3 Shield footprint. If your project requires stacking a motor driver, a datalogger, or a cellular modem, the Uno allows you to simply plug the shield directly into the female headers. The Nano requires a specialized 'Nano Shield' breakout board or manual wiring, which adds cost and points of failure.
- Enclosure and Mounting: The Uno features four standardized M3 mounting holes, making it trivial to secure inside 3D-printed enclosures or aluminum project boxes using standoffs. The Nano lacks standard mounting holes (though some third-party clones add them), meaning it must be secured via its headers, double-sided tape, or custom 3D-printed friction clips.
The 2026 Market Reality: Official vs. Clone Boards
Any honest project suitability analysis must address the clone market. In 2026, the vast majority of hobbyists and even some educational institutions utilize third-party clones due to the massive price disparity. An official Uno costs nearly $29, while a fully functional clone can be sourced for under $6.
Expert Insight: The primary difference in clones lies in the USB-to-Serial interface. Official boards use the ATmega16U2, which acts as a native USB HID device, allowing for advanced firmware tricks like keyboard/mouse emulation (HoodLoader2). Clones almost universally use the CH340G or CH340C chip. While the CH340 is highly reliable for standard serial flashing, it requires specific driver installations on older operating systems and lacks native USB HID capabilities without external hardware.
Furthermore, many 2026 clones have transitioned to USB-C connectors. While convenient for modern users, the physical footprint of the USB-C port on some poorly designed Nano clones slightly alters the board width, occasionally causing tight fits in older, precision-milled breadboards.
Project Suitability Decision Framework
Use the following framework to select the correct board for your specific application. For more information on the underlying silicon capabilities, refer to the Microchip ATmega328P Datasheet.
When to Choose the Arduino Nano
- Permanent Soldered Projects: The Nano's male headers (or bare pads) are ideal for soldering directly to perfboards or custom PCBs, minimizing the overall footprint of the final device.
- Wearables and Compact Robotics: When weight and volume are at a premium, such as in small autonomous rovers or drone telemetry modules, the Nano's 45x18mm profile is unbeatable in the 5V AVR space.
- Rapid Breadboard Prototyping: If your workflow involves testing circuits on a solderless breadboard before committing to solder, the Nano's direct-plug compatibility saves hours of wiring time.
When to Choose the Arduino Uno
- Shield-Heavy Architectures: If your project relies on stacking multiple R3 shields (e.g., a CNC shield stacked with a relay shield), the Uno is the only logical choice.
- Educational Environments: The DIP-28 package on the Uno means the microcontroller chip can be physically removed and replaced. If a student accidentally shorts a pin and fries the ATmega328P, you can swap the $4 chip rather than replacing the entire board.
- Rugged Desktop Testing: The Uno's mass, barrel jack, and mounting holes make it superior for benchtop testing where the board might be moved around, plugged into various power supplies, and subjected to physical stress.
Expert Troubleshooting & Edge Cases
Regardless of whether you choose the Nano or the Uno, working with the ATmega328P platform presents specific edge cases that catch beginners off guard.
- Inductive Load Back-EMF: Never connect relays, solenoids, or DC motors directly to the 5V pin or digital I/O pins without flyback diodes and proper transistor/MOSFET switching. The resulting voltage spikes will instantly destroy the ATmega328P or the USB serial IC, permanently bricking the board.
- Bootloader Timeouts on Clones: Many cheap Nano clones ship with the 'Old Bootloader' (ATmegaBOOT) rather than the newer Optiboot. If you experience 'programmer is not responding' errors in the Arduino IDE, navigate to Tools > Processor and select ATmega328P (Old Bootloader).
- USB Disconnects under Load: If your Nano randomly disconnects from the PC when a peripheral activates, it is likely drawing too much current through the USB polyfuse. The USB specification limits power to 500mA; exceeding this will trip the resettable fuse on the board, dropping the data connection.
Final Verdict
The choice in the Arduino Nano vs Uno debate ultimately hinges on your physical integration requirements. Choose the Uno for shield compatibility, educational chip-swapping, and robust benchtop prototyping. Choose the Nano for breadboard agility, compact permanent installations, and space-constrained embedded projects. By understanding the thermal limits of their respective voltage regulators and the nuances of the clone market, you can ensure your microcontroller platform supports, rather than hinders, your project's success.