
The Ecosystem Behind the Arduino Micro SD Card Module
If you have spent any time on the Arduino forums or the r/arduino subreddit, you already know that the ubiquitous $2 blue micro SD card adapter is both a maker’s best friend and a frequent source of immense frustration. While the hardware itself is incredibly simple, successfully integrating an Arduino micro SD card module into a robust data-logging or media-serving project requires navigating a labyrinth of SPI bus contention, logic-level translation quirks, and fragmented library support.
In 2026, the community has largely moved past the trial-and-error phase of the early 2010s. Today, successful deployments rely on a deep understanding of modern library forks, precise hardware modifications, and strict formatting standards. This guide synthesizes a decade of community troubleshooting into an actionable playbook for mastering SD storage on microcontrollers.
Core Library Showdown: SD.h vs. SdFat vs. SD_MMC
The default Arduino IDE library manager is flooded with SD-related packages, but community consensus heavily favors specific forks depending on your target board and capacity requirements. The legacy SD.h library, while easy to use, is fundamentally limited by its reliance on the older FAT16/FAT32 standards and a rigid 8.3 filename structure (though long filename support was patched in later updates, it remains memory-heavy).
| Library | Max Capacity Support | File Systems | Best Use Case | Community Rating |
|---|---|---|---|---|
| SD.h (Official) | 32GB (SDHC) | FAT16, FAT32 | Basic logging on Uno/Nano | ★★★☆☆ |
| SdFat (Bill Greiman) | 2TB+ (SDXC) | FAT16, FAT32, exFAT | High-speed logging, large files | ★★★★★ |
| SD_MMC (ESP32 Core) | 2TB+ (SDXC) | FAT32, exFAT | ESP32 1-bit/4-bit SDIO mode | ★★★★☆ |
For any serious project, the community overwhelmingly recommends Bill Greiman’s SdFat library. Not only does it support the exFAT file system—allowing you to use 64GB, 128GB, or larger SDXC cards—it also offers granular control over SPI clock speeds and provides detailed error codes that the default library masks.
The Hardware Reality: Why Forums Are Full of 'Init Failed'
The most common community complaint regarding the Arduino micro SD card module is the dreaded SD initialization failed error. This is rarely a software bug; it is almost always a hardware or signal-integrity issue stemming from the design of cheap clone modules.
The 3.3V Logic Level Shifting Imperative
SD cards operate strictly at 3.3V logic. If you are using a 5V Arduino (like the Uno or Mega), sending 5V signals directly into the SD card's MISO, MOSI, and SCK pins will eventually fry the card's internal controller. To solve this, module manufacturers include level shifters. However, the type of level shifter dictates your maximum SPI clock speed:
- Resistor Divider Networks (The Bad): Many sub-$2 modules use simple resistor pairs to drop 5V to 3.3V. This introduces capacitance that ruins signal integrity at SPI clocks above 4MHz. If your module has these, you must force a lower SPI speed in your code using
SPI_HALF_SPEED. - CD4050 / BSS138 ICs (The Good): Higher-quality modules use dedicated buffer ICs or MOSFET-based bidirectional shifters. These maintain sharp signal edges, allowing you to push the SPI bus to
SPI_FULL_SPEED(typically 8MHz to 16MHz depending on the MCU).
Community Pro-Tip: If you are designing a custom PCB in 2026, skip the resistor divider modules entirely. Use a dedicated 3.3V LDO (like the AP2112K-3.3) and a BSS138 MOSFET array for level shifting. It costs pennies more and eliminates 90% of SPI timeout errors.
Top 3 Community-Verified Troubleshooting Fixes
When your code compiles but the module refuses to mount, veteran makers rely on this specific triage sequence:
1. The SD Association Formatter Fix
Windows and macOS native formatting tools often format SD cards with cluster sizes or allocation tables that the Arduino SD libraries cannot parse. Furthermore, cards larger than 32GB are formatted as exFAT by default, which the legacy SD.h library cannot read. The universally accepted fix is to download the official SD Memory Card Formatter from the SD Association. Always select the 'Overwrite Format' option to wipe hidden partition tables that confuse the Arduino's FAT driver.
2. Decoding SdFat Error Codes
When using SdFat, the library will output specific hex error codes. The community has mapped these to physical faults:
- SD_CARD_ERROR_CMD8: The card did not respond to the voltage verification command. This usually means your 3.3V power rail is sagging under load, or your logic level shifter is unidirectional and blocking the MISO (Master In Slave Out) return signal.
- SD_CARD_ERROR_ACMD41: The card failed to initialize its internal controller. Often caused by inserting the card while the SPI bus is already active, or a bad solder joint on the module's push-push socket.
3. Surviving SPI Bus Contention
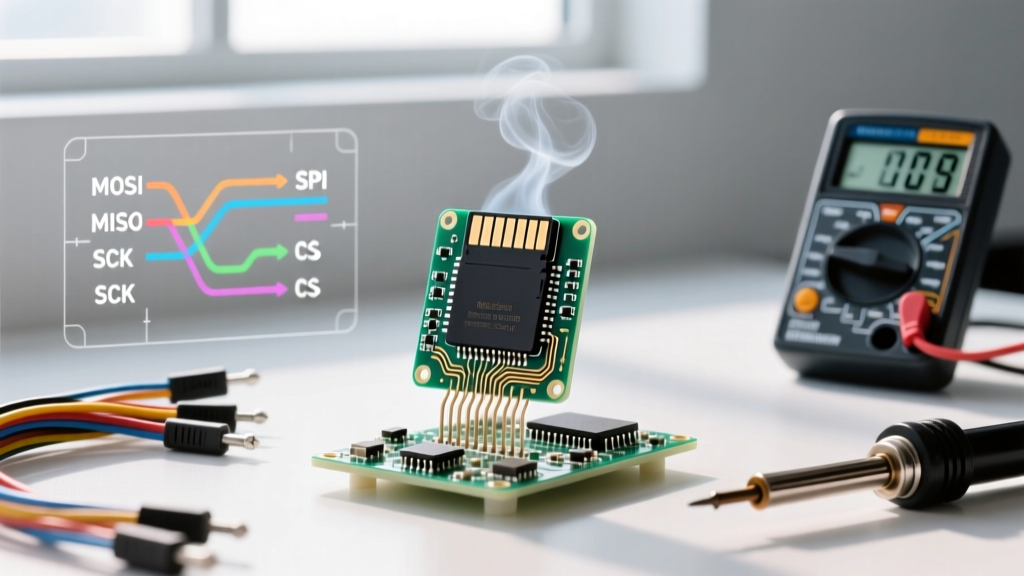
If you are sharing the SPI bus with an nRF24L01 transceiver or a W5500 Ethernet shield, you will encounter data corruption. The Arduino micro SD card module must play nicely with other peripherals. The golden rule of SPI sharing is Chip Select (CS) management. Every device on the bus must have its CS pin pulled HIGH when not in use. If the SD module's CS pin is left floating or LOW while the Ethernet shield is transmitting, the SD card will inject garbage data onto the MISO line, crashing the network stack. Always use pinMode(csPin, OUTPUT); digitalWrite(csPin, HIGH); in your setup() for all SPI devices before initializing any of them.
Performance Benchmarks: SPI vs. SDIO in Modern Setups
While the standard Arduino micro SD card module relies on the SPI protocol, the community has increasingly shifted toward SDIO (Secure Digital Input Output) for high-bandwidth applications like audio streaming or rapid image capture. Below is a benchmark comparison compiled from community testing in 2026 using a SanDisk Extreme 32GB UHS-I card.
| Protocol | Host MCU | Library | Sequential Write | Sequential Read |
|---|---|---|---|---|
| SPI (4MHz) | ATmega328P (Uno) | SD.h | 35 KB/s | 42 KB/s |
| SPI (16MHz) | SAMD21 (Zero) | SdFat | 180 KB/s | 240 KB/s |
| SDIO (1-Bit) | ESP32-S3 | SD_MMC | 1.2 MB/s | 1.8 MB/s |
| SDIO (4-Bit) | ESP32-S3 | SD_MMC | 4.5 MB/s | 8.2 MB/s |
As the data shows, if your project requires writing high-resolution sensor arrays or audio WAV files, the SPI-based Arduino micro SD card module will bottleneck your system. Upgrading to an ESP32 and utilizing the 4-bit SDIO mode via the SD_MMC library provides a massive 20x speed increase, completely bypassing the limitations of the SPI bus.
Advanced Dependency Management with PlatformIO
Managing SD library versions in the legacy Arduino IDE often leads to 'multiple definition' compilation errors, as various sensor libraries bundle their own outdated forks of SD.h. The modern community standard is to use PlatformIO within VS Code. By explicitly defining your dependency in the platformio.ini file, you ensure consistent builds across your team:
lib_deps = greiman/SdFat@^2.2.2
This locks your project to the latest stable SdFat release, ensuring exFAT support and preventing silent regressions that plague the Arduino Library Manager's automatic update system.
Frequently Asked Questions (Community Consensus)
Can I hot-swap the SD card while the Arduino is powered on?
Technically, the physical socket supports it, but the community strongly advises against it unless you have implemented a physical Card Detect (CD) pin interrupt in your code. Pulling the card while a file buffer is flushing will corrupt the FAT32 allocation table, rendering the entire card unreadable until reformatted.
Why does my micro SD module get hot to the touch?
Most cheap modules feature an AMS1117-3.3 linear voltage regulator. If you power the module's VCC pin with 5V, the LDO must burn off the excess 1.7V as heat. While normal for brief logging sessions, continuous 5V operation can cause thermal throttling. If your module is too hot to touch, power it directly from the Arduino's 3.3V pin (if the onboard regulator can supply the required 150mA) or use an external switching buck converter.
What is the maximum cable length for the SPI connection?
SPI is not designed for long distances. Community testing shows that at 8MHz, ribbon cables longer than 15cm (6 inches) will cause signal reflections and CRC errors. If you must mount the Arduino micro SD card module far from the MCU, drop the SPI clock speed to 1MHz or use an I2C/SPI bus extender IC like the PCA9615.