
The Legacy Trap: Why Migrate From the Classic Arduino Uno With Shield?
For over a decade, the standard architecture for rapid prototyping has been pairing an Arduino Uno with shield expansions. Whether you are using a Motor Shield R3 for robotics, an Ethernet Shield W5100 for wired networking, or a multi-channel relay shield for home automation, the physical stacking and standardized 0.1-inch header spacing made development effortless. However, as we navigate the hardware landscape of 2026, the classic ATmega328P-based Uno R3 is increasingly becoming a bottleneck. With only 2KB of SRAM, a 16MHz clock speed, and no native wireless connectivity, modern IoT and edge-computing projects demand more processing power.
Migrating away from an Arduino Uno with shield setup to a modern microcontroller like the ESP32-S3 or the ARM-based Arduino Uno R4 WiFi introduces significant hardware and software friction. The primary hurdles are the 5V vs. 3.3V logic level divide, SPI/I2C pinout discrepancies, and power delivery limitations. This platform migration guide provides actionable, engineer-level pathways to transition your legacy shield-based projects to modern silicon without discarding your existing hardware investments.
Form Factor and Logic Level Realities
Before selecting a migration path, you must audit your specific shield's electrical requirements. Many legacy shields assume a 5V logic HIGH and rely on the Uno's onboard 5V rail for power. Plugging a 5V shield directly into a 3.3V ESP32 DevKit will not only result in unregistered signals but can permanently destroy the ESP32's GPIO pads, which have an absolute maximum rating of 3.6V.
| Microcontroller Platform | Logic Voltage | Form Factor Match | Approx. Cost (2026) | 5V Tolerance |
|---|---|---|---|---|
| Classic Uno R3 (ATmega328P) | 5V | Native (1.1" x 2.1") | $27.00 | Native |
| Arduino Uno R4 WiFi (RA4M1) | 5V (3.3V available) | Native (1.1" x 2.1") | $27.50 | Yes (up to 5.5V) |
| Wemos D1 R32 (ESP32) | 3.3V | Native Footprint | $9.00 | No (Max 3.6V) |
| Standard ESP32-S3 DevKit | 3.3V | None (Requires Wiring) | $7.50 | No (Max 3.6V) |
Migration Path 1: The Drop-In Adapter Route (Wemos D1 R32)
If your goal is to retain the exact physical stacking of your Arduino Uno with shield configuration while gaining Wi-Fi and Bluetooth, the Wemos D1 R32 (or similar ESP32 Uno-form-factor clones) is the most frictionless hardware path. These boards map the ESP32's GPIOs to the standard R3 header footprint.
Critical Caveat: The I2C Pull-Up Trap
While the form factor matches, the logic voltage does not. The ESP32 operates at 3.3V. If your shield utilizes I2C (such as an LCD display or sensor shield), it likely features 4.7kΩ pull-up resistors tied to the 5V pin. When stacked, these resistors will pull the ESP32's SDA and SCL pins up to 5V, slowly degrading the silicon.
- The Fix: Inspect the shield's schematic. Locate the I2C pull-up resistors and desolder them, or physically cut the 5V trace feeding them. Replace them with 4.7kΩ resistors tied to the 3.3V output pin on the Wemos board.
- Power Delivery: The Wemos D1 R32 features an onboard AMS1117-3.3 regulator. If your shield draws more than 400mA from the 3.3V rail, you must bypass the onboard regulator and supply external 3.3V via a dedicated buck converter.
Migration Path 2: The Native 5V Upgrade (Arduino Uno R4 WiFi)
For industrial or mission-critical projects where modifying legacy shields is not an option, migrating to the Arduino Uno R4 WiFi is the optimal choice. Powered by a Renesas RA4M1 ARM Cortex-M4 running at 48MHz, it natively supports 5V logic and the exact mechanical footprint of the classic Uno.
Expert Insight: The Uno R4 WiFi includes a dedicated ESP32-S3 module for Wi-Fi/Bluetooth handling, communicating with the main RA4M1 via an internal serial bridge. This means your legacy 5V shields interface directly with the 5V-tolerant Renesas chip, completely eliminating the need for logic level shifters while granting modern IoT capabilities.
When migrating software to the Uno R4, be aware that the underlying architecture has shifted from AVR to ARM. Inline assembly code or direct port manipulation (e.g., PORTB |= (1 << 5)) used in older AVR-based shield libraries will fail to compile and must be rewritten using the Arduino HAL or CMSIS standards.
Migration Path 3: Manual Rewiring with Bidirectional Level Shifters
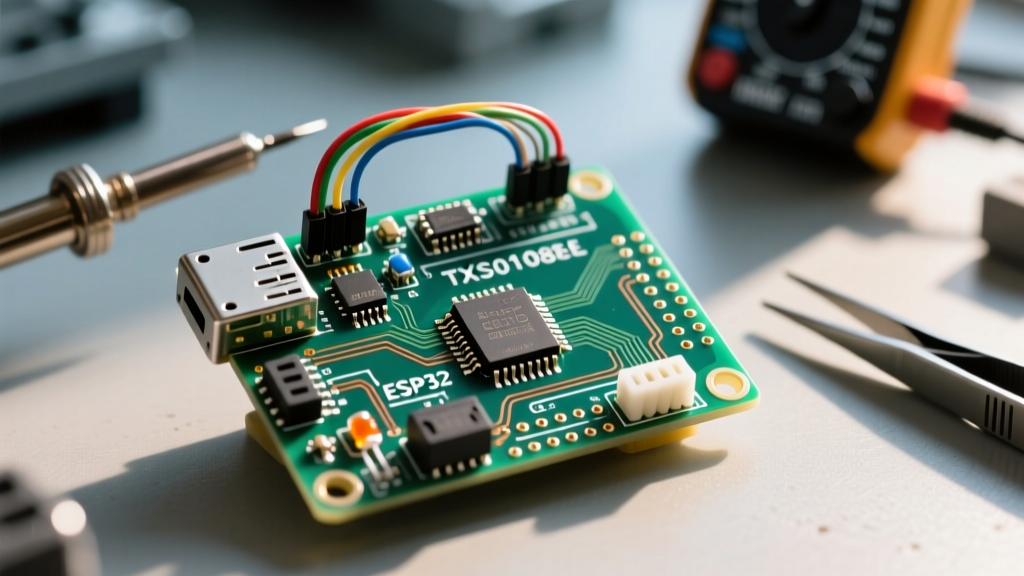
If you are migrating to a standard ESP32-S3 DevKit to take advantage of its dual-core 240MHz processing and native USB, you must abandon the physical shield stacking and rewire the connections using a proto-shield or breadboard, incorporating voltage translation.
Selecting the Right Logic Level Shifter
Do not rely on simple resistor voltage dividers for high-speed buses like SPI; they introduce capacitance that destroys signal integrity at MHz frequencies. Instead, use active translation ICs.
- TXB0108 (Texas Instruments): An 8-channel bidirectional translator with auto-direction sensing. Ideal for SPI buses (MOSI, MISO, SCK, CS). According to the TXB0108 datasheet, it supports data rates up to 50Mbps, easily handling the ESP32's 80MHz SPI clock limits. Note: The TXB0108 struggles with I2C due to its internal drive strength conflicting with I2C pull-ups.
- BSS138 MOSFET Breakouts: The industry standard for I2C level shifting. A dual-channel BSS138 board safely translates the 3.3V ESP32 I2C lines to 5V shield lines without interfering with the open-drain nature of the I2C protocol.
Step-by-Step SPI Rewiring Protocol
When migrating an SPI-based shield (like the Ethernet W5100 or an SD Card module) from the Uno to the ESP32, the hardware SPI pins change entirely.
- Uno R3 SPI: MOSI (D11), MISO (D12), SCK (D13), SS (D10).
- ESP32 Default SPI: MOSI (GPIO 23), MISO (GPIO 19), SCK (GPIO 18), CS (GPIO 5).
- Wiring Action: Route GPIO 23 through the low-voltage side of the TXB0108, and connect the high-voltage side to the shield's MOSI pin. Repeat for MISO and SCK. Ensure the TXB0108 VCCA is tied to ESP32 3.3V, and VCCB is tied to the shield's 5V supply.
Software Translation: Adapting Shield Libraries
Hardware migration is only half the battle. Legacy shield libraries often hardcode AVR-specific timers and pin definitions. When porting your Arduino Uno with shield codebase to the ESP32 or Uno R4, follow this software audit checklist:
- Timer Conflicts: Libraries that use
Timer1for PWM generation (common in older motor shields) will break on the ESP32. Replace hardware timer calls with the ESP32's LEDC (LED Control) peripheral API, which handles PWM natively on almost any GPIO. - Interrupt Mapping: The Uno R3 only supports external interrupts on D2 and D3. The ESP32 supports interrupts on all GPIOs. Update your
attachInterrupt()calls to utilizedigitalPinToInterrupt(pin)rather than hardcoded integer values. - Memory Allocation: Legacy libraries often use the
Stringclass heavily, causing heap fragmentation on the 2KB AVR. While the ESP32 has 512KB+ of SRAM, it is best practice to refactor these libraries to use fixed-size character arrays or thestd::stringlibrary to prevent memory leaks during long-term IoT deployments.
Power Delivery: The Hidden Migration Killer
A frequently overlooked aspect of migrating an Arduino Uno with shield setup is power architecture. The classic Uno utilizes an NCP1117 linear voltage regulator. If you power the Uno via the barrel jack at 12V, the linear regulator dissipates the excess voltage as heat. If your shield (e.g., a GSM SIM800L module or a high-torque motor shield) draws 1A of current, the linear regulator will overheat and trigger thermal shutdown within seconds.
The 2026 Standard: When migrating to high-power shields, abandon the barrel jack. Use an external 5V 3A switching buck converter (such as an LM2596 or MP1584 module) and inject 5V directly into the 5V pin of your new microcontroller board (bypassing the onboard regulator entirely). This ensures clean, thermally stable power for both the logic ICs and the shield's actuators.
Cost and Effort Breakdown
| Migration Strategy | Hardware Cost | Wiring Effort | Software Effort | Best Use Case |
|---|---|---|---|---|
| Wemos D1 R32 + Shield Mod | ~$11.00 | Low (Desoldering) | Medium | Cost-sensitive IoT sensors |
| Arduino Uno R4 WiFi | ~$27.50 | None (Drop-in) | High (ARM porting) | Industrial 5V shield retention |
| ESP32-S3 + TXB0108/BSS138 | ~$12.50 | High (Breadboard) | Medium | High-speed SPI / Custom PCBs |
Expert Troubleshooting: Common Migration Failures
Failure Mode: SD Card Shield Fails to Initialize on ESP32
Symptom: The SD.begin() function hangs or returns false after migrating a MicroSD shield to the ESP32 via level shifters.
Root Cause: The ESP32's hardware SPI bus can initialize at speeds up to 80MHz. Many legacy SD card shields, especially those with long ribbon cables or poor PCB trace routing, suffer from signal reflection and capacitance at frequencies above 16MHz. Furthermore, the ESP32 requires a specific pull-up configuration on the MISO line.
Resolution: Force the SPI clock speed down in your initialization code: SD.begin(CS_PIN, SPI, 14000000);. Additionally, ensure a 10kΩ pull-up resistor is present on the MISO line on the 3.3V side of the level shifter, as detailed in the Espressif Hardware Design Guidelines.
Conclusion
Migrating a legacy Arduino Uno with shield ecosystem to modern platforms like the ESP32 or Uno R4 WiFi is a highly rewarding endeavor that breathes new life into proven hardware. By carefully auditing logic levels, implementing proper active level shifting for high-speed buses, and refactoring AVR-specific software routines, you can achieve the processing power and wireless connectivity required for 2026's edge-computing demands without sacrificing your existing shield investments.