
The Migration Dilemma: When to Choose the Arduino Mega
Every embedded systems engineer and serious maker eventually hits the 'Uno Ceiling.' You start with an Arduino Uno for a simple sensor readout, but as your project evolves to include a GPS module, a cellular modem, and a 128x64 OLED display, you quickly run out of pins and memory. This is the exact inflection point where understanding Arduino Mega specifications becomes critical for your platform migration strategy.
As of 2026, the microcontroller landscape is more fragmented than ever. While 32-bit ARM and RISC-V boards dominate the high-end, the 8-bit AVR architecture of the Arduino Mega 2560 remains a staple for specific industrial and educational applications. However, migrating to—or away from—the Mega requires a deep understanding of its hardware constraints, pinout quirks, and logic-level realities. This guide dissects the core specifications to help you make an informed migration decision.
Core Arduino Mega Specifications at a Glance
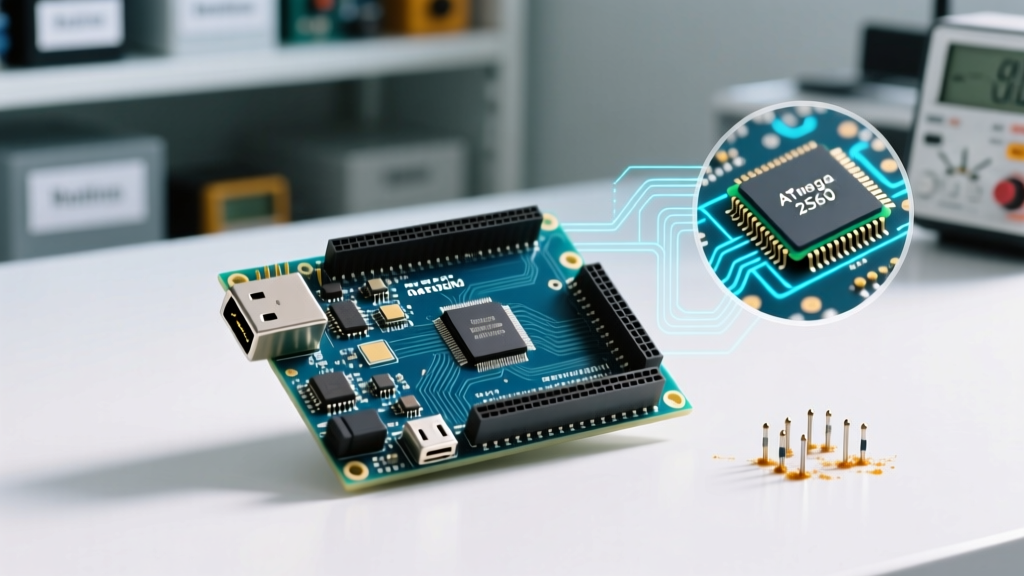
Before planning a hardware port, you must understand the baseline silicon. The Arduino Mega 2560 Rev3 is built around the Microchip ATmega2560 microcontroller, paired with an ATmega16U2 for USB-to-Serial conversion. Below is the definitive specification matrix for the genuine board.
| Specification | Arduino Mega 2560 Value | Migration Impact |
|---|---|---|
| Microcontroller | ATmega2560 (8-bit AVR) | Limits processing to 16MHz; no floating-point unit (FPU). |
| Operating Voltage | 5V | Requires logic level shifters for modern 3.3V sensors. |
| Digital I/O Pins | 54 (of which 15 provide PWM) | Massive expansion over Uno's 14 pins; ideal for relay arrays. |
| Analog Input Pins | 16 (10-bit ADC) | Sufficient for multi-sensor arrays, but 10-bit resolution lacks precision. |
| Flash Memory | 256 KB (8 KB used by bootloader) | Ample for complex state machines, but too small for audio/large buffers. |
| SRAM | 8 KB | Major bottleneck for IoT stacks or large graphical displays. |
| Hardware UARTs | 4 | Eliminates the need for unreliable SoftwareSerial libraries. |
| Board Dimensions | 101.52 mm x 53.3 mm | Requires custom enclosures; incompatible with standard Uno mounts. |
Source: Arduino Official Mega 2560 Documentation
Migrating TO the Mega: Solving the Uno's Bottlenecks
If you are migrating an existing project from an Arduino Uno or Nano to the Mega, you are likely doing so to resolve one of three specific hardware limitations. Here is how the Mega's specifications solve them, along with the code refactoring required.
1. Escaping the SoftwareSerial Trap
The Uno has only one hardware UART (pins 0 and 1), which is shared with the USB serial monitor. If your project requires a GPS module (TX/RX) and a Bluetooth HC-05 module simultaneously, Uno users are forced to use the SoftwareSerial library. This library consumes massive CPU cycles and frequently drops bytes at baud rates above 38400.
The Mega Solution: The Mega features four dedicated hardware UARTs (Serial, Serial1, Serial2, Serial3). Migrating requires rewiring your peripherals to pins 14/15, 16/17, and 18/19, and updating your code to use Serial1.begin(9600) instead of software emulation.
2. Overcoming SRAM Starvation
The Uno's ATmega328P has a mere 2 KB of SRAM. If you are driving a 128x64 pixel OLED via U8g2, the display buffer alone consumes 1,024 bytes—half your total RAM. Adding string manipulation or JSON parsing (via ArduinoJson) will quickly cause stack collisions and random reboots.
The Mega Solution: The 8 KB SRAM on the ATmega2560 provides a 4x increase. While 8 KB is still modest by 2026 standards, it is generally sufficient to hold display buffers, moderate JSON payloads, and local variables without triggering out-of-memory crashes.
The Hidden Migration Costs: Pinout and Shield Incompatibilities
A common and costly mistake during platform migration is assuming that 'Arduino shields' are universally plug-and-play. The physical footprint of the Mega is wider, and crucially, the SPI and I2C bus pins are relocated.
- SPI Bus Relocation: On the Uno, SPI is on pins 11 (MOSI), 12 (MISO), and 13 (SCK). On the Mega, these are relocated to pins 51 (MOSI), 50 (MISO), and 52 (SCK). If you are migrating a custom PCB or an older shield that hardwires to 11-13, your SD card or RFID reader will fail silently.
- I2C Bus Relocation: Uno uses A4 (SDA) and A5 (SCL). The Mega moves these to pins 20 (SDA) and 21 (SCL). Always use the dedicated SDA/SCL headers near the USB port, which are hardware-mapped correctly on both boards, to ensure shield compatibility.
- Interrupt Pins: The Uno supports external interrupts on pins 2 and 3. The Mega expands this to six pins: 2, 3, 18, 19, 20, and 21. If your rotary encoders or flow sensors are wired to Uno pins that aren't on this list, you must rewire them during migration.
Expert Troubleshooting Tip: When migrating a shield that uses the ICSP header for SPI communication (common on modern Ethernet and TFT displays), you do not need to worry about the digital pin relocation. The 2x3 ICSP header maintains the exact same physical orientation and pinout on both the Uno and the Mega.
Migrating AWAY from the Mega: Hitting the 16MHz Ceiling
While the Arduino Mega specifications are impressive for an 8-bit board, the maker industry has shifted heavily toward 32-bit architectures. If your project requires Wi-Fi, high-speed DSP, or complex cryptographic operations, it is time to migrate away from the Mega. Here are the two primary upgrade paths in 2026.
Path A: The ESP32-S3 (For IoT and Connectivity)
If your Mega project involves sending sensor data to the cloud via an external ESP-01 Wi-Fi module, you are using an outdated architecture. The ESP32-S3 integrates Wi-Fi and Bluetooth 5.0 directly on the silicon.
| Feature | Arduino Mega 2560 | ESP32-S3 DevKit (2026 Standard) |
|---|---|---|
| Processor | 8-bit AVR @ 16MHz | Dual-core Xtensa LX7 @ 240MHz |
| SRAM | 8 KB | 512 KB (plus 8MB PSRAM on many modules) |
| Connectivity | None (requires external modules) | Wi-Fi 802.11 b/g/n, BLE 5.0 |
| Logic Level | 5V Tolerant | 3.3V (Strict) |
| Approx. Cost | $15 (Clone) / $48 (Genuine) | $7 - $10 |
Source: Espressif ESP32 Technical Reference
The Migration Catch: The ESP32 operates strictly at 3.3V. If your Mega project utilizes 5V sensors, relays, or LCDs, you must integrate bidirectional logic level shifters (like the BSS138 MOSFET-based shifters) to prevent frying the ESP32's GPIO pins.
Path B: The Teensy 4.1 (For High-Speed Processing)
If your project involves audio processing, FFT analysis, or driving high-resolution LED matrices (like WS2812B strips in the thousands), the Mega's 16MHz clock is a hard limit. The Teensy 4.1 features an ARM Cortex-M7 running at a staggering 600MHz.
- Memory: 1 MB of internal RAM, completely eliminating the SRAM constraints of the Mega.
- ADC Precision: Features dual 12-bit ADCs, offering significantly higher analog resolution than the Mega's 10-bit ADC.
- Ecosystem: Fully programmable via the Arduino IDE using the Teensyduino add-on, meaning your existing C++ logic can often be ported with minimal syntax changes, provided you account for the 3.3V logic level.
Source: PJRC Teensy Specifications
Step-by-Step Platform Migration Checklist
Whether you are moving to the Mega or upgrading past it, follow this engineering checklist to ensure a stable hardware transition:
- Audit Voltage Domains: Map every sensor and actuator. Identify which require 5V and which require 3.3V. Order appropriate level shifters or optocouplers before soldering.
- Refactor Serial Communications: Globally search your codebase for
SoftwareSerial. Replace it with hardwareSerialXcalls if moving to the Mega, or utilize the ESP32's hardware UART mapping if moving to a 32-bit board. - Verify Interrupt Mappings: Check the
attachInterrupt()functions in your code. Ensure the physical pins you are wiring to support external interrupts on the target microcontroller. - Recalculate Timing Dependencies: If your code relies on direct port manipulation (e.g.,
PORTAorPORTBregisters) or precisedelayMicroseconds()loops for custom protocols like DHT11 or WS2812, be aware that changing from a 16MHz AVR to a 240MHz ARM will completely break your timing. Use hardware-abstraction libraries instead of bare-metal register calls. - Test Power Delivery: The Mega's onboard 5V regulator can safely supply about 800mA when powered via the barrel jack (7-12V). If your shield array draws more than this, you must inject 5V directly from an external buck converter into the '5V' pin, bypassing the onboard linear regulator to prevent thermal shutdown.
Frequently Asked Questions: Arduino Mega Specifications
Does the Arduino Mega have a built-in DAC (Digital-to-Analog Converter)?
No. Despite its massive pin count and 15 PWM channels, the ATmega2560 does not feature a true hardware DAC. If your migration requires true analog voltage output (e.g., for generating sine waves or precise motor control references), you must add an external I2C DAC module like the MCP4725, or migrate to a board like the ESP32 or Arduino Due, which feature native DAC pins.
What is the maximum current draw per I/O pin on the Mega?
The absolute maximum rating for any single I/O pin on the ATmega2560 is 40 mA, but the recommended continuous operating current is 20 mA. Furthermore, the total current draw across all VCC and GND pins must not exceed 200 mA. Never wire high-current loads like solenoids or large relays directly to the Mega's GPIO pins; always use logic-level MOSFETs or relay driver arrays like the ULN2803.
Can I use my existing Uno shields on the Arduino Mega?
Most modern shields designed for the 'R3' footprint will physically plug into the Mega and function correctly, provided they use the ICSP header for SPI and the dedicated SDA/SCL pins for I2C. However, older shields that hardwire SPI to pins 11-13 or I2C to A4-A5 will require manual jumper wires to route the signals to the Mega's relocated pins (50-52 for SPI, 20-21 for I2C).