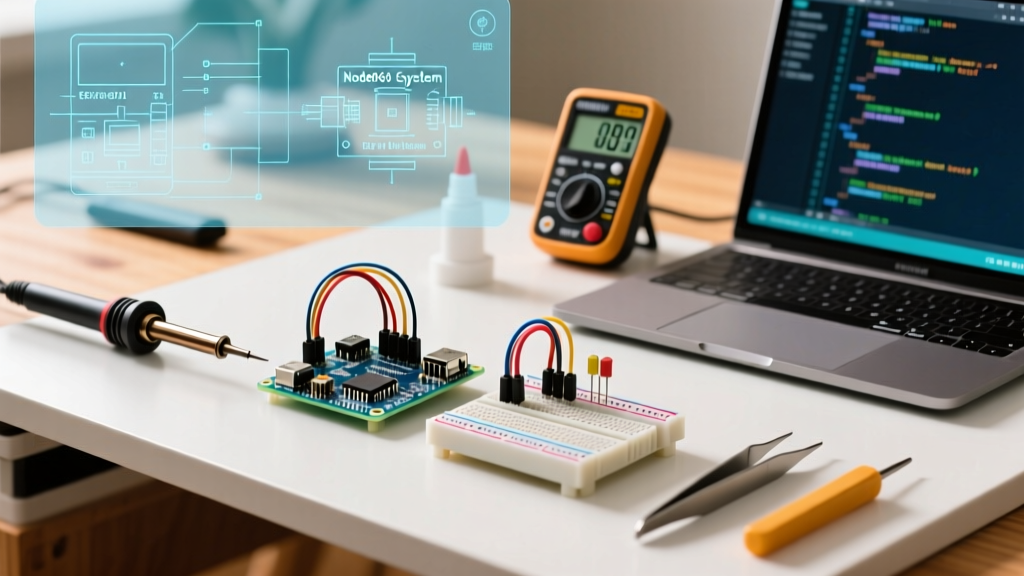

The Evolution of the Arduino ESP8266 Integration
When Espressif Systems first released the ESP8266, it was intended as a low-cost Wi-Fi AT-command peripheral for traditional microcontrollers. However, the open-source community rapidly reverse-engineered the silicon, leading to the creation of the Arduino core for ESP8266. This pivotal shift transformed a $3 wireless modem into a standalone, 80 MHz IoT powerhouse. Today, the Arduino ESP8266 ecosystem remains a cornerstone of hobbyist and light-commercial IoT development, offering an unparalleled balance of cost, community support, and Wi-Fi capability.
While newer architectures like the RISC-V based ESP32-C3 have entered the market, the ESP8266 retains a massive footprint in 2026 due to its ultra-low bill of materials (BOM) cost and the sheer volume of legacy libraries optimized for its specific memory architecture. Understanding the nuances of this ecosystem—from selecting the right development board to navigating its strict hardware limitations—is critical for building reliable IoT deployments.
Core Hardware: NodeMCU vs. Wemos D1 Mini
The ESP8266 silicon itself (usually the ESP-12F or ESP-12S module) is identical across most development boards. The differences lie in the USB-to-UART bridge, voltage regulation, and physical footprint. Below is a technical comparison of the two most dominant boards in the Arduino ESP8266 ecosystem.
| Feature | NodeMCU V3 (LoLin) | Wemos D1 Mini V4 | ESP-12F Bare Module |
|---|---|---|---|
| USB-UART IC | CH340G | CH340C / CP2104 | None (Requires FTDI) |
| Voltage Regulator | AMS1117-3.3 (SOT-223) | ME6211C33 (SOT-23-5) | None (Strict 3.3V in) |
| Max Continuous Current | ~800mA (Thermally limited) | ~500mA | ~300mA (Module limit) |
| Dimensions | 58mm x 31mm | 34mm x 26mm | 24mm x 16mm |
| Avg. Price (2026) | $3.50 - $4.50 | $3.00 - $4.00 | $1.80 - $2.50 |
| Best Use Case | Bench prototyping, sensor hubs | Compact enclosures, wearables | Custom PCB integration |
Setting Up the Arduino IDE for ESP8266
To program the ESP8266 using the Arduino IDE, you must install the community-maintained board core. Do not rely on outdated tutorials; the board manager URL has changed over the years. Follow these exact steps for a stable 2026 setup:
- Open the Arduino IDE and navigate to File > Preferences (or Arduino IDE > Settings on macOS).
- In the "Additional boards manager URLs" field, paste:
http://arduino.esp8266.com/stable/package_esp8266com_index.json - Open the Boards Manager, search for
esp8266, and install the latest stable release (version 3.1.2 or newer). - Select your board via Tools > Board > esp8266 (e.g., "NodeMCU 1.0 (ESP-12E Module)").
- Critical Step: Go to Tools > Flash Size and select "4MB (FS:2MB OTA:~1019KB)". This configures the partition table to allow Over-The-Air (OTA) updates while reserving 2MB for a SPIFFS/LittleFS file system.
- Set Tools > SSL/TLS to "BearSSL" for modern, memory-efficient cryptographic operations.
Hardware Edge Cases and Failure Modes
The Arduino ESP8266 ecosystem is unforgiving of hardware design errors. Because the chip operates at high RF power during Wi-Fi transmission, seemingly minor circuit flaws will cause erratic reboots. Here are the most common failure modes and their engineering solutions.
1. The AMS1117 Thermal Trap and Brownouts
Cheap NodeMCU clones utilize the AMS1117-3.3 linear regulator. When the ESP8266 transmits a Wi-Fi packet, current draw spikes to roughly 350mA. If you are also powering a 5V peripheral (like a WS2812B LED strip or an MQ gas sensor) from the board's VIN or 3V3 pins, the voltage regulator will overheat and trigger thermal shutdown, resulting in a brownout reset.
The Fix: Never power high-current peripherals directly from the development board's regulator. Use a dedicated, high-efficiency buck converter (such as the MP1584EN module, costing roughly $1.20) stepped down from a 5V/2A USB power supply to feed both the ESP8266's 5V pin and your peripherals.
2. Strapping Pin Boot Failures
The ESP8266 determines its boot mode by sampling specific GPIO pins (known as strapping pins) at the exact moment the RST pin goes HIGH. According to the Espressif Technical Reference Manual, the required states for normal SPI flash boot are:
- GPIO0: HIGH (Pulled up via 10kΩ resistor)
- GPIO2: HIGH (Pulled up via 10kΩ resistor)
- GPIO15: LOW (Pulled down via 10kΩ resistor)
The Failure: If you connect a relay module or a sensor that pulls GPIO15 HIGH during power-on, the ESP8266 will enter SDIO boot mode and hang indefinitely. The serial monitor will output garbage characters or remain completely blank.
The Fix: Ensure GPIO15 is strictly used for outputs that default LOW, or use a GPIO pin like GPIO4 or GPIO5 (which have no boot restrictions) for critical peripherals. Always include a 10kΩ pulldown resistor on GPIO15 in custom PCB designs.
3. The 5V Logic Myth
Despite persistent rumors on legacy forums, the ESP8266 is not 5V tolerant on its GPIO pins. The silicon gate oxide layer is rated for a maximum of 3.6V. Feeding a 5V signal into an ESP8266 input pin will cause immediate or degraded long-term failure due to oxide breakdown.
The Fix: Use a bidirectional logic level shifter (like the BSS138 MOSFET-based modules) or a simple resistor voltage divider (e.g., 1kΩ series, 2kΩ to GND) when interfacing with 5V sensors like the HC-SR04 ultrasonic module.
Library Ecosystem and IoT Frameworks
The true power of the Arduino ESP8266 ecosystem lies in its mature software libraries. However, the ESP8266's limited SRAM (roughly 50KB usable for user data) requires careful library selection to avoid heap fragmentation.
- Networking: The native
ESP8266WiFilibrary is robust, but for web servers, you must avoid the blockingESP8266WebServer. Instead, use the asynchronousESPAsyncWebServer(available via GitHub), which handles multiple concurrent HTTP requests without stalling the main loop. - MQTT Integration: PubSubClient remains the gold standard for MQTT communication. Set the buffer size to
512or1024bytes viasetBufferSize()to handle modern JSON payloads from platforms like Home Assistant. - Over-The-Air (OTA): The native
ArduinoOTAlibrary is essential for field deployments. Remember that enabling OTA consumes roughly 300KB of flash space, which is why the "OTA:~1019KB" flash partition setting mentioned earlier is mandatory.
When to Upgrade: ESP8266 vs. ESP32-C3
As of 2026, if you are designing a new commercial product or a battery-powered IoT node, the ESP8266 is no longer the optimal choice. The ESP32-C3 has effectively replaced it in the sub-$3 tier. Here is a technical matrix comparing the two for modern ecosystem selection:
| Specification | ESP8266 (ESP-12F) | ESP32-C3 (ESP32-C3-MINI-1) |
|---|---|---|
| Architecture | Xtensa L106 (32-bit) | RISC-V (32-bit) |
| CPU Speed | 80 / 160 MHz | 160 MHz |
| SRAM | ~50KB usable | 400KB |
| Bluetooth | None | Bluetooth 5 (LE) |
| Crypto Acceleration | None (Software TLS) | Hardware SHA, RSA, ECC |
| Deep Sleep Current | ~20 µA | ~5 µA |
The Verdict: Stick to the Arduino ESP8266 ecosystem for maintaining legacy hardware, ultra-low-cost educational kits, and simple Wi-Fi relays. Migrate to the ESP32-C3 for any new design requiring BLE provisioning, hardware-accelerated TLS (crucial for AWS IoT Core or Azure IoT Hub), or battery operation.
Frequently Asked Questions
Q: Why does my ESP8266 keep resetting with the "Fatal Exception (28)" error?
A: Exception 28 indicates a stack overflow or an unaligned memory access. This frequently occurs when using the String class heavily in the loop() function, causing heap fragmentation. Switch to fixed-size character arrays (char[]) and use snprintf() for string manipulation.
Q: Can I use the Arduino ESP8266 core with PlatformIO?
A: Yes, and it is highly recommended for professional workflows. PlatformIO handles library dependencies, flash partitioning, and OTA uploads much more reliably than the Arduino IDE. Use the platform identifier espressif8266 in your platformio.ini file.