
Why the Arduino Mega 2560 Datasheet Doesn't Tell the Whole Story
When engineers and makers first approach the official Microchip ATmega2560 datasheet, they are looking at the raw silicon capabilities: 256KB of In-System Self-Programmable Flash, 8KB of SRAM, 4KB of EEPROM, and a robust 16MHz clock speed. However, the datasheet describes the microcontroller unit (MCU), not the development board it is soldered onto. In 2026, the market is flooded with everything from $14 budget clones to $55 official boards and specialized premium third-party variants. Understanding how different manufacturers translate the Arduino Mega 2560 datasheet specifications into physical PCB layouts, voltage regulators, and USB interfaces is the difference between a project that survives a weekend hackathon and one that operates reliably in an industrial enclosure.
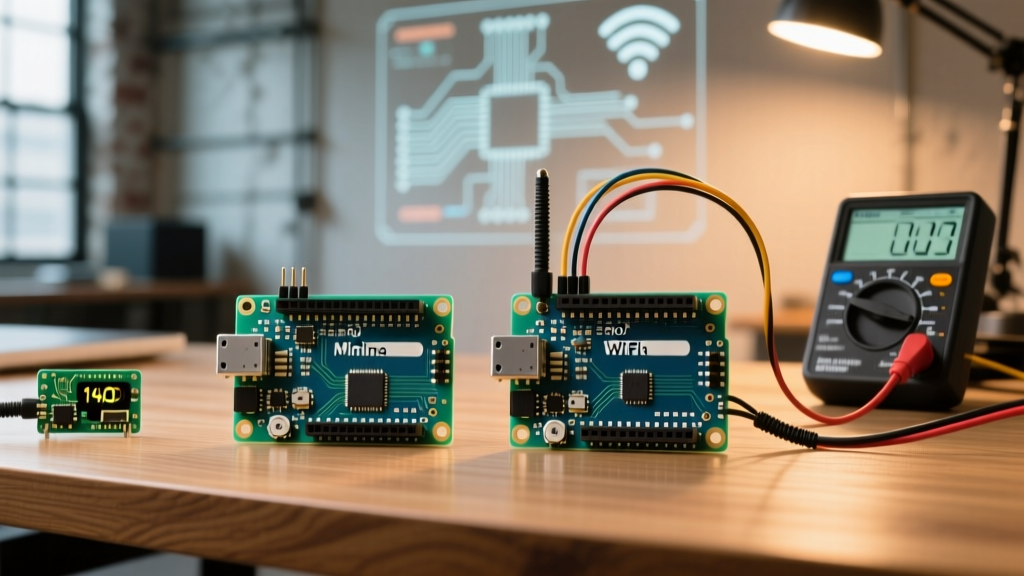
The core discrepancy lies in the supporting circuitry. While the ATmega2560 chip itself might be identical across an official Arduino Mega 2560 Rev3 and a generic clone from AliExpress, the power delivery networks, decoupling capacitors, and USB-to-serial bridge chips vary wildly. This guide breaks down the real-world hardware implementations of the Mega ecosystem, comparing budget, official, and premium options to help you make an informed purchasing decision.
Hardware Implementation Matrix: Official vs. Budget vs. Premium
Before diving into the electrical engineering nuances, let us look at the hard specifications and current 2026 market pricing for the three main tiers of Mega 2560 boards.
| Feature | Official Arduino Mega 2560 Rev3 | Budget Clone (e.g., Elegoo/HiLetgo) | Premium 3rd-Party (e.g., DFRobot Pro) |
|---|---|---|---|
| Average Price (2026) | $52.00 - $58.00 | $14.00 - $18.00 | $35.00 - $42.00 |
| USB-to-Serial IC | ATmega16U2 | CH340G or CH340E | CH340G or CP2102 |
| 5V Voltage Regulator | NCP1117ST50T3G (1A) | Generic AMS1117-5.0 (800mA) | ME6211 or High-Capacity LDO |
| PCB Copper Weight | 2 oz (Standard) | 1 oz (Cost-reduced) | 2 oz (Gold Immersion ENIG) |
| Auto-Reset Circuit | Hardware 16U2 DTR line | Capacitor coupling (often unreliable) | Optimized DTR transistor logic |
Power Delivery: Decoding the Current Limits
The official Arduino hardware documentation notes that the board can be powered via the USB connection or an external power supply (recommended 7-12V). However, the datasheet for the ATmega2560 only specifies that the chip itself draws roughly 30mA to 50mA under typical load. The real bottleneck is the onboard 5V linear voltage regulator.
The Budget Trap: AMS1117 Thermal Throttling
Most budget clones utilize the AMS1117-5.0 linear regulator. While technically rated for 800mA, the SOT-223 package on a 1oz copper PCB lacks the thermal mass to dissipate heat effectively. If you power a budget clone with a 9V wall adapter and attempt to draw 500mA to power a sensor shield and a few servos, the regulator will hit thermal shutdown within minutes. The voltage will droop, causing the ATmega2560 to brown out and reset unpredictably.
The Premium Advantage: NCP1117 and ME6211
The official Arduino board uses the ON Semiconductor NCP1117, which has better thermal regulation and a higher absolute maximum rating, though it still requires adequate airflow. Premium third-party boards often upgrade to switching regulators or high-performance LDOs like the ME6211, paired with 2oz copper pours acting as massive heatsinks. If your project involves high-current 5V peripherals like relay modules or LED matrices, the premium power delivery network is non-negotiable.
USB Interfaces and HID Capabilities
A frequently overlooked section of the ATmega2560 datasheet is its support for native USB capabilities, but this is entirely dependent on the board's secondary microcontroller. The official Mega 2560 Rev3 uses an ATmega16U2 programmed as a USB-to-serial bridge. Because the 16U2 is a fully programmable AVR chip, advanced users can flash custom firmware (like HIDUINO) to make the Mega appear as a native keyboard, mouse, or MIDI device to a host computer.
Budget clones almost universally replace the 16U2 with a CH340G chip to cut costs. The CH340G is a dedicated, hardwired USB-to-serial UART. It is incredibly reliable for standard code uploading and serial monitoring, and Windows 11 includes native drivers for it out of the box. However, it completely strips away the native HID capabilities. If your project requires the Mega to act as a custom macro keypad or a flight simulator controller via native USB HID, a budget clone will fail at the hardware level, regardless of what your code dictates.
Signal Integrity and ADC Noise
The ATmega2560 features a 16-channel, 10-bit Analog-to-Digital Converter (ADC). In a perfect laboratory environment, the datasheet promises a clean 10-bit resolution (0-1023). In reality, the ADC is highly susceptible to digital noise from the board's own 16MHz crystal and high-speed digital traces.
- Budget Clones (1oz Copper): To save money, budget manufacturers often route high-speed digital lines (like the SPI bus or TX/RX lines) dangerously close to the analog reference (AREF) and analog input traces. This results in a noisy baseline. You might read a fluctuating value of 510-515 on a grounded analog pin.
- Premium & Official Boards (2oz Copper): Premium layouts utilize dedicated ground planes and proper decoupling capacitors placed within 2mm of the VCC and AVCC pins. The thicker 2oz copper also reduces overall impedance, resulting in significantly cleaner ADC readings, which is critical for precision sensor applications like load cells or thermocouples.
When to Choose Budget, Official, or Premium Alternatives
Expert Rule of Thumb: Buy budget for breadboard prototyping and low-power logic. Buy official for educational environments and guaranteed HID support. Buy premium third-party for embedded, high-current, or space-constrained deployments.
Scenario 1: The Budget Choice
If you are building a low-power weather station powered via USB, drawing less than 200mA total, and utilizing digital sensors (I2C/SPI), a $15 Elegoo or HiLetgo clone is perfectly adequate. The CH340G will handle your serial logging, and the thinner PCB traces will never be stressed.
Scenario 2: The Official Choice
For university labs, robotics competitions, or projects requiring native USB HID emulation, the $55 official Arduino Mega 2560 Rev3 remains the standard. The ATmega16U2 ensures maximum compatibility with niche IDEs and custom firmware flashing tools.
Scenario 3: The Premium Upgrade Path (Teensy 4.1)
If you find yourself pushing the ATmega2560 to its absolute limits—struggling with the 16MHz clock speed for complex DSP, or running out of the 8KB SRAM for large buffer arrays—it is time to abandon the Mega form factor entirely. The PJRC Teensy 4.1 (priced around $35) offers an ARM Cortex-M7 running at 600MHz, 1MB of RAM, and native Ethernet. While it requires adapting your code to the Teensyduino environment, it represents the ultimate 'premium' upgrade for engineers who have outgrown the 8-bit AVR architecture outlined in the Mega datasheet.
Frequently Asked Questions
Do I need to install drivers for the Arduino Mega 2560?
If you are using the official board with the ATmega16U2, modern operating systems (Windows 10/11, macOS, Linux) recognize it natively as an Arduino device. If you are using a budget clone with the CH340G chip, Windows 11 typically installs the driver automatically via Windows Update, though older systems may require you to manually download the WCH CH340 driver package.
Can I power a 12V relay module directly from the Mega's VIN pin?
The VIN pin is directly connected to the input of the onboard voltage regulator and the external DC jack. While the ATmega2560 datasheet doesn't govern the VIN trace, the physical PCB traces on budget clones are often too thin to handle the inrush current of multiple 12V relays without creating a voltage drop or melting the solder mask. Always power 12V inductive loads from an independent, dedicated power supply, sharing only the ground (GND) with the Mega.
Why does my budget clone fail to auto-reset during uploading?
The auto-reset function relies on the DTR (Data Terminal Ready) line from the USB-Serial chip pulling the RESET pin low via a 100nF capacitor. Budget clones often use capacitors with high tolerance variances (e.g., +/- 20% ceramic discs) or poorly routed traces that introduce parasitic capacitance. This results in the RESET pulse being too short to trigger the bootloader. The temporary fix is to press the physical reset button on the board exactly when the IDE reports 'Uploading...'.