
The ATmega32U4 Advantage: Native USB Architecture
When engineers and makers evaluate the Arduino Leonardo microcontroller board for a new build, the decision almost always hinges on a single silicon differentiator: the Microchip ATmega32U4. Unlike the ubiquitous Arduino Uno R3, which relies on a secondary ATmega16U2 chip to handle USB-to-serial conversion, the Leonardo integrates USB communication directly into the main microcontroller. This native USB architecture fundamentally changes how the board interacts with host computers, opening the door to advanced Human Interface Device (HID) emulation, direct MIDI routing, and complex serial workflows that are impossible on standard AVR boards without extensive software hacking.
However, this architectural shift introduces unique hardware quirks, pinout deviations, and bootloader behaviors that can derail a project if misunderstood. This suitability analysis dissects the engineering realities of the Leonardo in 2026, helping you determine whether its native USB capabilities outweigh its constraints compared to modern alternatives like the Raspberry Pi Pico (RP2040) or ESP32-S3.
Core Architecture Comparison: Leonardo vs. Uno R3 vs. Pro Micro
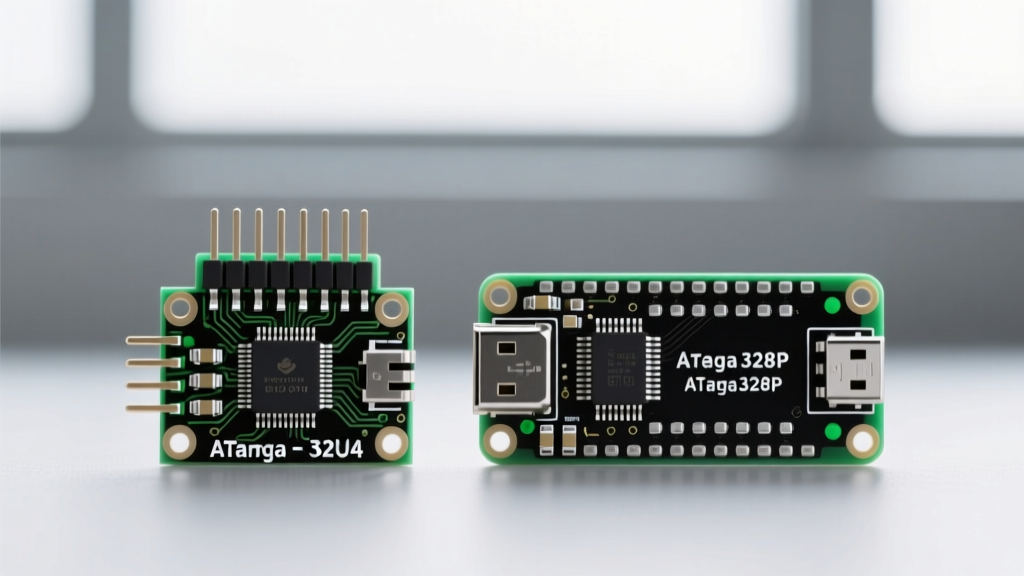
To understand where the Leonardo fits in the ecosystem, we must compare its silicon footprint against its closest siblings. The SparkFun Pro Micro is functionally identical to the Leonardo but utilizes a stripped-down form factor, making it crucial for embedded space-constrained designs.
| Feature | Arduino Leonardo (Official) | Arduino Uno R3 | SparkFun Pro Micro (5V/16MHz) |
|---|---|---|---|
| Core MCU | ATmega32U4 | ATmega328P | ATmega32U4 |
| USB Architecture | Native (Built-in) | Secondary IC (ATmega16U2) | Native (Built-in) |
| Digital I/O | 20 (7 PWM) | 14 (6 PWM) | 18 (5 PWM) |
| Analog Inputs | 12 (A0-A11) | 6 (A0-A5) | 12 (A0-A3, A6-A11 mapped) |
| I2C Pins (Default) | D2 (SDA), D3 (SCL) | A4 (SDA), A5 (SCL) | D2 (SDA), D3 (SCL) |
| Flash Memory | 32 KB (4 KB Bootloader) | 32 KB (0.5 KB Bootloader) | 32 KB (4 KB Bootloader) |
| Approx. Price (2026) | $24.50 | $27.00 | $6.00 - $8.00 |
Note: Pricing reflects official MSRP and major distributor averages for genuine hardware in 2026. Generic overseas clones of the Pro Micro can be sourced for under $3.00 in bulk.
Ideal Project Profiles: Where the Leonardo Shines
The Arduino Leonardo microcontroller board is not a general-purpose replacement for the Uno; it is a specialized tool. It is the optimal choice for the following project categories:
1. Custom HID Devices (Keyboards, Mice, Macro Pads)
Because the ATmega32U4 natively supports USB HID protocols, you can use the built-in Keyboard.h and Mouse.h libraries to emulate physical peripherals. This is the foundation for custom mechanical macro pads, flight simulator throttle quadrants, and accessibility switches. The host OS recognizes the board as a standard USB keyboard or mouse, requiring zero custom drivers on Windows, macOS, or Linux.
2. MIDI Controllers and Audio Interfaces
The native USB stack includes MIDI class support via the MIDIUSB library. This allows the Leonardo to act as a USB MIDI device, sending Note On/Off and Control Change (CC) messages directly to Digital Audio Workstations (DAWs) like Ableton or Logic Pro. Unlike the Uno, which requires complex firmware flashing (like the HIDUINO project) to act as a class-compliant MIDI device, the Leonardo handles this natively in user-space code.
3. Automated Testing and Injection Tools
In cybersecurity and QA automation, the Leonardo is frequently used to build "Rubber Ducky" style keystroke injection tools or automated hardware testing rigs that simulate user inputs to verify software UI responses.
Critical Hardware Quirks & Failure Modes
Transitioning from an ATmega328P (Uno) to the ATmega32U4 (Leonardo) introduces several hardware and software traps that frequently cause project failures. According to the Microchip ATmega32U4 Datasheet, the internal routing and timer allocations differ significantly.
The I2C Pinout Trap
On the Arduino Uno, the I2C bus is hardwired to A4 (SDA) and A5 (SCL). On the Leonardo, the hardware I2C lines are routed to D2 (SDA) and D3 (SCL). While the official Leonardo R3 board duplicates these signals to the auxiliary I2C header near the AREF pin to maintain compatibility with Uno R3 shields, the underlying silicon mapping remains tied to D2/D3. If you are designing a custom PCB or using a bare ATmega32U4 breakout (like the Pro Micro), wiring your I2C sensors to A4/A5 will result in total communication failure. Always use Wire.begin() without arguments and physically route to D2/D3.
USB Enumeration and the "Bricked" Bootloader
A common failure mode for Leonardo beginners is uploading code that crashes or floods the USB stack, causing the host PC to fail enumeration. Because the USB stack is handled by the user code (not a secondary chip), a bad sketch can prevent the board from showing up as a serial port, making subsequent uploads impossible.
Recovery Protocol: If your Leonardo becomes unresponsive, do not panic. The board features a hardware-based bootloader recovery mechanism. Locate the physical RESET button. Press and release it twice in rapid succession (within 750ms). The onboard LED (usually pin 13) will pulse, indicating the board is in bootloader mode for approximately 8 seconds. You must initiate the upload in the Arduino IDE during this 8-second window to overwrite the faulty sketch.
The Serial Delay Requirement
When using Serial.println() for debugging, the Leonardo requires time to establish a USB CDC connection with the host PC. If your code executes a critical print statement immediately in the setup() function, the data will be lost. You must include the following blocking loop to wait for the host to open the serial port:
Serial.begin(9600);
while (!Serial) {
  ; // Wait for serial port to connect. Needed for native USB.
}
Warning: Do not leave this while(!Serial) loop in production firmware intended to run standalone (without a PC connected), or the microcontroller will halt execution indefinitely.
Timer and PWM Discrepancies
The ATmega32U4 lacks Timer2, which is present on the ATmega328P. Instead, it features Timer0, Timer1, Timer3, and a high-speed 10-bit Timer4. This means libraries that rely on hardcoded Timer2 registers (common in older IR remote or tone generation libraries) will fail to compile or behave erratically. Furthermore, the analogWrite() PWM frequencies on the Leonardo differ slightly from the Uno, which can cause audible whining in motor control circuits if not filtered properly.
Suboptimal Use Cases: When to Avoid the Leonardo
Despite its HID prowess, the Arduino Leonardo microcontroller board is a poor fit for several modern project categories:
- Battery-Powered IoT: The ATmega32U4 is notoriously power-hungry compared to modern alternatives. Even in deep sleep, the USB PHY and voltage regulators draw significant current. For battery-operated sensor nodes, an ESP32-C3 or a bare ATmega328P with a disabled brown-out detector is vastly superior.
- 3.3V Logic Ecosystems: The Leonardo operates strictly at 5V logic. Interfacing it with modern 3.3V sensors (like the BME680 or SD card modules) requires bidirectional logic level shifters. If your project is heavily 3.3V, consider the Adafruit ItsyBitsy 3.3V or the Raspberry Pi Pico.
- High-Resolution Audio/DSP: With only 32KB of flash and 2.5KB of SRAM running at 16MHz, the Leonardo cannot handle real-time digital signal processing or large audio buffer manipulation. Upgrade to a Teensy 4.1 (600MHz Cortex-M7) for DSP tasks.
2026 Sourcing Strategy: Official vs. Clones
When procuring hardware for your build, the form factor you choose dictates your integration strategy. The official Arduino Leonardo with headers retails for approximately $24.50. It is the correct choice for educational environments, rapid prototyping with standard Uno shields, and projects requiring the robust DC barrel jack and VIN regulation.
However, for permanent installations, wearable tech, or custom enclosures, engineers overwhelmingly prefer the Pro Micro form factor. As detailed in the SparkFun Pro Micro Hookup Guide, this ATmega32U4 breakout strips away the bulky USB-B port and linear regulators, offering a breadboard-friendly footprint for under $8.00 (genuine) or $3.00 (clone). When sourcing clones from overseas marketplaces, ensure you explicitly select the 5V / 16MHz variant; the 3.3V / 8MHz variant requires a completely different board definition in the Arduino IDE and will run standard timing-dependent code at half-speed.
Final Suitability Verdict
The Arduino Leonardo microcontroller board remains an indispensable tool in the maker and engineering arsenal, provided it is deployed for the right reasons. If your project requires native USB HID emulation, class-compliant MIDI routing, or direct PC-to-microcontroller serial communication without the overhead of a secondary UART bridge, the Leonardo (or its Pro Micro sibling) is the undisputed champion of the 8-bit AVR space. Conversely, if your project demands low-power wireless telemetry, 3.3V logic, or high-speed processing, bypass the Leonardo entirely in favor of modern ARM Cortex or RISC-V alternatives.