
The Arduino Due: Pioneering 32-Bit ARM in the Maker Ecosystem
When the Arduino Due was first introduced, it fundamentally disrupted the microcontroller landscape by bringing 32-bit ARM Cortex-M3 architecture to the hobbyist workbench. Fast forward to 2026, and while newer platforms like the ESP32-S3 and Raspberry Pi RP2350 dominate the entry-level market, the Due retains a fiercely loyal following in specific professional and prosumer niches. Its unique combination of high-density I/O, dual 12-bit DACs, and the massive physical footprint of the R3 shield ecosystem makes it an irreplaceable tool for audio processing, high-speed data logging, and complex CNC control.
In this comprehensive ecosystem overview, we dissect the hardware realities of the AT91SAM3X8E microcontroller, navigate the notorious 3.3V logic traps, and evaluate where the Arduino Due stands against modern alternatives.
Core Architecture and Hardware Specifications
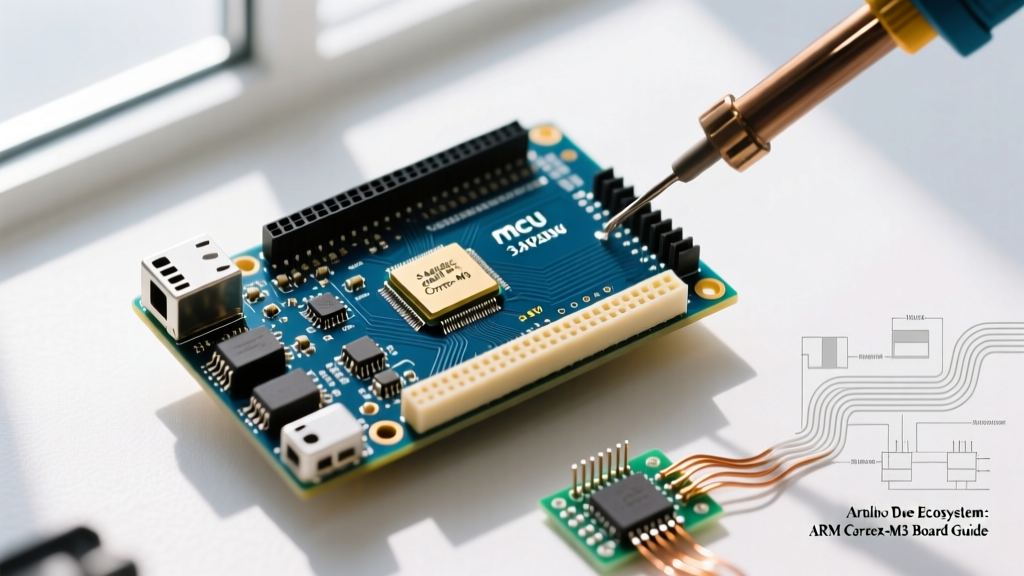
At the heart of the Due is the Microchip (formerly Atmel) AT91SAM3X8E, an ARM Cortex-M3 processor. Unlike the 8-bit AVR chips found on the Uno, the Cortex-M3 utilizes a Harvard architecture with a 3-stage pipeline, allowing for vastly superior instruction throughput. According to the official ARM Cortex-M3 documentation, this core is optimized for deterministic interrupt handling, making it ideal for real-time control systems.
| Feature | Specification | Practical Implication |
|---|---|---|
| Microcontroller | AT91SAM3X8E (ARM Cortex-M3) | 32-bit data bus, hardware multiply/divide |
| Clock Speed | 84 MHz | Executes complex math (e.g., FFT) significantly faster than 16MHz AVRs |
| Flash Memory | 512 KB | Ample space for large lookup tables and audio sample buffers |
| SRAM | 96 KB | Sufficient for local web servers or dual-buffered DMA operations |
| Digital I/O Pins | 54 (12 PWM capable) | High pin count eliminates the need for I/O multiplexers |
| Analog Inputs (ADC) | 12 channels, 12-bit resolution | Up to 1 MSPS sampling rate; ideal for precision sensor arrays |
| Analog Outputs (DAC) | 2 channels, 12-bit resolution | True analog voltage output (0.55V to 2.77V) without PWM filtering |
The 3.3V Logic Threshold: A Critical Edge Case
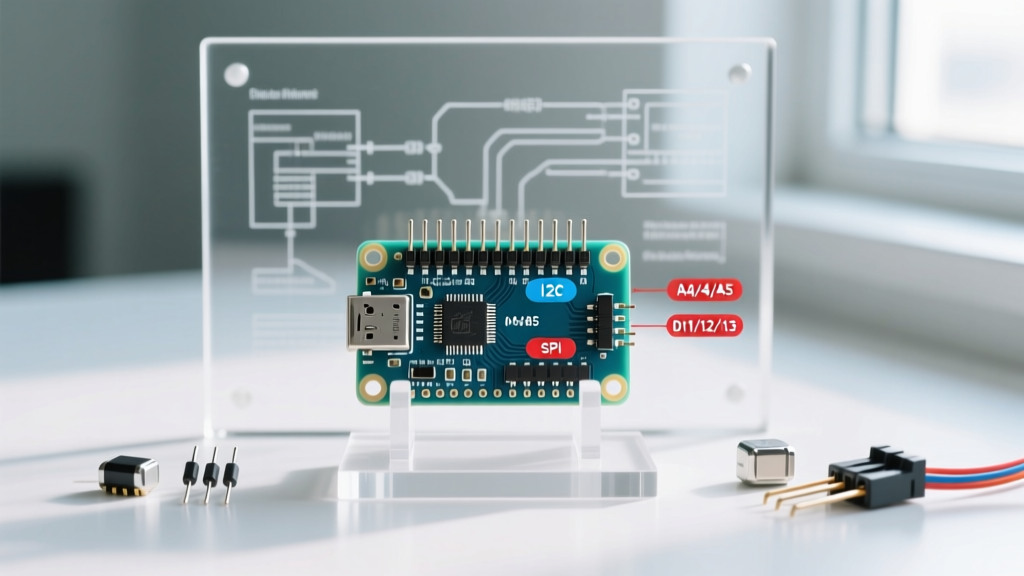
The most common point of failure for engineers migrating from the Arduino Uno to the Due is the I/O voltage level. The Due operates strictly at 3.3V logic. The absolute maximum voltage on any I/O pin is 3.6V. Applying 5V directly to a digital input will instantly destroy the internal clamping diodes and permanently fry the SAM3X8E silicon.
Expert Warning: Do not rely on the internal protection diodes to handle 5V overvoltage. If you are interfacing 5V legacy sensors (like the HC-SR04 ultrasonic or standard 5V I2C LCDs), you must use a bidirectional logic level shifter. The TXS0108E or a BSS138 MOSFET-based shifter are the most reliable choices for preserving signal integrity at higher baud rates.
Furthermore, the analog reference on the Due is hardwired to 3.3V. When reading analog sensors, a 3.3V input will yield the maximum ADC value of 4095 (12-bit). If you are porting legacy 5V code that maps analog reads from 0-1023 (10-bit), you must update your analogReadResolution(12) configurations and adjust your voltage divider resistor networks accordingly.
Dual USB Architecture: Native vs. Programming Ports
The Due features a unique dual-USB layout that confuses many beginners. Understanding the distinction is vital for advanced HID (Human Interface Device) emulation and bootloader recovery.
1. The Programming Port (Micro-USB)
This port is connected to an ATmega16U2 co-processor, which acts as a USB-to-Serial bridge. It is used primarily for flashing code via the standard serial bootloader. It does not support native USB HID features like keyboard or mouse emulation.
2. The Native Port (Micro-USB)
This port is wired directly to the SAM3X8E's built-in USB OTG (On-The-Go) controller. According to the official Arduino Due hardware documentation, the Native port allows the board to act as a USB host (reading USB mice/keyboards via a OTG adapter) or a USB device (emulating a MIDI controller or Joystick). When using the Native port, you must select 'Arduino Due (Native USB Port)' in the Arduino IDE 2.x board manager to compile the correct USB descriptors.
Shield Compatibility and the R3 Ecosystem
Physically, the Due shares the exact same mounting holes and header spacing as the Arduino Uno R3. However, electrical compatibility is governed by the IOREF pin. Modern, well-designed R3 shields read the IOREF pin to switch their internal logic buffers between 5V and 3.3V.
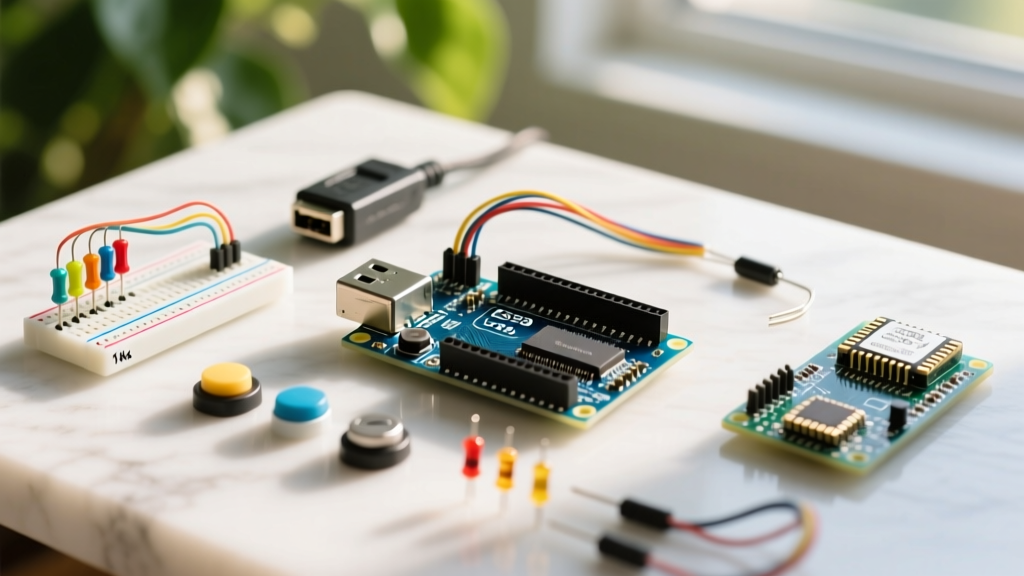
- Fully Compatible: Shields with auto-switching logic (e.g., official Arduino Motor Shield R3, Adafruit Data Logging Shield).
- Conditionally Compatible: 5V-only shields that do not backfeed 5V into the Due's I/O pins (e.g., simple relay shields where the Due only triggers an optocoupler via a transistor).
- Incompatible/Dangerous: Older shields that hardwire 5V to the SPI or I2C buses, or shields that backfeed 5V from a voltage regulator into the 3.3V rail.
2026 Market Position and Alternatives Matrix
At a retail price of approximately $42 for the genuine board (and $18–$22 for third-party clones from HiLetgo or SainSmart), the Due occupies a strange middle ground. It is more expensive than modern entry-level 32-bit boards but lacks the wireless connectivity of the IoT era. Below is a comparison of the Due against its most common 2026 alternatives.
| Board | MCU / Core | Clock | Approx. Price (2026) | Best Use Case |
|---|---|---|---|---|
| Arduino Due | SAM3X8E (Cortex-M3) | 84 MHz | $42 (Genuine) | High I/O count, true DAC audio, legacy R3 shield integration |
| Teensy 4.1 | i.MX RT1062 (Cortex-M7) | 600 MHz | $32 | DSP, high-speed audio processing, real-time machine vision |
| Arduino Portenta H7 | STM32H747 (Dual Cortex-M7/M4) | 480 MHz | $105+ | Industrial edge computing, PLC replacement, high-speed Ethernet |
| ESP32-S3-DevKitC | Xtensa LX7 (Dual-Core) | 240 MHz | $9 | IoT, WiFi/BLE integrated projects, budget AI edge inference |
Troubleshooting: Unbricking the Due via BOSSA
Because the Native USB port handles its own enumeration, a poorly written sketch with an infinite loop or a USB stack crash can cause the Due to disappear from your PC's device manager. Unlike the Uno, the Due does not auto-reset when the serial port is opened in certain OS environments. If you cannot upload a new sketch, follow this hardware recovery sequence:
- Connect the Due to your PC via the Programming Port.
- Open the Arduino IDE and prepare your sketch for upload.
- Press and release the Erase button (located near the native USB port). This clears the SAM3X8E flash memory.
- Press and release the Reset button. The 'L' LED should pulse softly, indicating the ROM bootloader is active.
- Immediately click Upload in the IDE. The BOSSA flashing tool will catch the bootloader window and write the new binary.
Final Verdict: Is the Due Still Relevant?
The Arduino Due is no longer the default recommendation for beginners or standard IoT projects. However, for engineers requiring a massive array of 54 digital pins, true 12-bit analog output for waveform generation, and seamless physical compatibility with decades of R3 shield hardware, the SAM3X8E ecosystem remains a robust, highly capable platform in 2026. By respecting the 3.3V logic boundaries and leveraging the Native USB OTG capabilities, the Due continues to punch well above its weight in advanced DIY and prototyping environments.