
Why Choose Arduino Nanos for Breadboarding?
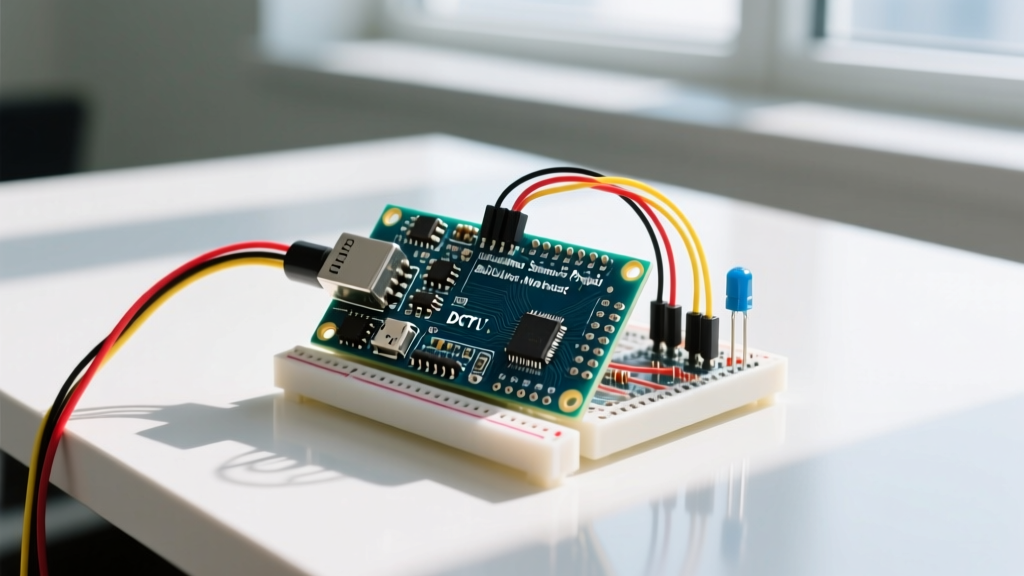
When transitioning from beginner kits to permanent, space-constrained prototypes, the standard Arduino Uno often becomes a bottleneck due to its bulky footprint. This is where Arduino Nanos shine. Retaining the exact same ATmega328P microcontroller architecture as the Uno, the Nano form factor strips away the bulky DC barrel jack and mounting holes, delivering a breadboard-friendly 18-pin DIP layout. As of 2026, the ecosystem has expanded significantly, but the classic Nano (and its high-quality third-party clones) remains the undisputed king of compact DIY electronics.
In this comprehensive setup and first-project tutorial, we will bypass the generic 'blink an LED' exercises. Instead, we will configure your IDE, resolve the notorious clone-driver hurdles, and wire up an I2C BME280 environmental sensor to read temperature, humidity, and barometric pressure.
Hardware Matrix: Navigating the Nano Lineup
Before plugging in, it is critical to identify exactly which board variant you have on your workbench. The 'Nano' moniker now spans several distinct architectures.
| Board Variant | Microcontroller | Logic Level | Flash Memory | Avg. Price (2026) |
|---|---|---|---|---|
| Classic Nano (Official) | ATmega328P | 5V | 32 KB | $24.00 |
| Classic Nano (Clone) | ATmega328P | 5V | 32 KB | $3.50 - $5.00 |
| Nano Every | ATmega4809 | 5V | 48 KB | $12.50 |
| Nano RP2040 Connect | RP2040 (Dual ARM) | 3.3V | 16 MB | $21.00 |
Note: This tutorial assumes you are using the standard ATmega328P-based Nano (either official or clone), as it represents 90% of beginner workbenches.
Step 1: IDE Configuration and the CH340 Driver Hurdle
The most common point of failure for beginners setting up Arduino Nanos is the USB-to-Serial chip. Official Arduino boards historically used the FTDI FT232RL chip, which has native OS support. However, to cut costs, nearly all third-party clones utilize the CH340G or CH341A serial converter.
Installing the CH340 Driver
If you plug your clone Nano into a Windows 11 or macOS Sequoia machine and the IDE fails to show a COM port, you need the CH340 driver.
- Navigate to the official WCH (Nanjing QinHeng Electronics) repository or a trusted mirror like SparkFun's CH340 driver page.
- Download the installer for your specific OS architecture.
- Run the installer and reboot your machine.
- Plug in the Nano via a data-capable Micro-USB cable. (Charge-only cables lack the D+ and D- data lines and are the cause of 30% of 'dead board' support tickets).
Board Manager Setup in Arduino IDE v2.x
Open the Arduino IDE (v2.3 or newer). Navigate to Tools > Board > Boards Manager. Search for Arduino AVR Boards and ensure it is updated to the latest 2026 release. Select Tools > Board > Arduino AVR Boards > Arduino Nano.
Critical Edge Case: If your clone board uses an older, smaller bootloader to save flash space, you must select ATmega328P (Old Bootloader) from the Tools > Processor menu. If you skip this, you will encounter the dreaded stk500_recv(): programmer is not responding error.
Step 2: First Project - I2C BME280 Environmental Monitor
For our first project, we will interface a Bosch BME280 sensor. This chip communicates via I2C and provides highly accurate environmental data. According to the Adafruit BME280 Learning Guide, this sensor is vastly superior to the older DHT11/22 series due to its I2C bus speed and multi-metric output.
The 5V vs 3.3V Logic Trap
The ATmega328P on the Nano operates at 5V logic. The BME280 is strictly a 3.3V logic device. Sending 5V directly into the SDA/SCL pins of a raw BME280 module will permanently destroy the silicon.
Solution A (Recommended for Beginners): Purchase an Adafruit or SparkFun BME280 breakout board ($19.95 - $24.00). These include onboard 3.3V voltage regulators and BSS138 logic-level shifters, making them 5V safe.
Solution B (Budget Clone Modules): If using a generic $3.00 raw BME280 module from Amazon or AliExpress, you must use a bi-directional logic level converter (like the Texas Instruments TXS0108E or a simple BSS138 MOSFET circuit) between the Nano and the sensor.
Wiring Diagram (Using a 5V-Tolerant Breakout)
- VIN / VCC: Nano 5V Pin
- GND: Nano GND Pin
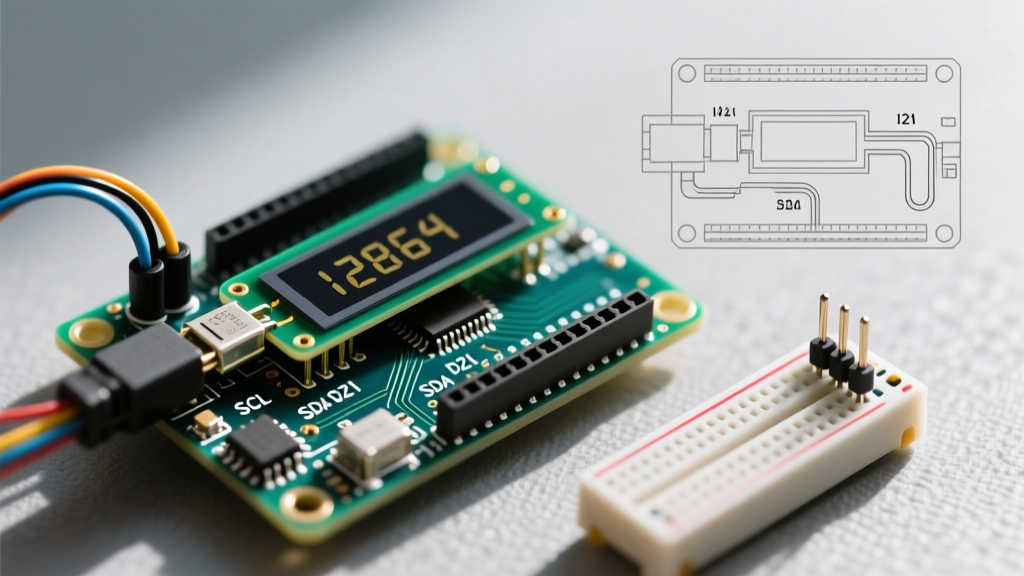
- SCL: Nano A5 Pin (Hardware I2C Clock)
- SDA: Nano A4 Pin (Hardware I2C Data)
Step 3: I2C Scanning and Code Implementation
Before writing the full application code, always verify the I2C address. As noted in SparkFun's I2C Tutorial, I2C devices have hardcoded hex addresses. The BME280 typically uses 0x76 or 0x77. Generic modules often default to 0x76, while official Adafruit boards default to 0x77.
Upload the standard I2C Scanner sketch (found under File > Examples > Wire > I2CScanner) to confirm your board sees the sensor. Once confirmed, install the Adafruit BME280 Library via the Library Manager.
The Application Code
#include <Wire.h>
#include <Adafruit_Sensor.h>
#include <Adafruit_BME280.h>

#define SEALEVELPRESSURE_HPA (1013.25)
Adafruit_BME280 bme;

void setup() {
  Serial.begin(9600);
  // 0x76 is common for cheap clones, 0x77 for Adafruit
  if (!bme.begin(0x76)) {
    Serial.println("Could not find a valid BME280 sensor, check wiring!");
    while (1) delay(10);
  }
}

void loop() {
  Serial.print("Temp: "); Serial.print(bme.readTemperature()); Serial.println(" *C");
  Serial.print("Pressure: "); Serial.print(bme.readPressure() / 100.0F); Serial.println(" hPa");
  Serial.print("Humidity: "); Serial.print(bme.readHumidity()); Serial.println(" %");
  Serial.println("-------------------");
  delay(2000);
}
Troubleshooting: Resolving Upload and Hardware Failures
Even with perfect wiring, Arduino Nanos present unique troubleshooting scenarios. Consult the Official Arduino Nano Documentation for schematic-level details, but keep these field-tested fixes in mind:
1. The 'Programmer is Not Responding' Loop
If the IDE times out during upload, the auto-reset circuit (which relies on the DTR line from the USB chip) may be failing—a common defect on $4 clone boards.
The Manual Reset Trick: Click 'Upload' in the IDE. Watch the console output. The exact millisecond you see 'Sketch uses X bytes...' and it begins the handshake, physically press and release the tiny red RESET button on the Nano. This manually forces the bootloader to listen for incoming serial data.
2. Sensor Reads 'NaN' or -1.0
If your serial monitor outputs NaN (Not a Number) or static values, your I2C pull-up resistors are likely missing or disabled. The BME280 requires 4.7kΩ pull-up resistors on both SDA and SCL lines. Quality breakout boards include these; raw modules do not. Solder two 4.7kΩ resistors from the SDA/SCL lines to the 3.3V VCC line to stabilize the bus capacitance.
3. USB Disconnects During High-Current Switching
If your project involves driving relays or motors alongside the Nano, back-EMF or voltage sags will cause the ATmega328P to brown out, dropping the USB connection. Always isolate inductive loads using optocouplers and flyback diodes, and power the Nano via the '5V' pin from a dedicated buck converter rather than relying on the USB port's 500mA limit.
Next Steps and Platform Scaling
Once you have successfully compiled and deployed this environmental monitor, you have mastered the core I2C bus, serial debugging, and power-management fundamentals of the Nano platform. From here, consider migrating to the Nano ESP32 if your next iteration requires Wi-Fi telemetry, or step up to the Nano Matter for native smart-home mesh networking. The Nano footprint ensures your physical breadboard layouts remain modular and future-proof.