
The Hidden Risks in the Surplus Component Market
The global semiconductor supply chain has stabilized significantly by 2026, yet the secondary market remains a goldmine for hobbyists, repair technicians, and low-volume manufacturers. However, buyers of surplus electronic components face a unique set of challenges. Whether you are sourcing overstock from liquidated factories, pulling parts from salvaged PCBs, or buying 'new old stock' (NOS) from unauthorized brokers, the risk of receiving degraded, counterfeit, or ESD-damaged components is exceptionally high.
According to data from ERAI (Electronic Resellers Association International), counterfeit and misrepresented parts continue to infiltrate the surplus market, particularly in high-demand categories like power management ICs and 32-bit microcontrollers. This troubleshooting guide provides a rigorous, lab-tested methodology for triaging, testing, and validating surplus components before they make it onto your soldering bench.
Step-by-Step Triage: Visual and Chemical Inspection
Before applying power or hooking up a programmer, every surplus haul must undergo a strict visual triage. The SAE AS5553 Standard for counterfeit electronic parts outlines several visual indicators of fraudulent components.
- Sanding Marks & Blacktopping: Fraudsters often sand off original markings from cheap or rejected dies and paint over them with a black epoxy-like substance to print fake part numbers. Inspect the top surface under a 40x stereo microscope. Look for uniform texture; a slightly recessed or overly smooth center compared to the edges is a red flag.
- The Acetone Swab Test: Legitimate laser-etched markings and factory epoxy will not dissolve in solvents. Vigorously rub the IC surface with a cotton swab soaked in pure acetone. If the swab turns black or the markings smear, you have a blacktopped counterfeit.
- Lead and Pin Condition: Surplus parts pulled from recycled boards often show micro-scratches on the solder pads or slight oxidation. While re-tinning can fix this, check for 'whiskers' or uneven coplanarity on BGA pads, which indicate improper storage or prior heat stress.
Expert Warning: Never skip the decapsulation (decap) test if you are buying high-value surplus FPGAs or aerospace-grade microcontrollers in bulk. Fuming nitric acid or specialized decap machines will expose the actual silicon die, allowing you to verify the manufacturer's die logo and mask revision against known good samples.
Troubleshooting Common Surplus Component Failures
1. Microcontrollers & FPGAs: ESD & Flash Degradation
Let us look at a common surplus workhorse: the STM32F407VGT6. While retail prices hover around $12.00, surplus brokers often sell them for $3.50 to $5.00. A frequent complaint among buyers is that the chip fails to connect via SWD (Serial Wire Debug) in STM32CubeProgrammer.
Troubleshooting Steps:
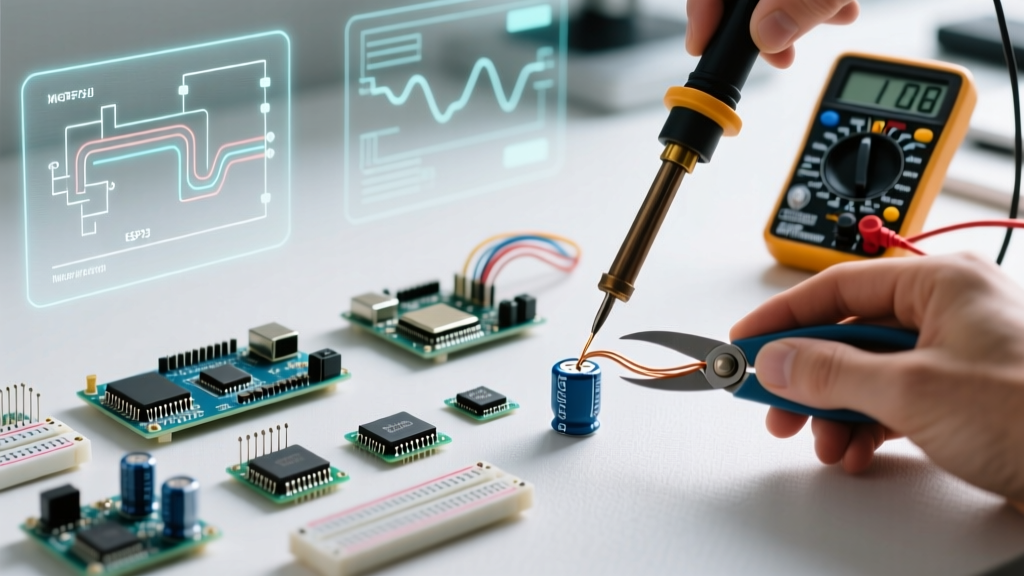
- Diode Test on Debug Pins: Set your multimeter to diode test mode. Place the red probe on the VSS (ground) pin and the black probe on the SWDIO and SWCLK pins. A healthy STM32 will read between 0.5V and 0.7V due to the internal ESD protection diodes. If you read 0.0V (a dead short) or OL (open circuit), the chip has suffered catastrophic ESD damage during improper surplus handling.
- VCAP Decoupling Verification: If the chip connects but immediately resets during code execution, ensure your test circuit includes the mandatory 2.2µF ceramic capacitors on the VCAP1 and VCAP2 pins. Surplus datasheets are often ignored by beginners, leading to brownout resets on the internal 1.2V core regulator.
- Read-Out Protection (RDP) Locks: Surplus chips pulled from consumer electronics may have RDP Level 1 or 2 enabled. You will need to perform a full chip erase via the BOOT0 pin to clear the flash, which will permanently wipe the previous firmware but restore the chip to a usable state.
2. Electrolytic & Tantalum Capacitors: Dielectric Breakdown
Passive components degrade over time. Aluminum electrolytic capacitors, such as the Nichicon UHE series (e.g., 1000µF 25V), suffer from electrolyte evaporation when sitting in unclimate-controlled surplus warehouses for 5 to 10 years. Tantalum capacitors (like the KEMET T491 series) are prone to high leakage currents and dielectric breakdown if subjected to voltage spikes during de-soldering.
Troubleshooting Steps:
- ESR Measurement: Use a dedicated LCR meter (such as the DER EE DE-5000 or Keysight U1733C) to measure Equivalent Series Resistance at 100kHz. A fresh 1000µF 25V cap should read below 0.08Ω. If your surplus batch reads >0.5Ω, the electrolyte has dried out, and the capacitors are useless for switching power supply filtering.
- Dielectric Reforming: If leakage current is high but ESR is acceptable, you can 'reform' the aluminum oxide layer. Connect the capacitor to a programmable bench supply (e.g., Rigol DP811). Set the voltage to the capacitor's rated maximum (e.g., 25V) but strictly limit the current to 1mA to 5mA. Leave it connected for 2 to 4 hours. As the oxide layer rebuilds, the current draw will gradually drop to microamps. If the current remains pegged at your limit after 4 hours, the dielectric is permanently shorted; discard the part.
3. Power ICs & MOSFETs: Thermal & Counterfeit Die Issues
Power components like the Infineon IRFB4110PbF MOSFET or the TI TPS5430DDAR buck converter are heavily counterfeited. Fraudsters use smaller, cheaper silicon dies that cannot handle the advertised continuous drain current, leading to thermal runaway in your DIY motor controllers or power supplies.
Troubleshooting Steps:
- Rds(on) Verification: The genuine IRFB4110PbF has a maximum Rds(on) of 4.5mΩ at Vgs = 10V. Counterfeits often measure between 12mΩ and 20mΩ. Use a milliohm meter or a curve tracer to test a sample from your surplus batch. Apply exactly 10V to the gate and measure the resistance across drain and source.
- Thermal Imaging Under Load: Build a simple test jig that pushes 20A through the MOSFET. Use a thermal camera (like the FLIR ONE Pro) to monitor the junction temperature. Counterfeit dies will heat up exponentially faster than genuine parts due to higher silicon resistance and inferior wire bonding.
Testing Matrix: Tools & Parameters for Verification
To streamline your incoming inspection process, use the following testing matrix. This framework is aligned with best practices recommended by NASA NEPP (Electronic Parts and Packaging Program) for screening commercial off-the-shelf (COTS) and surplus parts.
| Component Type | Primary Surplus Failure Mode | Diagnostic Tool Required | Pass/Fail Criteria |
|---|---|---|---|
| 32-bit MCUs (STM32, ESP32) | ESD damage on GPIO/Debug pins | Digital Multimeter (Diode Mode) | Pass: 0.4V - 0.8V to VSS. Fail: 0.0V or OL |
| Aluminum Electrolytic Caps | Dried electrolyte / High ESR | LCR Meter (100kHz) | Pass: ESR within datasheet spec (e.g., <0.1Ω) |
| Tantalum Capacitors | High leakage / Dielectric shorts | Programmable Bench PSU | Pass: Leakage drops to <10µA after reforming |
| Power MOSFETs | Undersized counterfeit die | Milliohm Meter / Curve Tracer | Pass: Rds(on) matches datasheet max (e.g., <5mΩ) |
| BGA FPGAs & CPLDs | Oxidized pads / Moisture ingress | 40x Stereo Microscope / X-Ray | Pass: Clean pads, no internal delamination |
Reconditioning Techniques for Salvaged Parts
When buying surplus, you are often buying parts that have already been soldered once. Proper reconditioning is mandatory before reusing them on a new PCB.
- Flux and Wick Cleaning: Never use a soldering iron directly on surplus SMD pads without adding fresh, high-quality tack flux (e.g., Amtech NC-559-V2-TF). Use desoldering braid to remove old, oxidized solder, then apply a thin layer of fresh SAC305 lead-free or 63/37 leaded solder to protect the copper pads from oxidation.
- BGA Reballing: For salvaged BGA chips, you must use a stencil and solder paste, or pre-formed solder spheres. Ensure you match the sphere diameter to the component's specific pitch (commonly 0.5mm or 0.8mm). Bake the components at 125°C for 24 hours before reballing to drive out any absorbed moisture and prevent the 'popcorn effect' during reflow.
- Lead Straightening: For through-hole surplus ICs (like DIP-28 or DIP-40 packages), use a dedicated IC lead straightener tool rather than pliers. Pliers will stress the glass-to-metal seal at the base of the pin, causing micro-cracks that lead to intermittent failures later.
Frequently Asked Questions (FAQ)
Is it safe to use surplus medical or aerospace-grade components?
Generally, no. Medical and aerospace components (e.g., MIL-PRF-38534 or MIL-PRF-55365) are highly sensitive to moisture and ESD. Unless they come with their original, unbroken moisture barrier bags (MBB) and humidity indicator cards (HIC) showing a safe reading, they should be treated as compromised. The cost of X-ray and destructive physical analysis (DPA) to verify them usually outweighs the savings of buying them surplus.
How can I tell if a surplus IC has been exposed to excessive heat?
Look for discoloration on the plastic package or the metal heat slug on the bottom of QFN/DFN packages. A slightly yellowish or brownish tint to the black epoxy is a strong indicator that the part was subjected to temperatures exceeding 240°C for prolonged periods, likely during a sloppy hot-air de-soldering process. Additionally, check the date codes; if the date code is pre-2015, the moisture sensitivity level (MSL) has almost certainly been breached.
What is the best way to store surplus components long-term?
Store all moisture-sensitive devices (MSDs) in vacuum-sealed bags with fresh silica gel desiccant. Keep them in a climate-controlled environment (below 30°C and <10% RH) or use a dedicated dry box cabinet. If a component has been exposed to ambient room air for longer than its MSL floor life allows, you must bake it at 125°C for 24 hours before subjecting it to reflow soldering temperatures.