
Introduction to Surface Mount Technology
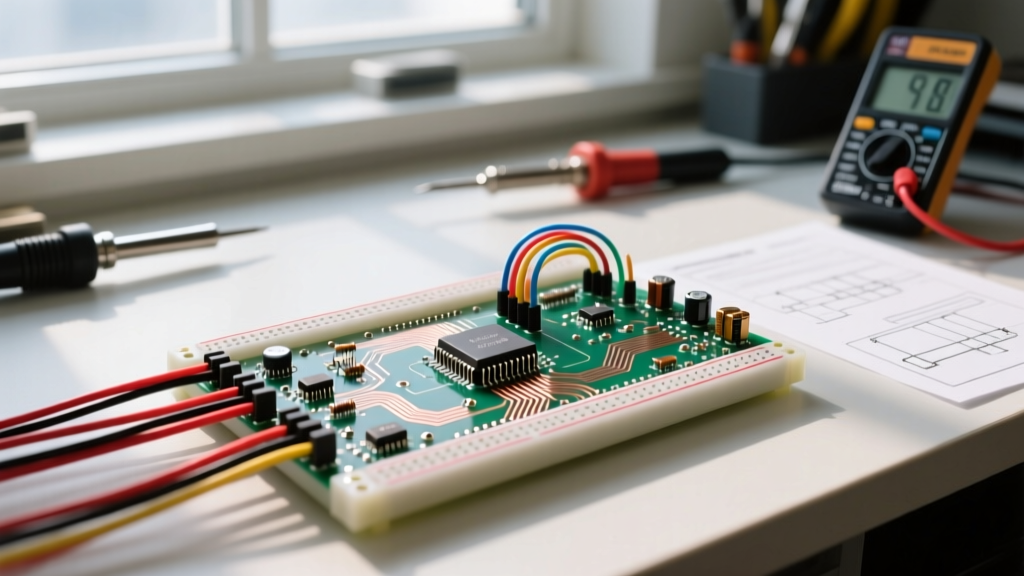
Transitioning from through-hole to surface mount technology (SMT) is a major milestone for any electronics hobbyist or junior engineer. While through-hole components are forgiving and easy to handle, surface mount electronic components (SMDs) dominate modern PCB design due to their compact size, lower manufacturing costs, and superior high-frequency performance. However, their miniature scale can be deeply intimidating for beginners.
This comprehensive tutorial demystifies the process of hand-soldering SMDs. By understanding package sizes, investing in the correct precision tools, and mastering foundational techniques like drag soldering, you can reliably assemble complex boards right on your workbench. According to the NASA Workmanship Standards, proper SMT soldering relies more on thermal management and flux chemistry than raw hand steadiness.
Decoding SMD Package Sizes
Before picking up an iron, you must understand what you are soldering. SMDs are categorized by standard package codes. As a beginner in 2026, you should start with larger passives and basic integrated circuits before attempting micro-BGA or 0201 components.
| Package Code | Imperial Size | Metric Dimensions | Beginner Difficulty |
|---|---|---|---|
| 1206 | 0.12" x 0.06" | 3.2mm x 1.6mm | Very Easy (Great for first-timers) |
| 0805 | 0.08" x 0.05" | 2.0mm x 1.25mm | Easy (The DIY standard) |
| 0603 | 0.06" x 0.03" | 1.6mm x 0.8mm | Moderate (Requires fine tweezers) |
| 0402 | 0.04" x 0.02" | 1.0mm x 0.5mm | Hard (Microscope mandatory) |
| SOT-23 | N/A (3-pin) | 2.9mm x 1.3mm | Moderate (Standard transistor) |
| SOIC-8 | N/A (8-pin IC) | 5.0mm x 4.0mm | Easy (1.27mm pin pitch) |
The 2026 Beginner SMT Workbench
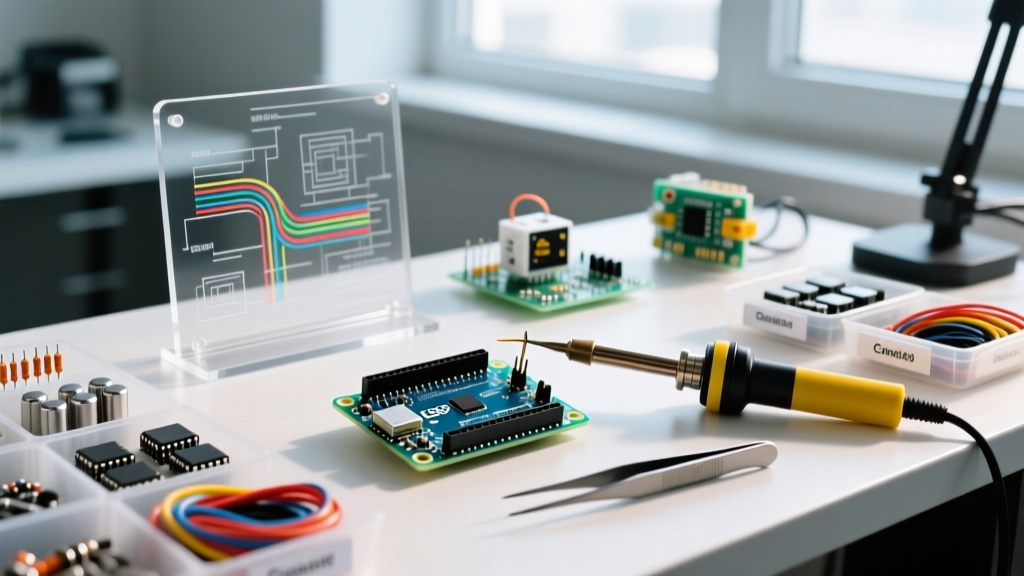
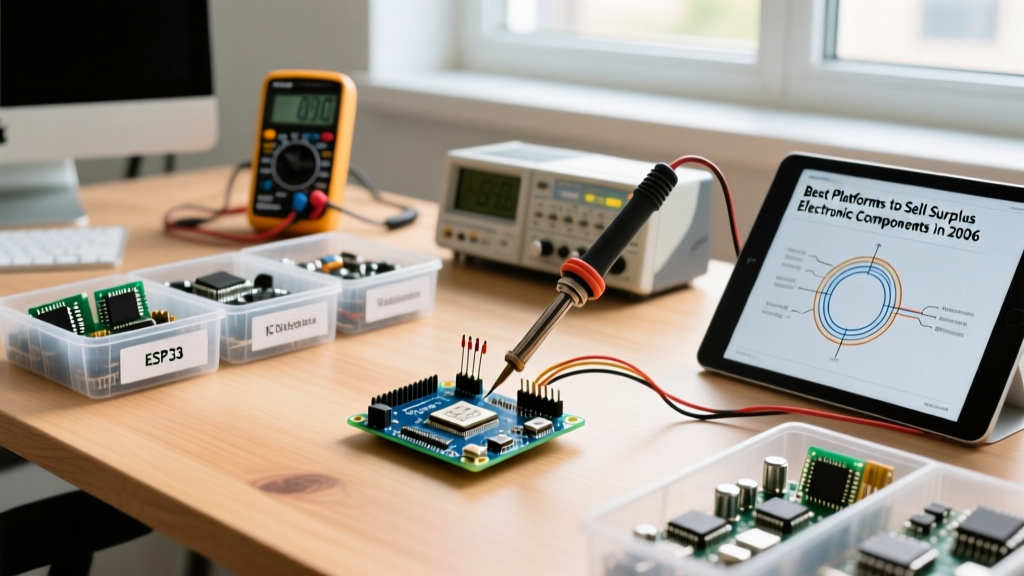
You do not need a $5,000 reflow oven to solder surface mount electronic components. However, using a standard $20 iron with a massive chisel tip will guarantee failure. Here is the exact, field-tested toolchain required for reliable SMT hand-assembly.
1. Temperature-Controlled Soldering Station
Thermal recovery is critical. When a cold SMD pad touches your iron, the temperature drops. A good station recovers instantly to prevent cold joints. The Hakko FX-888D (approx. $105) remains the gold standard for beginners. Equip it with a T18-BC2 (bevel) tip for drag soldering ICs, and a T18-D08 (micro-chisel) for passives.
2. Precision Tweezers
Standard tweezers are too thick and often magnetic, which will cause tiny 0603 resistors to stick to the tips and fly across the room. Invest in Wiha 32224 ESD-safe Inox tweezers (approx. $30). Their ultra-fine, non-magnetic stainless steel tips provide the tactile feedback needed to place 0805 capacitors accurately.
3. Solder Paste and Flux
For hand soldering, liquid or gel flux is mandatory. Amtech NC-559-V2-TF tacky flux (approx. $20 in a 10g syringe) is a no-clean, rosin-based flux that prevents oxidation and reduces surface tension. For solder paste, Chip Quik SMD4300AX10 (Sn63/Pb37, approx. $25) offers a lower melting point (183°C) than lead-free alternatives, making it vastly more forgiving for beginners.
4. Magnification
While 1206 and 0805 components can be soldered with the naked eye, anything smaller requires magnification. The AmScope SE400-Z stereo microscope (approx. $150) provides true 3D depth perception, which is crucial for judging solder fillet heights. If budget is tight, a $40 USB digital microscope will suffice, though it introduces slight video latency.
Step-by-Step Soldering Techniques
The methodology for soldering surface mount electronic components differs entirely from through-hole work. You are not feeding wire solder into a joint; you are using flux to guide molten solder via capillary action.
Technique A: The "Tack and Slide" for Passives
Use this method for 2-terminal components like resistors, capacitors, and inductors.
- Prep the Pad: Apply a microscopic dot of solder to one PCB pad using your iron. You want a slight dome, not a massive blob.
- Apply Flux: Dispense a small amount of tacky flux onto the pads.
- Position: Pick up the component with your tweezers. Hold it flat against the PCB.
- Tack: Touch the pre-tinned pad with your iron. As the solder melts, slide the component into place and remove the iron. The component is now anchored.
- Complete: Move to the opposite pad. Touch the iron to the pad and component terminal simultaneously, feed a tiny amount of wire solder (0.5mm diameter), and remove.
Pro-Tip: Never press down hard on the component while tacking. Excessive downward force will squeeze the molten solder up the sides of the component, creating a weak joint. Let the surface tension do the work.
Technique B: Drag Soldering for Multi-Pin ICs
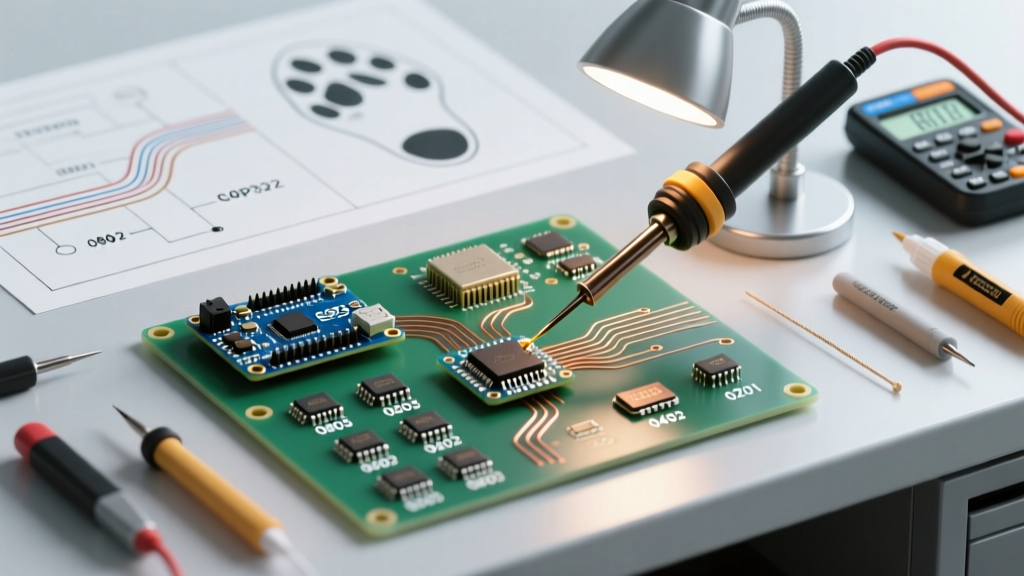
Drag soldering is the most efficient way to solder SOIC, QFP, and SOP integrated circuits. As highlighted in SparkFun's SMD soldering guide, this technique relies heavily on flux to prevent bridging.
- Align the IC: Ensure pin 1 is correctly oriented. Tack one corner pin to hold the chip in place, then tack the opposite corner.
- Flood with Flux: Apply a generous amount of liquid or gel flux across all the pins on the sides you intend to drag. The flux is the secret ingredient; it breaks surface tension and prevents solder from clinging to adjacent pins.
- Load the Tip: Melt a moderate amount of solder directly onto your bevel (BC2) iron tip. It should look like a small, shiny teardrop.
- Drag: Tilt the iron to a 45-degree angle. Gently drag the solder-laden tip across the pins in one smooth, continuous motion. The flux will pull the solder into the individual pins via capillary action.
- Inspect: Check for bridges. If a bridge occurs, do not panic. Clean your iron tip, apply more flux, and drag the empty tip across the bridge to wick it away.
Troubleshooting Common SMT Failures
Even experienced engineers encounter defects when assembling surface mount electronic components. Understanding the physics behind these failures allows for rapid correction.
1. Tombstoning (The Billboarding Effect)
The Problem: A passive component stands up on one end, resembling a tombstone.
The Cause: Asymmetric heating. If one pad reaches reflow temperature before the other, the surface tension of the molten solder on the hot side will pull the component upright.
The Fix: Ensure your iron tip touches both the pad and the component terminal simultaneously. If tombstoning occurs, apply flux, heat both pads at once with a wider tip, and press the component flat with tweezers.
2. Solder Bridges (Shorts)
The Problem: Solder connects two adjacent IC pins, causing a short circuit.
The Cause: Excessive solder volume, insufficient flux, or a dirty iron tip.
The Fix: Do not use the iron to "wipe" the bridge away; you will just smear it. Instead, use high-quality desoldering wick. The Goot Wick CP-2060 (approx. $12) is pre-fluxed and absorbs excess solder instantly. Press the wick over the bridge, apply the iron on top of the wick, and let capillary action pull the short away.
3. Cold or Disturbed Joints
The Problem: The solder joint looks dull, grainy, or cracked.
The Cause: Moving the component before the solder fully solidified, or insufficient heat transfer.
The Fix: Re-flow the joint. Apply fresh flux, heat the joint until the solder turns completely shiny and liquid, hold the component perfectly still, and remove the heat. Allow it to cool naturally for 2-3 seconds.
Post-Soldering Cleanup and Inspection
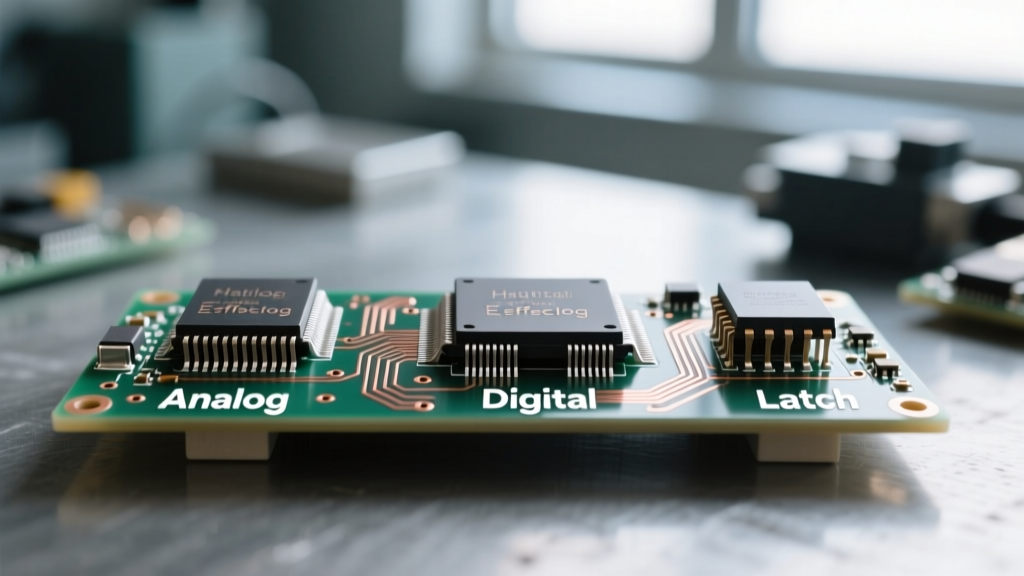
While many modern fluxes are labeled "no-clean," leaving rosin residue on a high-impedance analog circuit or a high-density digital board can cause parasitic capacitance or long-term dendritic growth. Adhering to IPC-A-610 cleanliness standards is a best practice for reliable prototypes.
Use MG Chemicals 824 Isopropyl Alcohol (99.8% purity) and a stiff-bristled ESD-safe brush to scrub the soldered area. The alcohol will dissolve the flux, and the brush will dislodge it. Wipe away the dissolved residue with a lint-free Kimwipe before the alcohol evaporates, otherwise, the flux will simply redeposit on the board as a sticky white film.
Conclusion
Mastering the art of soldering surface mount electronic components is less about having surgeon-like hands and more about understanding thermal dynamics, wetting angles, and flux chemistry. Start with 0805 passives and SOIC-8 chips, utilize the tack-and-slide and drag soldering methods, and always respect the power of high-quality flux. With the right tools and patience, you will soon be hand-assembling dense, modern PCBs with professional reliability.