
What Defines a 'Component in Electronics'?
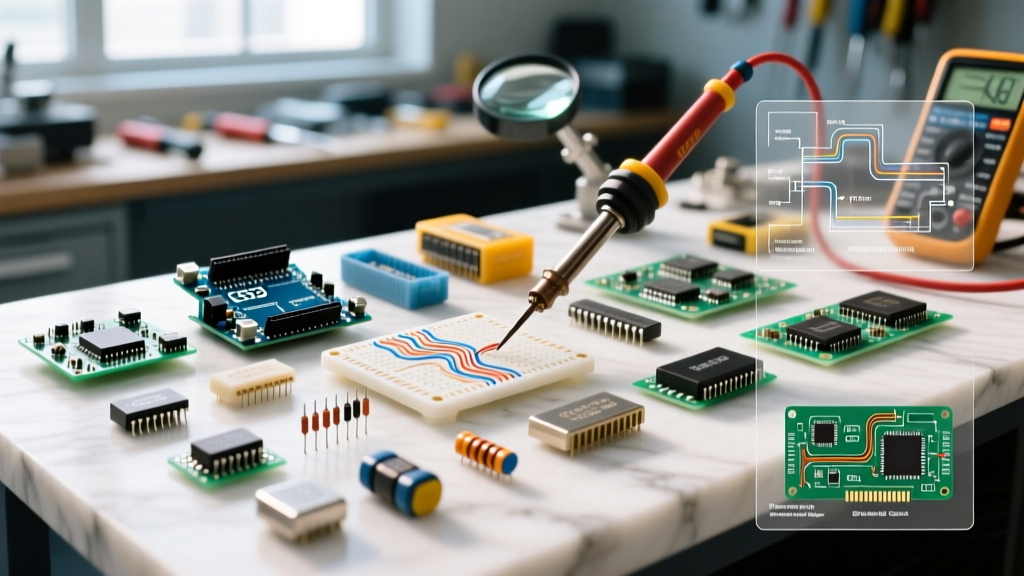
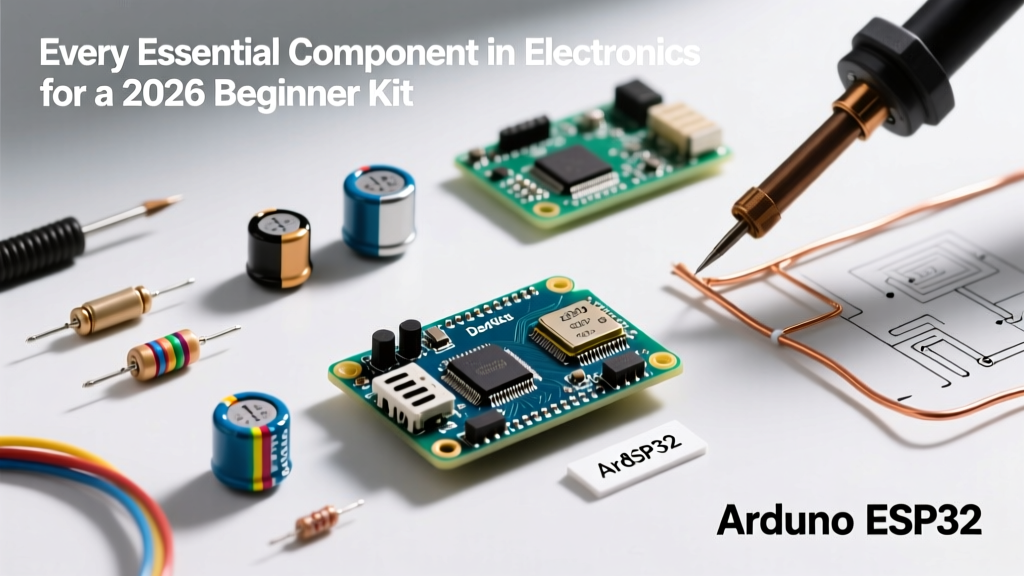
When building your first circuit, the sheer volume of available parts can be paralyzing. At its core, a component in electronics is any discrete device or physical entity that affects the flow of electrons to achieve a specific function—whether that is resisting current, storing charge, amplifying signals, or switching logic states. For a beginner in 2026, the goal is not to hoard every obscure integrated circuit (IC) on the market, but to curate a highly versatile, through-hole starter kit that facilitates rapid breadboard prototyping.
This guide breaks down the exact bill of materials (BOM), specific part numbers, and real-world edge cases you need to assemble the ultimate beginner component kit. We will focus exclusively on Dual In-line Package (DIP) and through-hole components, as surface-mount (SMD) devices require soldering stencils and hot air rework stations that fall outside the scope of foundational learning.
The 2026 Beginner Kit Bill of Materials (BOM)
Below is a curated list of the most critical parts. Prices reflect average 2026 market rates from major distributors like Digi-Key, Mouser, and reputable Amazon storefronts (e.g., Elegoo, Rexqualis).
| Category | Component / Part Number | Quantity | Est. Cost (2026) | Primary Use Case |
|---|---|---|---|---|
| Passives | 1/4W Metal Film Resistor Assortment (1% Tolerance) | 500 | $12.00 | Current limiting, voltage division, pull-ups |
| Passives | Ceramic Capacitor Kit (10pF to 1µF) | 100 | $8.50 | High-frequency decoupling, timing circuits |
| Passives | Electrolytic Capacitor Kit (1µF to 1000µF, 16V+) | 50 | $9.00 | Bulk power filtering, audio coupling |
| Actives | NE555P Timer IC (DIP-8) | 5 | $3.50 | Astable oscillators, PWM generation |
| Actives | 2N2222 (TO-92) & TIP120 Darlington Transistors | 20 | $6.00 | Signal switching, high-current motor loads |
| Opto | 5mm Assorted LEDs (Red, Green, Yellow, Blue) | 100 | $5.00 | Visual indicators, optical sensing |
| Hardware | 830-Tie Point Solderless Breadboard | 2 | $11.00 | Prototyping without soldering |
| Hardware | 22 AWG Solid Core Jumper Wire Kit | 140 | $7.00 | Breadboard interconnections |
Deep Dive: Selecting the Right Passives
Resistors: Metal Film vs. Carbon Film
Many cheap, outdated kits still include carbon film resistors (typically beige with a 5% tolerance). In 2026, you should exclusively source 1/4W Metal Film Resistors (often blue-bodied with a 1% tolerance, such as the Yageo MFR-25 series). Metal film components offer lower thermal noise and better temperature stability. When calculating current limits, always refer to SparkFun's Ohm's Law Tutorial to ensure you do not exceed the 0.25W power dissipation limit of the resistor.
Capacitors: The Decoupling Imperative
Understanding how this specific component in electronics stores and releases energy is vital. Your kit must include 100nF (0.1µF) ceramic capacitors (marked as '104'). These are non-polarized and are placed as close to the VCC and GND pins of ICs as possible to filter out high-frequency switching noise. For bulk energy storage, electrolytic capacitors are required. Warning: Electrolytic capacitors are polarized. Applying reverse voltage will cause the internal electrolyte to boil, leading to a violent venting or explosion. Always verify the negative stripe on the capacitor casing aligns with the circuit ground.
Active Components: Moving Beyond Basic Switches
The 555 Timer: An Analog Legend
The NE555 remains a cornerstone of electronics education. When ordering, ensure you select the NE555P. The 'P' denotes a Plastic Dual In-line Package (PDIP), which fits perfectly into standard 0.1-inch breadboards. Surface-mount variants (like the SOIC package) are useless for solderless prototyping. The 555 can be configured in astable mode to generate square waves for clock signals or in monostable mode for debounce timers. For exact internal schematic details and timing formulas, consult the official Texas Instruments LM555 Datasheet.
Transistors: Signal vs. Power
A beginner kit needs two distinct classes of bipolar junction transistors (BJTs):
- 2N2222 (or 2N3904): NPN transistors used for low-power logic switching and signal amplification. Capable of handling up to ~800mA, though best kept under 200mA for continuous use in a TO-92 package.
- TIP120 (Darlington Pair): Used for driving heavier loads like 12V DC motors or high-power LED strips directly from a 5V microcontroller GPIO pin. The TIP120 has a high current gain (hFE > 1000) but suffers from a higher collector-emitter saturation voltage ($V_{CE(sat)}$ of ~2V), meaning it dissipates more heat and may require a small TO-220 heatsink for loads exceeding 1A.
Prototyping Infrastructure: Breadboards and Wire
The physical medium connecting your components is just as critical as the parts themselves. Avoid pre-cut, stranded jumper wires with Dupont connectors for internal breadboard routing. Stranded wire frays easily when pushed into breadboard clips, leading to intermittent shorts and broken connections.
Pro-Tip for 2026: Invest in a spool of 22 AWG solid-core copper wire and a pair of precision wire strippers (e.g., Hakko CHP WS-04). Cutting and stripping your own solid-core wire ensures flush ends that seat perfectly into the breadboard's leaf-spring contacts, drastically reducing debugging time caused by faulty physical connections.
For the breadboard itself, purchase models with a minimum of 830 tie-points. Cheaper 400-point boards lack the continuous power rails needed for complex IC layouts, forcing you to use messy jumper bridges that clutter your workspace and obscure your circuit logic.
Common Beginner Failure Modes & Edge Cases
Even with the perfect kit, beginners encounter specific pitfalls when integrating a new component in electronics into their designs. Here is how to troubleshoot the most common issues:
1. LED Burnout Due to Missing Current Limiting
Connecting a standard 5mm LED directly to a 5V Arduino GPIO pin will destroy the LED and potentially damage the microcontroller's ATmega328P silicon. You must calculate the series resistor. Using the formula $R = (V_s - V_f) / I$:
- Supply Voltage ($V_s$): 5V
- LED Forward Voltage ($V_f$): ~2.0V (for Red)
- Desired Current ($I$): 20mA (0.02A)
- Calculation: (5 - 2) / 0.02 = 150Ω. Always round up to the nearest standard E12 resistor value (e.g., 220Ω) for a safety margin.
2. Switch Bounce in Digital Logic
Mechanical tactile switches do not make a clean electrical connection. When pressed, the metal contacts physically bounce, creating dozens of rapid HIGH/LOW transitions over a few milliseconds. If you are using a switch to trigger a digital counter or an interrupt, the microcontroller will register multiple presses. To fix this, use a 10kΩ pull-up resistor combined with a 100nF ceramic capacitor in an RC low-pass filter configuration, or handle the debouncing in software using a 50ms delay loop.
3. Counterfeit Integrated Circuits
When sourcing kits from ultra-budget third-party marketplaces, be wary of counterfeit ICs, particularly voltage regulators (like the LM7805) and microcontrollers. Counterfeit voltage regulators often lack internal thermal shutdown circuitry. If subjected to an over-current event, a genuine LM7805 will safely shut down, whereas a fake one may overheat, melt the breadboard plastic, and cause a fire. Always cross-reference the laser etching on the IC casing with manufacturer datasheets, and when possible, buy from authorized distributors. For a deeper understanding of component grading and authenticity, refer to guides on Electronics Notes regarding component specifications.
Final Thoughts on Building Your Kit
Assembling a high-quality beginner kit is an exercise in curation. By focusing on 1% tolerance metal film resistors, proper DIP-packaged ICs, and solid-core wiring, you eliminate the physical variables that cause 90% of beginner frustration. Master the behavior of each fundamental component in electronics on a solderless breadboard first; only then should you transition to designing custom printed circuit boards (PCBs) and soldering SMD parts.