
The Community Consensus: Why the XIAO ESP32S3 Sense Dominates TinyML
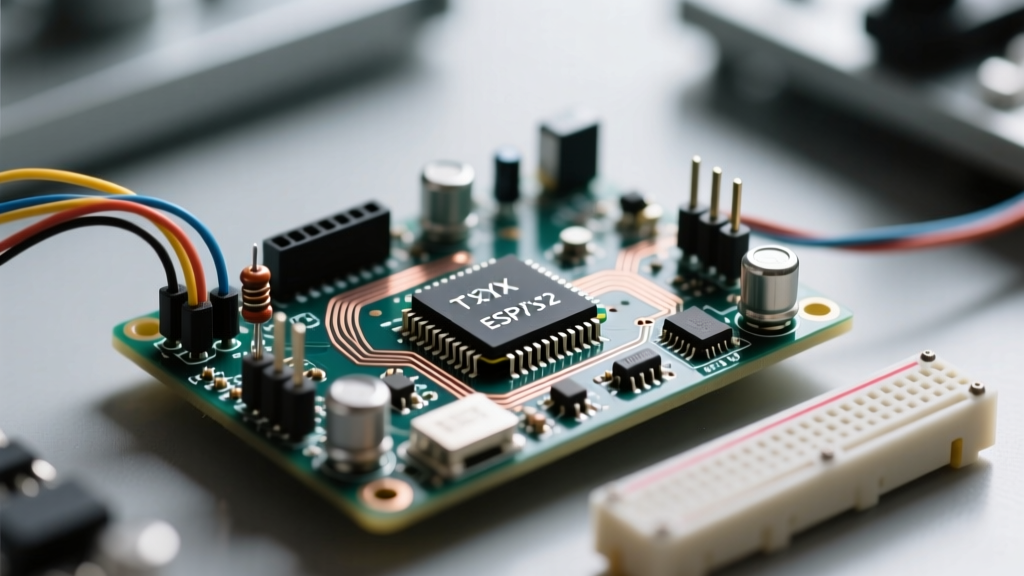
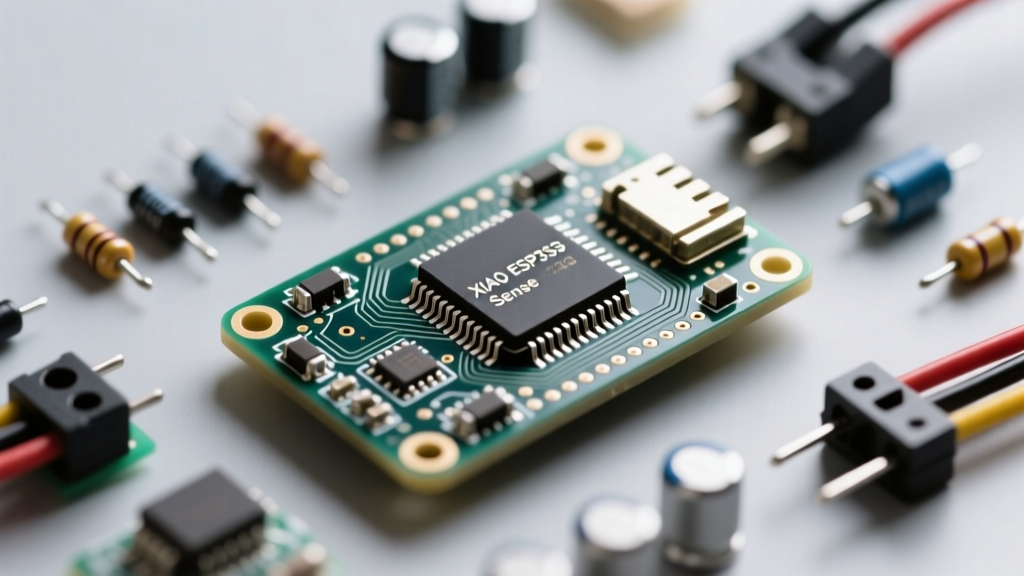
When Seeed Studio released the XIAO ESP32S3 Sense, it immediately disrupted the microcontroller vision space. Packing an ESP32-S3R8 dual-core processor, 8MB of OPI PSRAM, an OV2640 camera module, and a digital PDM microphone into a 21 x 17.5mm footprint, it became the go-to board for edge AI and TinyML projects. However, as thousands of makers began pushing the hardware to its limits, a wealth of community knowledge emerged regarding hidden pitfalls, power consumption quirks, and Arduino IDE configuration hurdles.
This guide synthesizes the collective intelligence from GitHub repositories, Seeed Studio forums, and DIY electronics communities to help you bypass common failure modes and optimize your XIAO ESP32S3 Sense for production-grade maker projects.
Hardware Anatomy & Known Failure Points
Before writing a single line of C++, it is critical to understand the physical constraints of the board. The XIAO ESP32S3 Sense is essentially a carrier board for the core ESP32-S3 module, with a detachable camera shield. Below is a breakdown of the primary components and the failure modes frequently reported by the maker community.
| Component | Specification | Community-Reported Failure Mode & Workaround |
|---|---|---|
| MCU | ESP32-S3R8 (8MB OPI PSRAM, 16MB Flash) | PSRAM initialization fails if Arduino IDE memory settings are incorrect. |
| Camera | OV2640 (1600x1200 max) | Ribbon cable tears at the ZIF connector hinge; reinforce with Kapton tape. |
| Microphone | MSM261D3526H12CP (PDM Digital) | Audio clipping in high-decibel environments; requires software IIR filtering. |
| Storage | MicroSD Card Slot (SPI) | SPI bus contention with the camera if not properly initialized in sequence. |
| RF | Onboard PCB Antenna + U.FL Pad | U.FL connector center pin snaps off during coaxial cable swaps. |
The U.FL Antenna Trap
By default, the XIAO ESP32S3 Sense utilizes its onboard PCB antenna. For projects requiring extended range or metal enclosures, makers route the signal to the U.FL pad. However, the community has widely documented the fragility of the U.FL connector on this specific footprint. The center pin is exceptionally brittle. Pro-Tip: If you must use an external antenna, solder a high-quality U.FL pigtail once and route the cable through a strain-relief loop. Avoid repeated mating and unmating of the RF cable, as the connector will inevitably desolder or snap.
Thermal Throttling on the OV2640
When streaming 1080p video over Wi-Fi, the ESP32-S3R8 and the OV2640 sensor generate significant heat. Makers running continuous security camera streams report that the sensor's internal temperature can exceed 60°C, leading to color shifting and increased noise in the image matrix. The community workaround involves dropping the resolution to SVGA (800x600) for continuous streams or attaching a tiny 10x10mm copper heatsink to the back of the camera shield using thermally conductive double-sided tape.
Arduino IDE Configuration: Community-Tested Board Settings
The most frequent roadblock for beginners is improper board configuration in the Arduino IDE 2.x environment. The ESP32-S3 relies heavily on its 8MB of Octal SPI (OPI) PSRAM to buffer camera frames. If configured incorrectly, the board will compile, but the camera initialization will silently fail or throw a camera_init failed with error 0x105.
Follow these exact community-verified steps to configure your environment:
- Board Manager URL: Add the official Espressif index to your preferences:
https://raw.githubusercontent.com/espressif/arduino-esp32/gh-pages/package_esp32_index.json - Board Selection: Search for and select
XIAO_ESP32S3. - PSRAM Setting: Navigate to Tools > PSRAM and explicitly select OPI PSRAM. (Selecting QIO will result in memory allocation errors for the camera buffer).
- USB CDC On Boot: Set to Enabled to ensure Serial Monitor output works natively over USB without requiring a separate UART adapter.
For comprehensive pin mappings and official schematics, always refer to the Seeed Studio XIAO ESP32S3 Wiki. The community-maintained Seeed Arduino XIAO GitHub repository also contains vital patches for the camera shield pin definitions that are occasionally overwritten by generic ESP32 core updates.
Power Profiling: Real-World Deep Sleep vs. Streaming Data
Marketing materials often boast about the low-power capabilities of the ESP32-S3, but real-world power profiling by the community reveals a more nuanced picture. The XIAO Sense carrier board includes an onboard 5V-to-3.3V LDO voltage regulator and battery charging circuitry, which introduces quiescent current draw that ruins ultra-low-power deep sleep metrics if left unaddressed.
Active Streaming Power Draw
When actively capturing images and transmitting them via Wi-Fi (802.11n), the board pulls between 210mA and 280mA from a 3.7V LiPo battery. This makes it entirely unsuitable for continuous, battery-powered streaming without a massive cell. For battery-powered trail cameras, the community standard is to use the PIR interrupt pin to wake the board from deep sleep, capture a single frame, push it via MQTT or HTTP POST, and immediately return to sleep.
The Deep Sleep LDO Hack
In standard deep sleep mode, the XIAO Sense draws approximately 1.2mA. While low, this will drain a standard 18650 battery in a few months. Community hardware hackers discovered that the quiescent current of the onboard LDO and battery management ICs accounts for over 90% of this draw. By physically severing the 5V trace to the LDO and powering the 3V3 pin directly from a regulated 3.3V source (or a raw LiPo cell bypassing the charge controller), makers have achieved true deep sleep currents of 12µA to 18µA. This hardware modification is essential for remote, solar-powered edge AI nodes.
Open-Source Project Spotlight: Edge AI and ESP-WHO
The true power of the XIAO ESP32S3 Sense lies in its ability to run local neural networks without relying on cloud APIs. Espressif's ESP-WHO framework has been heavily adapted by the community for this specific XIAO form factor. Because the board features 8MB of OPI PSRAM, it can comfortably load quantized MobileNet models for human face detection and recognition.
When deploying TinyML models via Edge Impulse or ESP-DL, keep these community best practices in mind:
- Grayscale over RGB: Converting the OV2640 output to grayscale before feeding it into the neural network tensor reduces PSRAM bandwidth bottlenecks and increases inference speed by up to 40%.
- Audio-Visual Fusion: Advanced makers are utilizing the onboard PDM microphone to trigger the camera. By running a low-power audio keyword-spotting model (like "Hey Camera") on the I2S audio stream, the system can keep the power-hungry camera module completely disabled until a specific acoustic event is detected, saving massive amounts of battery life.
- TensorFlow Lite Micro: When compiling TFLite Micro sketches, ensure you allocate the tensor arena in external PSRAM rather than internal SRAM. Internal SRAM on the ESP32-S3 is limited to roughly 512KB, which is instantly exhausted by modern vision models.
Community Debugging Tip: If your camera outputs completely green or pink frames, your PSRAM is failing to sync with the camera DMA controller. Lower the XCLK frequency in your
esp_camera.hconfiguration from 20MHz to 15MHz or 10MHz. This sacrifices a few frames per second but drastically stabilizes the data bus on the XIAO's compact PCB traces.
By leveraging the shared knowledge of the global maker community, you can transform the XIAO ESP32S3 Sense from a fragile prototyping toy into a robust, low-power vision node capable of surviving in the field. Whether you are building a smart bird feeder, a localized privacy-preserving occupancy sensor, or an offline voice-command hub, understanding the hardware limits and software configurations detailed above is the key to a successful deployment.