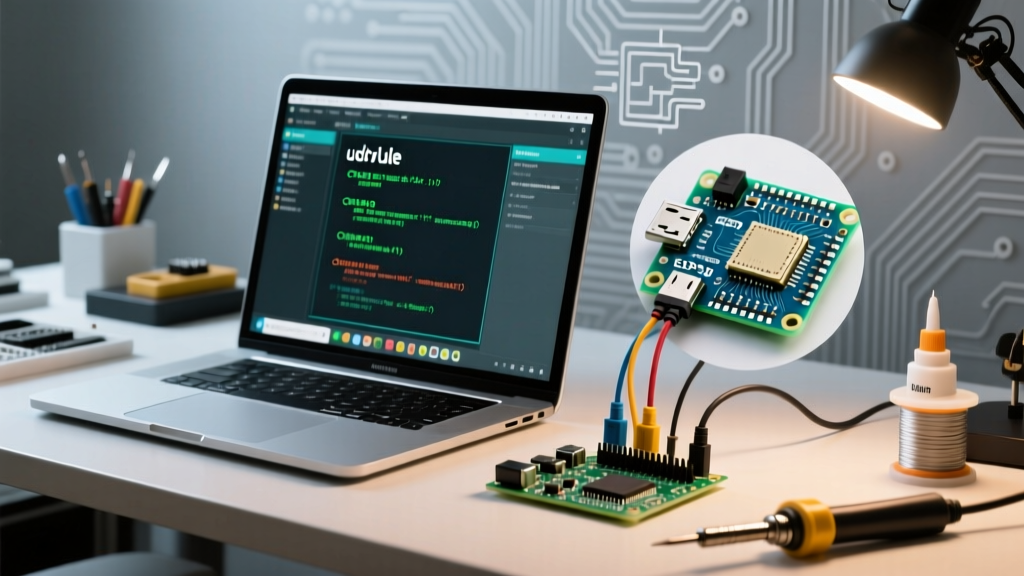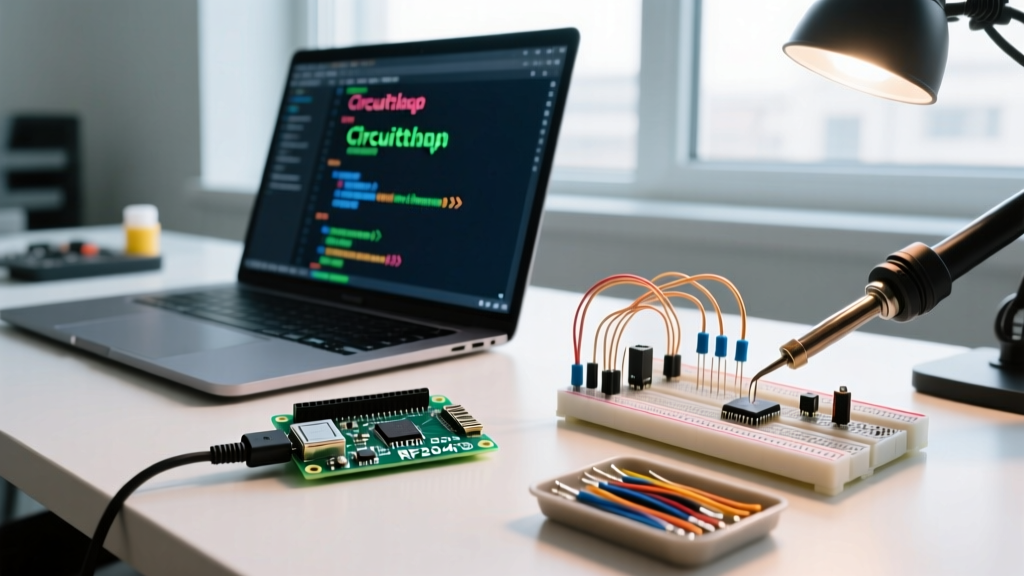

Many makers assume that learning how to program Arduino with Python requires complex workarounds, but the ecosystem has matured significantly. However, a fundamental architectural reality must be addressed first: standard 8-bit AVR microcontrollers (like the ATmega328P on the classic Uno R3) lack the RAM and flash memory to host a Python virtual machine natively. To bridge Python and Arduino in 2026, you must choose between two distinct configuration paths: Native On-Board Execution using 32-bit ARM boards, or Host-Controlled Bridging for classic AVR boards.
The Python-Arduino Paradigm: On-Board vs. Host-Controlled
Before opening your IDE, you must select the architecture that fits your project's latency, hardware, and deployment requirements. Below is a comparison of the two primary methods used by professional engineers and advanced makers today.
| Feature | Native Execution (CircuitPython) | Host-Controlled (Telemetrix / Firmata) |
|---|---|---|
| Compatible Hardware | Arduino Nano RP2040 Connect, Nano 33 BLE | Arduino Uno R3, Uno R4 Minima/WiFi, Mega 2560 |
| Execution Location | Directly on the microcontroller | On a host PC/Raspberry Pi; MCU acts as an I/O coprocessor |
| Latency | Microsecond-level (Native GPIO) | Millisecond-level (Serial/USB polling overhead) |
| Standalone Operation | Yes (Runs without a PC connected) | No (Requires host PC running the Python script) |
| Primary Use Case | Edge IoT, standalone sensors, wearables | Robotics control, data logging, computer vision integration |
Configuration 1: Native Execution via CircuitPython
For standalone projects where the Arduino must run Python code without a tethered PC, the Arduino Nano RP2040 Connect (retailing around $22-$25) is the premier choice. It utilizes the Raspberry Pi RP2040 dual-core ARM Cortex-M0+ processor, which has more than enough memory to run Adafruit's CircuitPython.
Step 1: Flashing the UF2 Firmware
Unlike the Arduino IDE's compilation process, CircuitPython is installed via a drag-and-drop UF2 bootloader.
- Double-tap the reset button on the Nano RP2040 Connect. The board will enter bootloader mode, and a USB mass storage device named
RPI-RP2will appear on your computer. - Download the latest stable UF2 file from the CircuitPython Board Index. Ensure you select the
en_USlanguage build. - Drag and drop the
.uf2file onto theRPI-RP2drive. The drive will immediately eject and remount as a new drive namedCIRCUITPY.
Step 2: IDE Configuration and First Sketch
In 2026, Thonny IDE (v4.x) remains the gold standard for CircuitPython development due to its built-in serial REPL and variable explorer. Configure Thonny by navigating to Tools > Options > Interpreter, selecting CircuitPython (generic), and choosing the correct USB serial port.
Create a file named code.py on the CIRCUITPY drive. CircuitPython executes this file automatically on boot. Here is a configuration for blinking the onboard RGB LED:
import board
import digitalio
import time

# Configure the built-in LED pin (Pin 6 on Nano RP2040 Connect)
led = digitalio.DigitalInOut(board.LED)
led.direction = digitalio.Direction.OUTPUT

while True:
    led.value = True
    time.sleep(0.5)
    led.value = False
    time.sleep(0.5)
Configuration 2: Host-Controlled Execution via Telemetrix
If you are using a classic AVR board like the Arduino Uno R4 Minima ($20) or an older Uno R3, you cannot run Python natively. Instead, you use a Firmata bridge. While pyFirmata was the historical standard, it is largely unmaintained and struggles with modern asynchronous I/O. The modern standard is Telemetrix, developed by Alan Yorinks, which offers robust, non-blocking serial communication.
Step 1: Uploading the Firmata Bridge
The Arduino must run a C++ sketch that listens for serial commands from your Python host.
- Open the standard Arduino IDE (v2.3+).
- Navigate to File > Examples > Firmata > StandardFirmataPlus.
- Compile and upload this sketch to your Uno R4 or Uno R3. The board is now an I/O slave waiting for Python instructions.
Step 2: Python Host Environment Setup
On your host machine (Windows, macOS, or Linux/Raspberry Pi), install the Telemetrix library. Open your terminal and execute:
pip install telemetrix-arduinoStep 3: Writing the Host Control Script
Telemetrix utilizes an asynchronous callback architecture, preventing the serial buffer from blocking your main Python thread. Below is a configuration to read an analog sensor (e.g., an LDR or potentiometer on A0) and toggle a relay on Pin 8 based on the threshold.
import time
from telemetrix import telemetrix

# Callback function for analog data
def analog_callback(data):
    # data[1] is the pin, data[2] is the analog value (0-1023)
    print(f'Pin A{data[1]}: {data[2]}')
    if data[2] > 512:
        board.digital_pin_write(8, 1) # Relay ON
    else:
        board.digital_pin_write(8, 0) # Relay OFF

# Initialize the board (auto-detects serial port)
board = telemetrix.Telemetrix()

# Configure Pin 8 as digital output
board.set_pin_mode_digital_output(8)

# Configure Pin A0 as analog input with callback
board.set_pin_mode_analog_input(0, analog_callback)

try:
    while True:
        time.sleep(1)
except KeyboardInterrupt:
    board.shutdown()
Pro-Tip: Telemetrix automatically handles the serial handshake and baud rate negotiation. Do not attempt to manually configure serial.Serial() parameters when using this library, as it will corrupt the Firmata handshake.
Latency and Execution Speed Benchmarks
When deciding how to program Arduino with Python, understanding the performance penalty of serial bridging is critical for time-sensitive applications like motor control or PID loops.
| Operation | CircuitPython (Nano RP2040) | Telemetrix (Uno R4 via USB) | Native C++ (Uno R4 Baseline) |
|---|---|---|---|
| GPIO Toggle Speed | ~120 kHz | ~1.2 kHz (Serial bottleneck) | ~2.5 MHz |
| Analog Read (10-bit) | ~45 µs per sample | ~3.5 ms per sample (round-trip) | ~110 µs per sample |
| I2C Bus Scan (10 devices) | ~8 ms | ~45 ms | ~5 ms |
Note: If your Python application requires sub-millisecond reaction times (e.g., balancing a self-driving robot), you must use Native Execution or write the core control loop in C++ and use Python only for high-level telemetry.
Critical Troubleshooting for Python-Arduino Setups
Configuration errors are the primary reason makers abandon Python-Arduino integration. Here are the most common failure modes and their exact solutions:
1. Linux Serial Port Lockouts (ModemManager)
Symptom: On Ubuntu/Debian, Telemetrix throws a PermissionError: [Errno 13] or the serial port vanishes immediately after connection.
Cause: The background ModemManager service probes new USB serial devices to check if they are cellular modems, locking the port.
Fix: Remove the service entirely via terminal: sudo apt purge modemmanager.
2. CIRCUITPY Drive Fails to Mount
Symptom: After flashing the UF2 file, the RPI-RP2 drive disappears, but CIRCUITPY never appears.
Cause: A corrupted filesystem or an incompatible USB-C cable (charge-only cables lack data lines).
Fix: Ensure you are using a data-capable USB-C cable. If the drive is corrupted, double-tap reset to enter bootloader mode, download the flash_nuke.uf2 utility from Adafruit, and drag it onto the drive to wipe the memory before re-flashing CircuitPython.
3. Telemetrix 'Board Not Found' Exception
Symptom: Python script halts with RuntimeError: No Arduino-compatible board found.
Cause: The StandardFirmataPlus sketch is not running, or another application (like the Arduino IDE Serial Monitor) is holding the COM port hostage.
Fix: Close the Arduino IDE completely. Verify the Firmata sketch was uploaded successfully by checking the TX/RX LEDs on the board upon physical reset.
Authoritative References
- For detailed memory maps and UF2 builds, consult the official CircuitPython Board Index.
- For advanced asynchronous serial bridging, review the Telemetrix Documentation by Alan Yorinks.
- For hardware schematics and pinout diagrams, refer to the Arduino Nano RP2040 Connect Documentation.