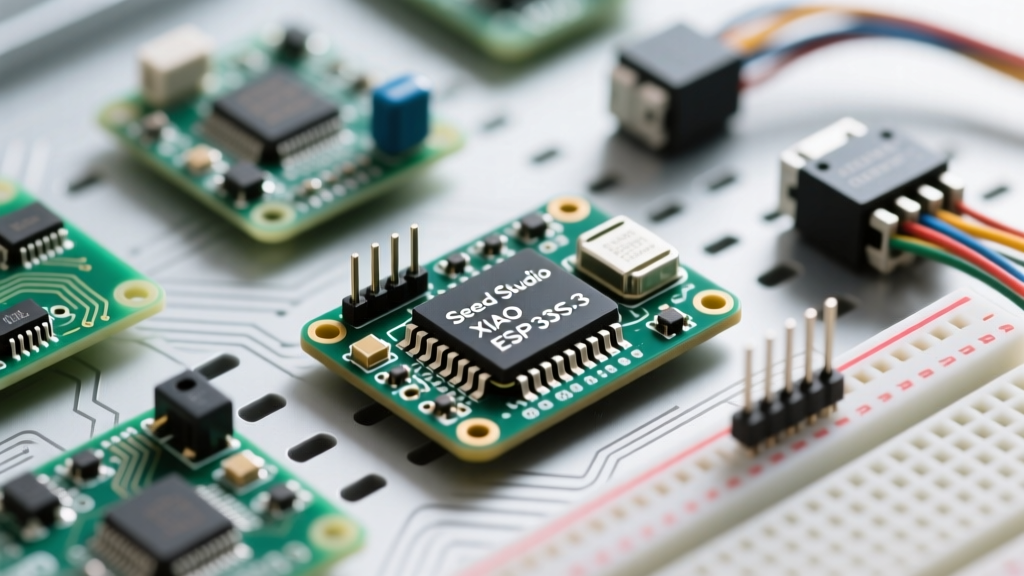

The Seeed Studio XIAO ESP32S3 has rapidly become a darling of the open-source hardware community. Packing a dual-core Xtensa LX7 processor with AI vector instructions into a 21x17.5mm footprint, it bridges the gap between ultra-low-power wearables and edge-computing vision projects. However, as thousands of makers on GitHub forums and Discord servers have discovered, shrinking a full-featured ESP32-S3 into a thumb-sized board introduces unique hardware quirks.
This community resource consolidates the most critical crowd-sourced insights, hardware workarounds, and Arduino IDE workflows to ensure your XIAO ESP32S3 project succeeds on the first compile.
Why the Maker Community Standardized on the XIAO Form Factor
Before diving into the technical weeds, it is worth understanding why this specific board dominates community builds. The ESP32-S3 chip itself is a powerhouse, featuring vector instructions for neural network acceleration. But Seeed Studio's implementation adds 8MB of Flash and 8MB of PSRAM (Octal SPI) in a package smaller than a postage stamp. For makers building TinyML audio recognition or OV2640 camera traps, this memory configuration is the bare minimum required, and the XIAO delivers it without the bulk of a standard DevKit.
Arduino IDE Workflows: Avoiding the Variant Trap
The most common hurdle reported on the Espressif Arduino Core GitHub issues page is selecting the wrong board variant. Because the XIAO uses a specific QSPI flash and OPI PSRAM configuration, treating it like a generic development board will result in boot loops or missing memory.
Step-by-Step Community-Approved Setup
- Open the Arduino IDE and navigate to File > Preferences.
- Add the Espressif Board Manager URL:
https://raw.githubusercontent.com/espressif/arduino-esp32/gh-pages/package_esp32_index.json - Open the Boards Manager and install the latest esp32 core (v2.0.14 or newer is highly recommended for S3 stability).
- Under Tools > Board, select XIAO_ESP32S3. Do not select 'ESP32S3 Dev Module'.
- Critical Step: Under Tools > PSRAM, ensure OPI PSRAM is enabled. If left disabled, your 8MB of external RAM will be inaccessible to camera buffers and TensorFlow Lite tensors.
Crowdsourced Pinout Quirks and Hardware Mapping
The XIAO ESP32S3 exposes 11 GPIO pins (D0 to D10). While the silkscreen is clean, the underlying ESP32-S3 GPIO mapping hides a few traps for the uninitiated, particularly regarding Analog-to-Digital conversion.
| Silkscreen | ESP32-S3 GPIO | Community Notes & Limitations |
|---|---|---|
| D0 / A0 | GPIO 1 | ADC1_CH0. Safe for analog reads while Wi-Fi is active. |
| D1 / A1 | GPIO 2 | ADC1_CH1. Safe for analog reads while Wi-Fi is active. |
| D2 / A2 | GPIO 3 | ADC1_CH2. Strapping pin; avoid pulling low during boot. |
| D3 / A3 | GPIO 4 | ADC1_CH3. Safe for analog reads. |
| D4 / A4 / SDA | GPIO 5 | Default I2C SDA. ADC1_CH4. |
| D5 / A5 / SCL | GPIO 6 | Default I2C SCL. ADC1_CH5. |
| D6 / TX | GPIO 43 | Default UART TX. No ADC capabilities. |
| D7 / RX | GPIO 44 | Default UART RX. No ADC capabilities. |
| D8 / SCK | GPIO 7 | SPI SCK. Beware: ADC2_CH0. Unusable for analog if Wi-Fi is on. |
| D9 / MISO | GPIO 8 | SPI MISO. ADC2_CH1. Unusable for analog if Wi-Fi is on. |
| D10 / MOSI | GPIO 9 | SPI MOSI. ADC2_CH2. Unusable for analog if Wi-Fi is on. |
Community Warning on ADC2: As documented in the Espressif ESP32-S3 Datasheet, the Wi-Fi driver monopolizes the ADC2 peripheral. If your project requires simultaneous Wi-Fi communication and analog sensor reading, you must restrict your analog sensors to pins D0 through D5 (ADC1).
Real-World Failure Modes & Community Fixes
Hardware miniaturization requires compromises. Here are the most frequent failure modes encountered in the wild, along with the community-developed solutions.
The Deep Sleep Current Anomaly
Makers designing battery-powered sensor nodes expect the ESP32-S3 to drop to roughly 12µA in deep sleep. However, many users report currents hovering around 10mA. The culprit? The native USB Serial JTAG interface.
By default, the Arduino IDE enables USB CDC On Boot. This keeps the USB peripheral active, preventing the chip from entering true low-power deep sleep. The Fix: In the Arduino IDE Tools menu, set USB CDC On Boot to Disabled. Note that doing this will kill your serial monitor output over USB. For debugging, use an external UART-to-USB adapter on D6/D7, or write a script to toggle CDC via a GPIO button press upon waking.
U.FL Antenna Trace Modifications
The XIAO ESP32S3 features both an onboard ceramic antenna and a U.FL connector for external antennas. Out of the box, the ceramic antenna is active. To route the RF signal to the U.FL connector, you cannot simply plug in the antenna. You must physically move the 0-ohm resistor located near the U.FL pad to the adjacent alternate pads. Attempting to use the U.FL connector without shifting this resistor will result in catastrophic signal attenuation and Wi-Fi failure beyond 2 meters.
LiPo Charging Thermal Throttling
The board includes a JST 1.25mm connector for LiPo batteries and an onboard charging IC. Community thermal imaging has shown that when charging a depleted 2000mAh battery via the USB-C port, the linear charging IC can reach temperatures exceeding 70°C. While it has built-in thermal shutdown, this heat can trigger false readings on nearby onboard temperature sensors or degrade the lifespan of the PCB. Best Practice: Limit your LiPo capacity to 500mAh - 800mAh for this specific board, or use an external dedicated charging module (like a TP4056) for larger battery packs.
Edge AI and Camera Integration
The true advantage of the S3 variant over the original XIAO ESP32-C3 is its AI acceleration. The Seeed Studio Official Wiki provides excellent baseline tutorials, but the community has pushed the boundaries further using the XIAO Expansion Board.
When pairing the XIAO with an OV2640 camera module via the expansion board's 24-pin FPC connector, memory management becomes critical. Always initialize the camera with fb_location = CAMERA_FB_IN_PSRAM in your configuration struct. Furthermore, when deploying TensorFlow Lite Micro models for person detection, utilize the ESP-DL library rather than vanilla TFLite, as ESP-DL is heavily optimized for the S3's Xtensa vector instructions, reducing inference latency by up to 40% compared to standard ARM-optimized builds.
Final Thoughts from the Workbench
The Seeed Studio XIAO ESP32S3 is not without its quirks, but its power-to-size ratio remains unmatched in the 2026 maker landscape. By respecting the ADC1/ADC2 Wi-Fi limitations, managing your USB-CDC power states, and properly configuring OPI PSRAM, you can bypass the common pitfalls and build highly capable, miniaturized edge-AI devices. Always consult the community repositories and GitHub issues before finalizing your PCB carrier board designs, as silicon errata and core updates frequently shift the optimal configurations.