
Transitioning from 8-bit AVR microcontrollers to 32-bit ARM Cortex-M architectures is a major milestone for any maker. While many newcomers mistakenly search for an "smt32 arduino" setup guide due to common typos, professionals know that optimizing the actual STM32 Arduino core is what separates hobbyists from embedded engineers. The STMicroelectronics ecosystem offers immense computational power, but the default Arduino IDE settings are rarely optimized for the unique demands of ARM Cortex-M chips.
As of 2026, boards like the WeAct Black Pill (STM32F411CEU6) remain the undisputed kings of budget ARM prototyping, typically pricing around $6.50 to $8.00. However, out-of-the-box, compiling and uploading to these boards can feel sluggish if you rely on default serial bootloaders and unoptimized GCC flags. This guide will completely overhaul your STM32 Arduino workflow, focusing on toolchain optimization, SWD upload protocols, and advanced memory management.
Streamlining the Core Installation and Board Selection
The foundation of a fast workflow is using the official, actively maintained core. Avoid outdated third-party forks like the legacy RogerClark Melbourne core, which lacks support for modern STM32F4 and STM32H7 series chips. Instead, use the official Arduino_Core_STM32 maintained by STMicroelectronics.
Optimizing the Board Manager URL
Ensure your Arduino IDE (or CLI) is pulling the latest 2026 board definitions by using the official STMicroelectronics index URL in your preferences:
https://github.com/stm32duino/BoardManagerFiles/raw/main/package_stmicroelectronics_index.json
When selecting your board, always choose the exact variant. For example, if using a Black Pill, select Generic STM32F4 series -> BlackPill F411CE. Selecting a generic F103 for an F411 board will result in severe clock-speed miscalculations and broken USB peripherals.
Optimizing the Compilation Toolchain
The Arduino IDE defaults to conservative compilation flags to ensure maximum compatibility and easier debugging. For STM32 chips, where flash memory and execution speed are critical, you should manually adjust the GCC ARM optimization levels. You can do this by modifying the boards.txt file or, more safely, by using PlatformIO with a platformio.ini configuration file for your STM32 Arduino projects.
GCC ARM Optimization Flags Compared
Understanding how the ARM GCC compiler handles your C++ code is vital. Below is a breakdown of the optimization flags and how they impact your STM32 workflow:
| Flag | Purpose | Flash Impact | Best Workflow Scenario |
|---|---|---|---|
-O0 |
No optimization | +40% bloat | Active step-through debugging via SWD |
-O2 |
Safe speed optimization | Baseline | Standard production firmware |
-O3 |
Aggressive speed (unrolls loops) | +15% size | DSP, audio processing, fast math |
-Os |
Optimize for size | -20% size | Tight flash limits (e.g., STM32F103C8T6 64KB) |
-Ofast |
Ignores strict IEEE compliance | Variable | High-speed sensor polling where precision is secondary |
Workflow Tip: If you are compiling large libraries like TFT_eSPI or LVGL on an STM32F4, switching from the default -Os to -O2 can reduce loop execution times by up to 35%, drastically improving UI framerates on SPI displays.
Upload Protocol Workflows: Ditching the Serial Bootloader
The most significant bottleneck in the STM32 Arduino workflow is the default serial upload method. It requires you to manually toggle the BOOT0 jumper to 3.3V, reset the board, compile, upload, and then toggle BOOT0 back to GND to run the sketch. This "jumper dance" destroys productivity.
The SWD Upgrade: ST-Link V2 and V3
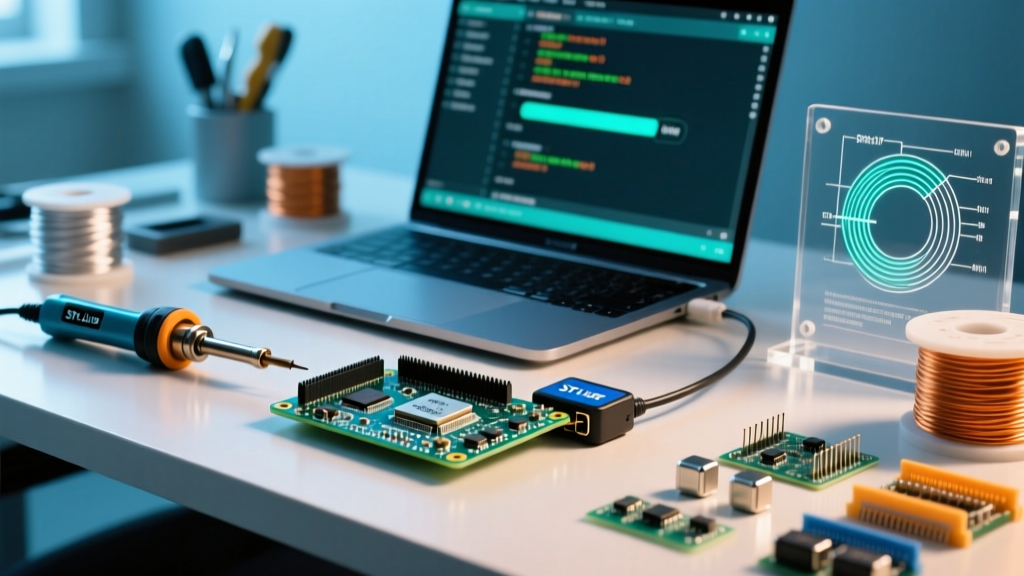
To achieve a flawless, one-click upload and debug workflow, you must use Serial Wire Debug (SWD). By connecting an ST-Link V2 (or the newer V3MINI) to your STM32, you bypass the bootloader entirely and write directly to the ARM Cortex-M flash memory via the hardware debug interface.
Standard SWD Pinout for STM32 Pills
- 3.3V: Connect to ST-Link 3.3V (Do NOT use 5V, or you risk damaging the debug port).
- SWDIO: Connect to PA13 on the STM32.
- SWCLK: Connect to PA14 on the STM32.
- GND: Connect to any ground pin.
In the Arduino IDE, simply change the Upload Method dropdown to STM32CubeProgrammer (SWD). You will never need to touch the BOOT0 jumper again. Furthermore, SWD allows for hardware breakpoints and real-time variable monitoring, which is impossible over a standard serial UART connection.
Handling Edge Cases: Unbricking and Disabled SWD Pins
A common nightmare in the STM32 workflow is accidentally reconfiguring PA13 or PA14 as standard GPIO pins in your sketch (e.g., using them to drive LEDs or read buttons). Once uploaded, the chip loses its SWD connection, and the ST-Link will throw a "Connection Failed" or "Target not found" error.
The "Connect Under Reset" Solution
Do not throw the board away. You can recover it using the STM32CubeProgrammer software:
- Wire the ST-Link's NRST (Reset) pin to the STM32's NRST pin.
- Open STM32CubeProgrammer and navigate to the connection settings.
- Change the Reset mode to Connect under reset.
- Click Connect. The software will hold the chip in a reset state, preventing your rogue GPIO code from executing, and re-establish the SWD handshake.
- Perform a Full Flash Erase to wipe the problematic firmware.
Memory Management: Trimming the HAL Overhead
The STM32 Arduino core relies on ST's Hardware Abstraction Layer (HAL). While HAL makes functions like digitalWrite() and analogRead() work seamlessly, it introduces significant overhead. A simple digitalWrite() on an STM32 via HAL can take up to 50 clock cycles due to safety checks and clock validation.
For high-frequency signal generation or bit-banging protocols, optimize your workflow by using direct register manipulation or the CMSIS (Cortex Microcontroller Software Interface Standard) macros. For example, toggling pin PA5 directly via the GPIOB_ODR register takes only 1 to 2 clock cycles, yielding a massive performance boost for time-critical interrupts.
Summary of Workflow Enhancements
By correcting your search intent from generic "smt32" queries to mastering the professional STM32 Arduino ecosystem, you unlock the true potential of ARM Cortex-M microcontrollers. Transitioning to SWD uploads via ST-Link, utilizing -O2 GCC optimizations, and understanding how to recover from locked debug ports will save you hours of frustration and result in robust, production-ready firmware.