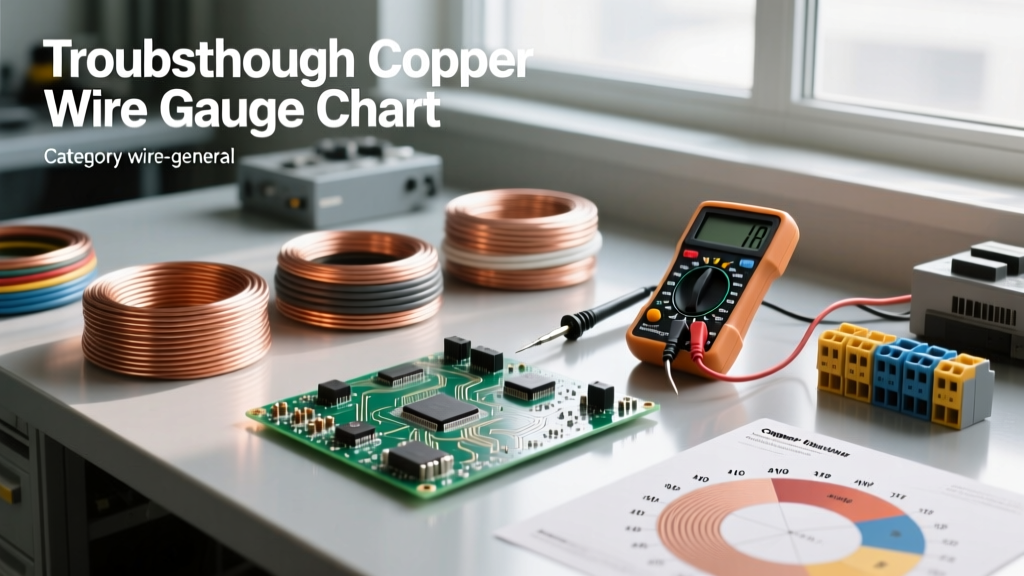

The Diagnostic Role of the Copper Wire Gauge Chart
When an electrical circuit fails, overheats, or exhibits erratic behavior, the root cause is frequently hidden behind the drywall: undersized or improperly applied wiring. While most electricians and DIYers view a copper wire gauge chart strictly as an installation reference, it is actually one of the most powerful diagnostic tools in your troubleshooting arsenal. By comparing the physical reality of an installed circuit against the standardized ampacity and resistance metrics found in the chart, you can systematically isolate failures ranging from nuisance breaker trips to severe voltage drop.
Troubleshooting requires moving beyond the basic '14 AWG for 15 Amps' rule of thumb. Real-world failures occur when installers ignore temperature ratings, bundling derations, or the physical limitations of terminations. This guide will teach you how to reverse-engineer circuit failures using the National Electrical Code (NEC) ampacity tables and copper wire gauge charts.
Deconstructing the Chart: Ampacity vs. Termination Limits
The most common troubleshooting error occurs when an installer uses the 90°C column of the copper wire gauge chart for a circuit terminated on 60°C or 75°C equipment. According to NEC Article 110.14(C), the allowable ampacity of a circuit is dictated by the weakest link in the chain.
For example, 10 AWG THHN copper wire has an ampacity of 40 Amps in the 90°C column. However, if that wire is landed on a standard residential receptacle rated for 60°C, the circuit must be treated as if it has an ampacity of only 30 Amps (the 60°C column limit). If a technician troubleshoots a tripping 35A breaker on this circuit and assumes the 10 AWG wire is 'good for 40A' based on a quick glance at the 90°C chart, they will misdiagnose the breaker as faulty rather than recognizing the termination bottleneck.
The Weakest Link Diagnostic Framework
- Step 1: Identify the wire gauge and insulation type (e.g., 12 AWG THHN, 90°C).
- Step 2: Identify the temperature rating of the breaker, lug, or receptacle (usually 75°C for commercial, 60°C for older residential).
- Step 3: Cross-reference the copper wire gauge chart using the lowest temperature rating found in Step 2.
- Step 4: Compare this derated ampacity against the actual continuous load of the circuit.
Symptom 1: Nuisance Breaker Trips and Warm Receptacles
If a breaker trips under load, or if the faceplate of a receptacle feels warm to the touch, you are likely dealing with a thermal overload caused by a gauge mismatch. Heat is the byproduct of resistance (I²R). When current flows through a wire that is too small for the load, the wire acts as a heating element.
Diagnostic Table: Symptom to Gauge Mismatch
| Observed Symptom | Probable Gauge Mismatch | NEC Chart Reference (60°C Column) | Troubleshooting Action |
|---|---|---|---|
| 20A breaker trips on space heater | 14 AWG used instead of 12 AWG | 14 AWG = 15A Max | Verify wire at panel; replace breaker with 15A or rewire with 12 AWG. |
| Warm receptacle faceplate | 12 AWG pushed to 20A continuous load | 12 AWG = 20A Max (Continuous limit 16A) | Continuous loads must be derated to 80%. Split the load across two circuits. |
| Melted insulation near lugs | 8 AWG terminated on 60°C lugs at 50A | 8 AWG = 40A Max (at 60°C) | Upgrade terminations to 75°C rated or upsize wire to 6 AWG. |
When troubleshooting warm receptacles, use an infrared thermometer. If the temperature at the termination screw exceeds the ambient room temperature by more than 15°C (27°F), the connection is either loose or the wire gauge is insufficient for the continuous draw.
Symptom 2: Severe Voltage Drop at the End of the Run
A circuit can be perfectly sized for ampacity but still fail due to voltage drop over distance. The standard copper wire gauge chart assumes a standard run length. When troubleshooting dimming lights, motor stalling, or smart home devices rebooting unexpectedly at the far end of a property, distance is your primary suspect.
The NEC recommends a maximum voltage drop of 3% for branch circuits and 5% for the combined feeder and branch circuit. To troubleshoot this, you must calculate the actual voltage drop using the circular mils (CM) value found in the wire gauge chart.
The Voltage Drop Troubleshooting Formula
Use the following formula for single-phase circuits:
VD = (2 × K × I × D) / CM
- VD: Voltage Drop
- K: 12.9 (for copper at 75°C)
- I: Current in Amperes
- D: One-way distance in feet
- CM: Circular Mils (from the copper wire gauge chart; e.g., 10 AWG = 10,380 CM)
Example: You are troubleshooting a 120V circuit powering a 12A shed outlet located 150 feet from the panel, wired with 12 AWG copper (CM = 6,530).
VD = (2 × 12.9 × 12 × 150) / 6,530 = 7.11 Volts.
7.11V is a 5.9% drop on a 120V circuit. This exceeds the 3% recommendation, explaining why power tools trip their internal thermal overloads when used in the shed. The troubleshooting fix is to upsize to 10 AWG or 8 AWG, which you can verify by recalculating with the higher CM values from the chart. For rapid field diagnostics, the Southwire Voltage Drop Calculator is an excellent digital companion to your physical chart.
Adjusting for Ambient Temperature and Bundling
If the wire gauge chart indicates the circuit should handle the load, but the breaker still trips and the wire is hot, you must investigate the physical routing of the cable. The ampacity values in standard charts are based on an ambient temperature of 30°C (86°F) and assume no more than three current-carrying conductors in a raceway.
Troubleshooting Derating Factors
- Attic and Rooftop Runs: If NM-B (Romex) cable is run through an attic that reaches 120°F (49°C) in the summer, you must apply a temperature correction factor. For 60°C rated NM-B, a 120°F ambient temperature requires multiplying the base ampacity by 0.71. A 12 AWG wire normally rated for 20A is now only good for 14.2A.
- Conduit Bundling: If you are troubleshooting a commercial circuit where four to six current-carrying conductors are pulled into a single EMT conduit, the NEC requires an 80% derating factor. The heat generated by adjacent wires cannot dissipate, effectively lowering the ampacity of every wire in the pipe.
Critical Safety Warning: When troubleshooting older homes or commercial buildings, never assume a silver-colored wire is tinned copper. It may be aluminum. Aluminum has a higher resistance and lower ampacity than copper. Using a copper wire gauge chart to troubleshoot an aluminum circuit will result in dangerously undersized calculations and a severe fire hazard. Always scrape a small section of the conductor to verify the base metal.
Field Testing: Verifying the Installed Gauge
You cannot troubleshoot using a chart if you cannot accurately identify the wire in the field. Over time, insulation degrades, and printing on NM-B jackets becomes illegible. Furthermore, stranded wire and solid wire have slightly different overall diameters, which can confuse novice troubleshooters using standard rulers.
Tools for Physical Verification
- Wire Stripper Gauge Holes: The most reliable quick-test. Insert the stripped, bare copper conductor into the holes of a calibrated wire stripper. If a 12 AWG hole strips the insulation cleanly but the bare wire slips through a 10 AWG hole with excessive wobble, you have confirmed the gauge.
- Digital Calipers: Measure the bare copper diameter. According to the ASTM B258 standard, solid 14 AWG copper is 1.628mm (0.0641 inches), 12 AWG is 2.053mm (0.0808 inches), and 10 AWG is 2.588mm (0.1019 inches). Note that you must measure the bare conductor, not the insulation.
- Micro-Ohmmeter: For long runs where the ends are not accessible, advanced troubleshooters use a micro-ohmmeter to measure the exact resistance of the loop, comparing the result against the Ohms-per-1000-feet metric provided in the copper wire gauge chart to deduce the gauge and check for hidden breaks.
Corrective Actions for Undersized Circuits
Once your troubleshooting confirms that the installed wire does not meet the requirements of the copper wire gauge chart for the specific load, distance, and environment, you must take corrective action. Simply swapping the breaker for a smaller one is a band-aid that does not solve voltage drop or existing thermal damage to the insulation.
For branch circuits suffering from voltage drop, consider installing a dedicated feeder to a sub-panel closer to the load, thereby reducing the 'D' (distance) variable in your voltage drop equation. For thermal overloads caused by bundling or ambient heat, you must either reroute the wiring to a cooler environment, reduce the number of conductors in the raceway, or upsize the wire by two gauges to compensate for the derating factors. Always document your findings and reference the specific NEC table used to justify the rewiring to the local authority having jurisdiction (AHJ).
Conclusion
A copper wire gauge chart is not just a static reference table; it is a dynamic diagnostic map. By understanding the interplay between wire gauge, insulation temperature ratings, termination limits, and environmental derating, you can troubleshoot complex electrical failures with precision. Stop guessing why a breaker trips or why a motor stalls—measure the wire, check the terminations, apply the math, and let the chart reveal the hidden faults in your electrical system.