
Why Most Beginner Arduino Kits Fail You (And How to Fix It)
If you have ever bought a starter kit, you probably spent your first week blinking LEDs and reading pushbuttons. While foundational, these exercises rarely translate to solving actual daily problems. When beginners search for arduino projects for beginners step by step, they are often met with fragile prototypes that fall apart the moment they are moved from a breadboard to the real world.
As an electrical engineer, I see the same failure modes repeatedly: un-debounced switches causing erratic behavior, resistive sensors corroding within days, and relay modules resetting microcontrollers due to back-EMF spikes. This guide abandons the toy projects. Instead, we will build two practical, problem-solving devices using step-by-step instructions that emphasize real-world reliability, proper component selection, and code architecture that actually scales.
Project 1: The 'Forgetful Fridge' Door Alarm (Solving Wasted Energy)
Leaving the fridge door slightly ajar wastes massive amounts of energy and spoils food. Commercial alarms are expensive and often rely on easily depleted coin-cell batteries. We can build a robust, USB-powered magnetic reed switch alarm that triggers only after a door has been left open for a specific threshold.
Hardware BOM & Real Costs
- Microcontroller: Arduino Nano (Clone or Genuine) - ~$8 to $22
- Sensor: MC-38 Wired Magnetic Reed Switch - ~$3 (for a pack of 5)
- Output: 5V Active Buzzer (Continuous tone) - ~$1
- Power: 5V 1A USB Wall Adapter & Micro-USB cable
Step-by-Step Wiring & Code Logic
Wire the MC-38 reed switch between Digital Pin 2 and GND. We will use the internal pull-up resistor, meaning the pin reads HIGH when the door is open (magnet away) and LOW when closed (magnet near). Wire the active buzzer's positive lead to Digital Pin 8 and GND to the Nano's GND.
The biggest mistake beginners make with magnetic switches is ignoring 'switch bounce' and failing to implement a delay threshold. You do not want the alarm screaming the moment you open the fridge to grab milk. We use millis() for non-blocking timing.
const int reedPin = 2;
const int buzzerPin = 8;
const unsigned long openThreshold = 60000; // 60 seconds

unsigned long doorOpenedTime = 0;
bool doorIsOpen = false;
bool alarmSounding = false;

void setup() {
  pinMode(reedPin, INPUT_PULLUP);
  pinMode(buzzerPin, OUTPUT);
  digitalWrite(buzzerPin, LOW);
}

void loop() {
  bool currentDoorState = digitalRead(reedPin); // HIGH = Open

  if (currentDoorState == HIGH && !doorIsOpen) {
    doorOpenedTime = millis();
    doorIsOpen = true;
  }
  else if (currentDoorState == LOW) {
    doorIsOpen = false;
    alarmSounding = false;
    digitalWrite(buzzerPin, LOW);
  }

  if (doorIsOpen && (millis() - doorOpenedTime >= openThreshold) && !alarmSounding) {
    alarmSounding = true;
    digitalWrite(buzzerPin, HIGH);
  }
}
Real-World Failure Mode: Magnet Misalignment & Debouncing
The MC-38 switch is encased in plastic, making it easy to mount with double-sided VHB tape. However, if the magnet is mounted on the door and the switch on the frame, a warped door seal can cause the magnet to sit on the very edge of the switch's sensitivity zone. This causes rapid fluttering (bouncing) between HIGH and LOW states. While our millis() logic naturally filters out micro-bounces, physical misalignment can cause the alarm to reset prematurely. Always test the physical mounting with the fridge fully loaded, as the weight of groceries often shifts the door alignment by a few millimeters.
Project 2: Automated Plant Saver (Capacitive vs. Resistive Soil Sensors)
Houseplants die from inconsistent watering. Most beginner kits include a 'soil moisture sensor' with two exposed metal prongs. Do not use these for long-term deployments. Passing current through damp soil via exposed metal causes rapid electrolysis. The prongs will corrode and dissolve within 72 hours, rendering the sensor useless and potentially poisoning your plant with heavy metals.
The Sensor Dilemma: Upgrading to Capacitive
To solve this, we use a Capacitive Soil Moisture Sensor v1.2. Instead of measuring resistance through the soil, it measures capacitance changes in the dielectric material (the dirt) using a sealed, corrosion-proof carbon-ink surface. It costs roughly $4, slightly more than the resistive version, but it lasts for years.
Step-by-Step Calibration & Build
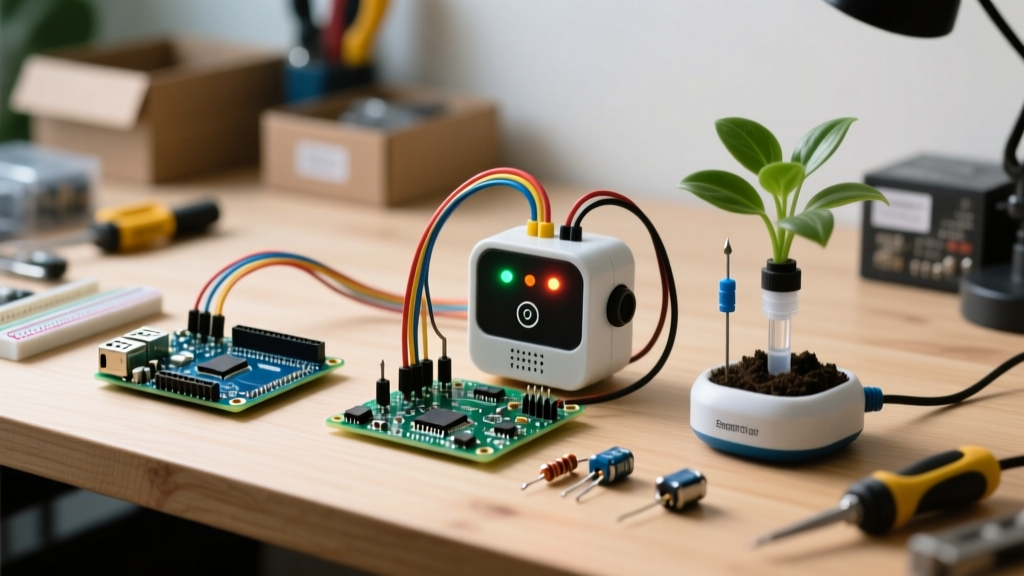
Components: Arduino Nano, Capacitive Sensor v1.2, 5V Opto-isolated Relay Module, 3V-5V Micro Submersible Water Pump, and silicone tubing.
Calibration Step: Capacitive sensors output an analog voltage that inversely correlates with moisture (wetter soil = lower voltage). You must calibrate your specific soil type.
- Upload a basic
analogRead(A0)sketch. - Hold the sensor in dry air. Note the value (typically around 520-580).
- Submerge the sensor in a cup of water up to the fill line. Note the value (typically around 250-300).
- Use the Arduino
map()function to translate these bounds into a 0-100% scale in your final code.
Critical E-E-A-T Insight: The Relay Back-EMF Trap
When the Arduino triggers the relay to turn on the water pump, the pump's inductive motor generates a massive voltage spike (back-EMF) when it shuts off. Cheap relay modules often lack proper opto-isolation or flyback diodes, sending this spike back through the 5V rail and instantly bricking your Arduino Nano's voltage regulator or USB interface chip.
The Fix: Ensure your relay module has an optocoupler (usually a black 4-pin chip on the board). Furthermore, you must remove the 'JD-VCC' jumper on the relay module and power the relay's electromagnet coil with a separate 5V power supply, sharing only the GND with the Arduino. This provides true galvanic isolation, protecting your microcontroller from the water pump's electrical noise. For a deeper dive on protecting microcontrollers from inductive loads, refer to the Adafruit learning system guides on inductive kickback.
Component Comparison: Beginner Kits vs. Problem-Sourcing Parts
Transitioning from tutorials to real-world problem solving requires upgrading specific components. Here is a decision matrix for your next hardware run.
| Component Category | Standard Kit Part (Avoid) | Real-World Upgrade (Use) | Why the Upgrade Matters |
|---|---|---|---|
| Soil Moisture | Resistive Prong Sensor | Capacitive Sensor v1.2 | Prevents electrolysis, corrosion, and soil toxicity. |
| Light Sensing | Cadmium Sulfide (CdS) LDR | OPT101 or BH1750 (I2C) | LDRs suffer from temperature drift and memory effects; I2C sensors provide calibrated Lux data. |
| Motion Detection | HC-SR501 PIR Sensor | RCWL-0516 Microwave Radar | PIR sensors fail in high ambient heat (like summer garages); Radar detects motion through plastic enclosures reliably. |
| Power Supply | 9V Battery + Barrel Jack | 18650 Li-Ion + Buck Converter | 9V batteries have terrible internal resistance and die in hours under motor loads. |
Debugging Your First Real-World Deployments
When deploying these projects outside of your bedroom, environmental factors become your primary enemy. Here is a troubleshooting framework for the most common deployment failures:
- Phantom Resets: If your Arduino restarts randomly when a relay clicks or a motor spins, you are experiencing brownouts. The Arduino's onboard linear regulator cannot handle sudden current draws. Always power motors and relays directly from a dedicated buck converter (like the LM2596) wired in parallel to your main power source, not through the Arduino's 5V pin.
- Sensor Drift in Humidity: Bare PCBs will short out in high-humidity environments (like greenhouses or fridges). You must coat your sensor connections and exposed copper with conformal coating or clear nail polish, leaving only the necessary sensing pads exposed.
- Wire Fatigue: Dupont jumper wires are for prototyping only. The moment a project is deployed, vibrations and temperature changes will loosen them. For permanent installs, solder your connections or use JST-XH connectors with locking housings.
Authoritative Resources for Going Deeper
Building reliable electronics requires understanding the physics behind the components. To further your knowledge in microcontroller I/O protection and power management, consult the official Arduino Hardware Documentation for exact pinout tolerances and absolute maximum ratings. Additionally, the SparkFun Tutorials Database offers exceptional guides on reading datasheets and designing custom PCBs when you are ready to move your breadboard circuits into permanent, enclosed products.
By focusing on real-world failure modes and selecting the right components, you transform from a hobbyist following tutorials into an engineer solving actual problems. Grab your Nano, order the capacitive sensors, and start building deployments that actually last.