
The 3.3V vs 5V Trap: Why Arduino Code Fries Raspberry Pis
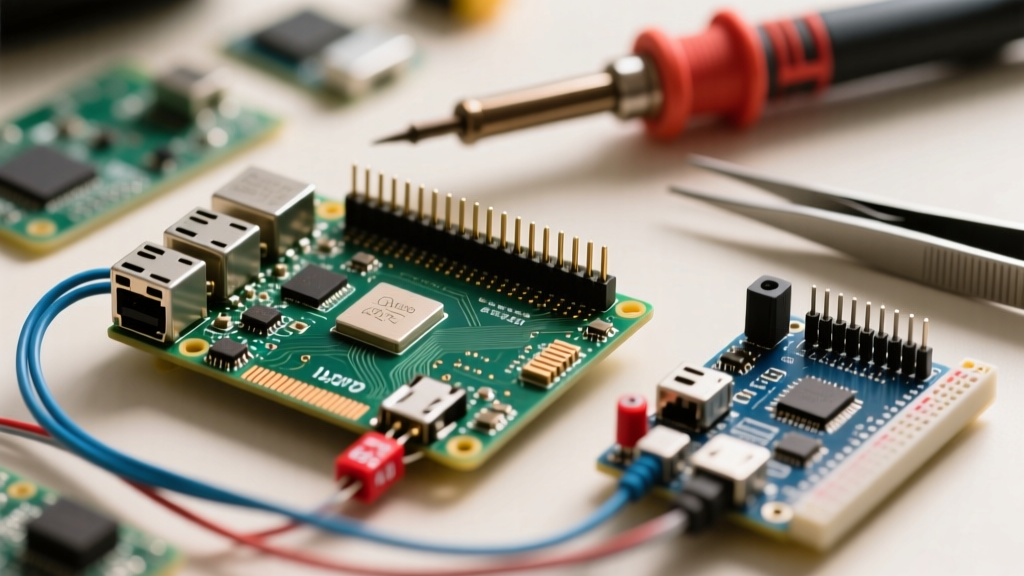
Migrating a project from an 8-bit microcontroller like the Arduino Uno to a Single Board Computer (SBC) like the Raspberry Pi is a common rite of passage for makers needing more processing power, network connectivity, or camera capabilities. However, this upgrade path is littered with destroyed SBCs. The primary culprit? A fundamental misunderstanding of the gpio rpi pinout and its voltage tolerances.
Unlike the ATmega328P on the Arduino Uno, which operates at a robust 5V logic level, the Raspberry Pi’s System on Chip (SoC) and the newer RP1 southbridge chip on the Pi 5 operate strictly at 3.3V. Feeding a 5V signal from an Arduino sensor, relay module, or logic IC directly into a Raspberry Pi GPIO pin will bypass the internal protection diodes, causing irreversible thermal damage to the silicon. Understanding the physical and logical layout of the Pi's 40-pin header is the mandatory first step in any MCU-to-SBC migration.
Decoding the GPIO RPi Pinout: BCM vs Physical Board Numbering
When transitioning from Arduino’s simple digital pin numbering (D0-D13, A0-A5) to the Raspberry Pi, makers must navigate two distinct numbering systems. This duality is a frequent source of wiring errors during hardware migration.
- Physical (BOARD) Numbering: This maps directly to the physical pins on the 40-pin header, counting from 1 to 40. Pin 1 is the 3.3V power rail, located in the top-left corner when the board is oriented with the USB ports facing you.
- Broadcom (BCM) Numbering: This refers to the internal GPIO channel numbers of the Broadcom SoC (or RP1 chip on Pi 5). For example, Physical Pin 3 corresponds to BCM 2 (I2C SDA). Most modern Python libraries, including
gpiozero, default to BCM numbering.
Pro-Tip: If you are logged into your Pi via SSH, simply type
pinoutin the terminal. This built-in command (part of thegpiozerolibrary) renders a color-coded ASCII diagram of the gpio rpi pinout directly in your console, saving you from digging through PDF schematics while holding a jumper wire.
Migration Table: Arduino Uno to Raspberry Pi Pin Equivalents
When porting an existing breadboard layout from an Arduino to a Pi, use this translation matrix to map your peripheral connections safely.
| Peripheral Protocol | Arduino Uno Pins | Raspberry Pi BCM | Pi Physical Pins | Migration Notes |
|---|---|---|---|---|
| I2C SDA | A4 | BCM 2 | Pin 3 | Pi requires 3.3V pull-ups. Do not use 5V I2C modules directly. |
| I2C SCL | A5 | BCM 3 | Pin 5 | Default I2C bus (i2c-1). |
| SPI MOSI | D11 | BCM 10 | Pin 19 | Master Out, Slave In. |
| SPI MISO | D12 | BCM 9 | Pin 21 | Master In, Slave Out. |
| SPI SCK | D13 | BCM 11 | Pin 23 | SPI Clock. |
| SPI CS0 | D10 | BCM 8 | Pin 24 | Chip Select 0 (Active Low). |
| UART TX | D1 (TX) | BCM 14 | Pin 8 | Pi TX is 3.3V. Use a logic level shifter if connecting to 5V MCU. |
| UART RX | D0 (RX) | BCM 15 | Pin 10 | Ensure console=serial0 is disabled in boot/config.txt. |
| Hardware PWM | D5, D6 | BCM 12, 13, 18, 19 | 32, 33, 12, 35 | Pi has dedicated hardware PWM channels. Crucial for servo stability. |
Hardware Upgrades: Safely Bridging 5V Sensors to 3.3V Logic
If your existing Arduino project relies on 5V modules (like the HC-SR04 ultrasonic sensor or standard 16x2 LCDs with I2C backpacks), you cannot simply plug them into the gpio rpi pinout. You must implement logic level shifting.
Level Shifter Showdown: BSS138 vs. CD4050 vs. TXB0108
Not all level shifters are created equal, and choosing the wrong one can cause I2C bus lockups or SPI data corruption during your migration.
- BSS138 MOSFET Bi-Directional Shifter: The gold standard for I2C migration. Because I2C requires open-drain lines with pull-up resistors, the BSS138 safely translates the 3.3V Pi side to the 5V sensor side without fighting the bus pull-ups. SparkFun and Adafruit sell pre-built breakout boards for under $3.
- CD4050 Non-Inverting Buffer: Excellent for one-way 5V-to-3.3V translation (e.g., reading a 5V PIR motion sensor or a 5V flow meter). It uses overdrive logic to safely step down voltages, but it is strictly uni-directional.
- TXB0108 Auto-Directional Shifter: Avoid for I2C. While it works beautifully for UART or parallel LCDs, the TXB0108 has internal push-pull drivers that will fight standard I2C pull-up resistors, leading to bus contention and failed sensor reads on the Pi.
Software Translation: Moving from Arduino IDE to Pi GPIO Libraries
On an Arduino, digitalWrite(13, HIGH) executes in microseconds because it runs on bare-metal hardware. On a Raspberry Pi, running Linux, GPIO manipulation happens through the kernel, introducing microsecond-to-millisecond jitter. This jitter is catastrophic for protocols like WS2812B (NeoPixels) or precise RC servo control.
To replicate Arduino-like timing on the Pi, you must upgrade your software stack:
- gpiozero: The modern, Pythonic standard for general GPIO control. It abstracts the pinout complexities and is perfect for buttons, LEDs, and relays. Refer to the official gpiozero documentation for migration recipes.
- pigpio: If your Arduino sketch relies on
analogWrite()for smooth motor fading or servo positioning, you must use thepigpiodaemon. It utilizes the Pi’s DMA (Direct Memory Access) controller to generate hardware-timed PWM signals, completely bypassing Linux OS jitter. You will need to enable the daemon viasudo systemctl enable pigpiod. - rpi_ws281x: Do not attempt to bit-bang NeoPixels using standard Python loops. Use the
rpi_ws281xlibrary, which leverages the Pi's PWM/DMA hardware to drive addressable LEDs perfectly, mapping to specific hardware PWM pins like BCM 18.
The Pi 5 Factor: RP1 Chip and Pinout Quirks in 2026
If your migration targets the Raspberry Pi 5, the gpio rpi pinout physical layout remains identical to the 40-pin header introduced in 2014, but the underlying architecture has radically changed. The Pi 5 offloads GPIO management to the RP1 southbridge chip. This introduces critical E-E-A-T considerations for hardware designers:
- 3.3V Power Rail Upgrade: On the Pi 4, the 3.3V pins (Physical 1 and 17) were limited to roughly 50mA, forcing makers to use external LDO regulators for sensor arrays. The Pi 5’s RP1 power delivery allows the 3.3V rail to supply up to 500mA. You can now safely power multiple I2C sensors and small OLED displays directly from the Pi's header.
- I2C Pull-Up Resistors: The Pi 5 includes onboard 1.5kΩ pull-up resistors for the primary I2C bus, tied to the 3.3V rail. If you are migrating a custom PCB designed for the Pi 4 that already includes its own 4.7kΩ pull-ups, the parallel resistance will drop to roughly 1.1kΩ. While usually fine for 100kHz I2C, this can cause signal ringing at 400kHz Fast Mode. The RP1 allows you to disable the internal pull-ups via device tree overlays if necessary.
- PCIe Gen 2 Exposure: While not part of the standard 40-pin header, the Pi 5 exposes a PCIe lane on a separate FPC connector. Makers migrating high-bandwidth ADCs or FPGA co-processors from the Arduino Due or Portenta H7 can now interface directly via PCIe rather than bottlenecking through SPI.
For comprehensive electrical schematics and absolute maximum ratings of the RP1 GPIO pins, always consult the Raspberry Pi Hardware Documentation before finalizing your migration PCB layout.
Final Migration Checklist
Before applying power to your newly migrated Raspberry Pi setup, verify the following:
- All 5V sensors are routed through a BSS138 or CD4050 level shifter.
- UART pins are crossed correctly (Pi TX to Sensor RX, Pi RX to Sensor TX).
- The serial console is disabled in
raspi-configif using BCM 14/15 for hardware UART. - You are referencing BCM numbering in your Python scripts, not physical pin numbers.
By respecting the voltage boundaries and leveraging the Pi's advanced DMA-backed GPIO libraries, your upgrade from Arduino to Raspberry Pi will yield a robust, high-performance system capable of handling complex computer vision and edge-AI tasks that an 8-bit MCU could only dream of.