
Why the ESP32-C6 1.47 Online Flash Tool Fails
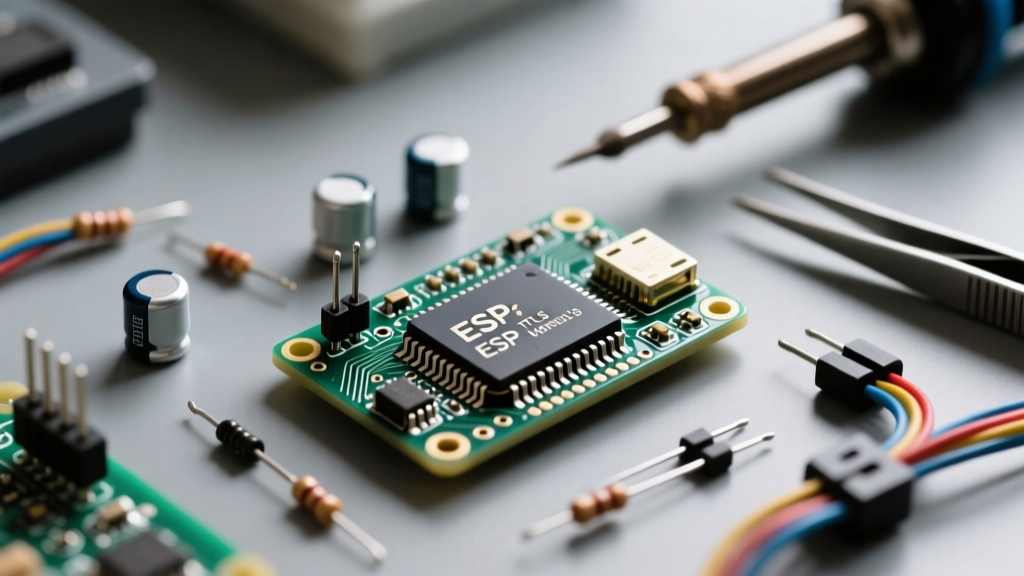
The integration of a 1.47-inch TFT LCD (typically a 170x128 ST7789 display) directly onto ESP32-C6 development boards has created a massive surge in DIY smart home dashboards, Zigbee coordinators, and Matter controllers. To deploy firmware like ESPHome or custom web-flasher binaries, makers heavily rely on the ESP Web Tools ecosystem. However, the browser-based ESP32-C6 1.47 online flash tool is notoriously fragile when dealing with the C6's unique RISC-V architecture and USB-CDC serial handshaking.
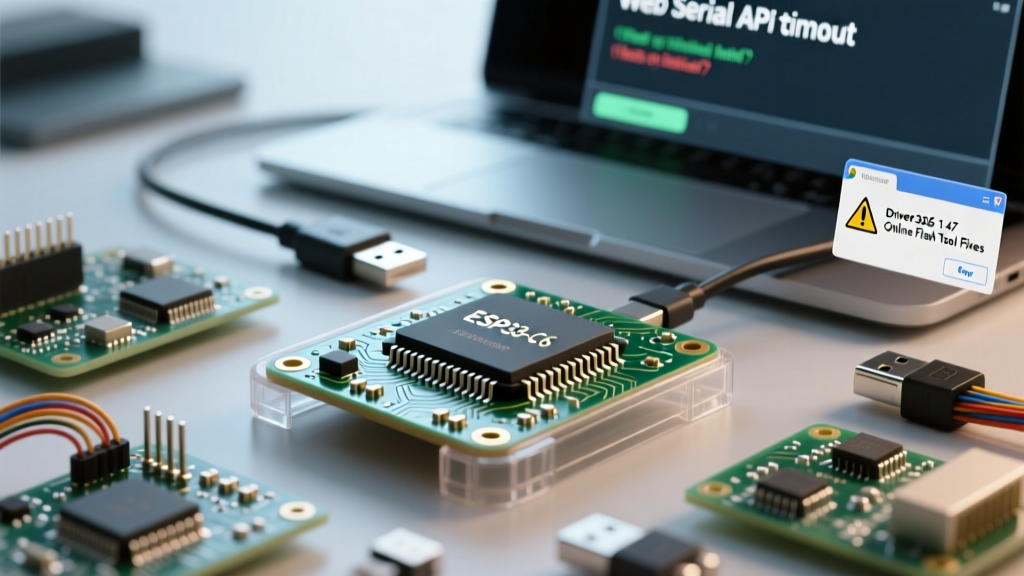
When you click 'Connect' and the tool immediately throws a Failed to Connect or Stub Flasher Timeout error, it is rarely a broken board. Instead, it is usually a collision between the Web Serial API, the ESP32-C6's internal USB-Serial/JTAG controller, and incorrect boot-strapping pin states. This guide provides a domain-expert troubleshooting framework to bypass these errors and successfully flash your 1.47-inch TFT board.
Pre-Flight Checklist: Browser and Hardware Verification
Before attempting to force the bootloader, you must verify that your environment supports the Web Serial API. Unlike legacy serial tools, the online flasher requires direct browser-to-hardware COM port access.
| Browser Engine | Web Serial API Support | Required Action |
|---|---|---|
| Chromium (Chrome, Edge, Brave) | Native Support | Ensure 'Experimental Web Platform features' is enabled if on older builds. |
| Firefox | Not Supported | Use a Chromium fork; Firefox has deprecated Web Serial support. |
| Safari (macOS/iOS) | Not Supported | Switch to Chrome or Edge. Safari does not support serial hardware access. |
| Opera / Vivaldi | Native Support | Verify OS-level permissions for USB device access. |
Hardware Trap: Many generic ESP32-C6 1.47-inch boards ship with USB-C cables that are charge-only (missing the D+ and D- data lines). If your OS does not play the USB enumeration sound when plugging in the board, discard the cable immediately. You need a certified data-sync USB-C cable.
Step-by-Step Troubleshooting the Flash Sequence
If your browser is verified and your cable is confirmed for data transfer, proceed through these specific hardware and software fixes.
Fix 1: Forcing the ESP32-C6 into ROM Bootloader Mode
The ESP32-C6 features an internal USB-Serial/JTAG controller. Unlike older ESP32 boards that used external CH340 or CP2102 chips to automatically toggle the boot pins via DTR/RTS signals, the C6's internal USB controller often fails to auto-reset into download mode when triggered by a web browser.
You must manually force the board into the ROM bootloader:
- Locate the BOOT (GPIO9) and RESET (GPIO8) buttons on your 1.47-inch TFT dev board.
- Press and hold the BOOT button.
- While holding BOOT, press and release the RESET button.
- Release the BOOT button.
- Immediately click the 'Connect' button in the online flash tool and select the COM port (often labeled as 'USB JTAG/serial debug unit' or 'CDC-ACM').
Fix 2: Resolving Web Serial Stub Flasher Timeouts
A common error specific to the ESP32-C6 is the Stub Flasher Timeout. The online tool successfully connects at the default 115200 baud, uploads the stub flasher to the C6's RAM, but fails when the stub attempts to switch to a higher baud rate (like 921600) for the actual binary transfer.
The Fix: If you are hosting your own manifest or using a configurable web flasher, edit the manifest.json file to cap the baud rate. According to the Espressif Hardware Design Guidelines, the C6's internal USB-CDC can be highly sensitive to buffer overruns on web-based serial bridges.
Add this line to your manifest configuration:
'baud_rate': 115200
Forcing the entire flash sequence to remain at 115200 baud will increase the flash time by roughly 40 seconds, but it virtually eliminates the stub timeout error on 90% of generic C6 TFT boards.
Fix 3: Overcoming USB-CDC Enumeration Ghosting
Sometimes, the ESP32-C6 enters a 'ghost' state where the OS registers the USB device, but the Web Serial API cannot claim the port because a background process has locked it. This is especially prevalent on Linux and macOS systems running background IoT bridges (like Zigbee2MQTT or Home Assistant containers) that aggressively grab available serial ports.
- Windows: Open Device Manager, find the 'USB Serial Device' under Ports (COM & LPT), right-click, and select 'Disable Device'. Wait 3 seconds, then 'Enable Device'. This clears the OS-level serial lock.
- Linux: Run
sudo lsof /dev/ttyACM0to identify the locking process (oftenpython3ordocker) and kill it, or temporarily remove the user from thedialoutgroup and re-add it. - macOS: Check for hidden Python serial monitors running in VS Code or PlatformIO and close them. The MDN Web Serial API documentation explicitly notes that browsers cannot override OS-level exclusive file locks on Unix-based systems.
Post-Flash: Did the 1.47-inch TFT Actually Fail?
A frequent point of confusion in the maker community is assuming the online flash tool failed because the 1.47-inch screen remains black after a successful 'Flash Complete' message. This is usually a firmware pin-mapping issue, not a flashing error.
The ST7789 TFT controller on these boards requires precise SPI initialization. If your compiled binary does not explicitly define the correct GPIO pins for the display, the screen will not light up, leading users to falsely believe the flash corrupted the bootloader.
Verify your firmware configuration (e.g., in ESPHome YAML) matches the exact hardware routing of the C6 1.47 board:
- SPI CLK: GPIO2
- SPI MOSI: GPIO3
- Display CS: GPIO16
- Display DC: GPIO15
- Backlight (BL): GPIO23
If the web tool reported a 100% successful write and verify, trust the tool. Debug your display driver configuration next.
Fallback: Local ESPTool via CLI
If the Web Serial API completely refuses to handshake with the ESP32-C6's ROM bootloader due to browser sandboxing restrictions, you must fall back to the local Python-based esptool. This bypasses the browser entirely and communicates directly with the OS serial stack.
Install esptool via pip:
pip install esptool
Execute the flash command, explicitly defining the RISC-V chip architecture and the USB-CDC port (usually /dev/ttyACM0 on Linux or COM3 on Windows):
esptool.py --chip esp32c6 --port COM3 --baud 115200 write_flash 0x0 firmware.bin
This local CLI method remains the ultimate gold standard for unbricking an ESP32-C6 when web-based tools fail.
Frequently Asked Questions
Q: Why does the online flasher ask for permission to access the USB device every time I reload the page?
A: This is a security feature of the Web Serial API. Browsers do not allow persistent, silent access to hardware ports to prevent malicious websites from hijacking connected microcontrollers or IoT devices.
Q: My ESP32-C6 1.47 board gets incredibly hot during the web flash process. Is this normal?
A: Yes. The ESP32-C6's internal USB-Serial/JTAG controller and the RISC-V core draw significant current during the high-speed flash write cycles. Ensure your board is resting on a non-conductive, heat-tolerant surface during the 2-3 minute flashing window.
Conclusion
The ESP32-C6 1.47 online flash tool is a remarkably convenient way to deploy Matter and Zigbee firmwares without installing local toolchains. However, its reliance on the Web Serial API and the C6's unique internal USB architecture requires a methodical troubleshooting approach. By mastering the manual BOOT/RESET sequence, capping the manifest baud rate to prevent stub timeouts, and verifying your TFT SPI pin mappings post-flash, you can eliminate the most common deployment failures and get your smart home dashboards online faster.