
The Eyes of Your Workbench: Why Your Multimeter Matters
If you are diving into electronics, Arduino projects, or home wiring, learning how to use a multimeter for beginners is the single most important skill you will acquire. Without a multimeter, you are essentially working blind—guessing if a battery is dead, if a trace on a PCB is broken, or if a wall outlet is wired correctly. A digital multimeter (DMM) translates invisible electrical properties into readable numbers, allowing you to troubleshoot, verify, and build with confidence.
In this comprehensive DIY guide, we will bypass the generic fluff and focus on real-world applications, safety-critical hardware differences, and the exact steps to measure voltage, continuity, and current without blowing up your equipment (or yourself).
Decoding the Anatomy of a Digital Multimeter
Before we start probing circuits, you need to understand the physical interface of your DMM. While a $15 pocket meter and a $200 professional meter look similar, their internal architecture differs wildly.
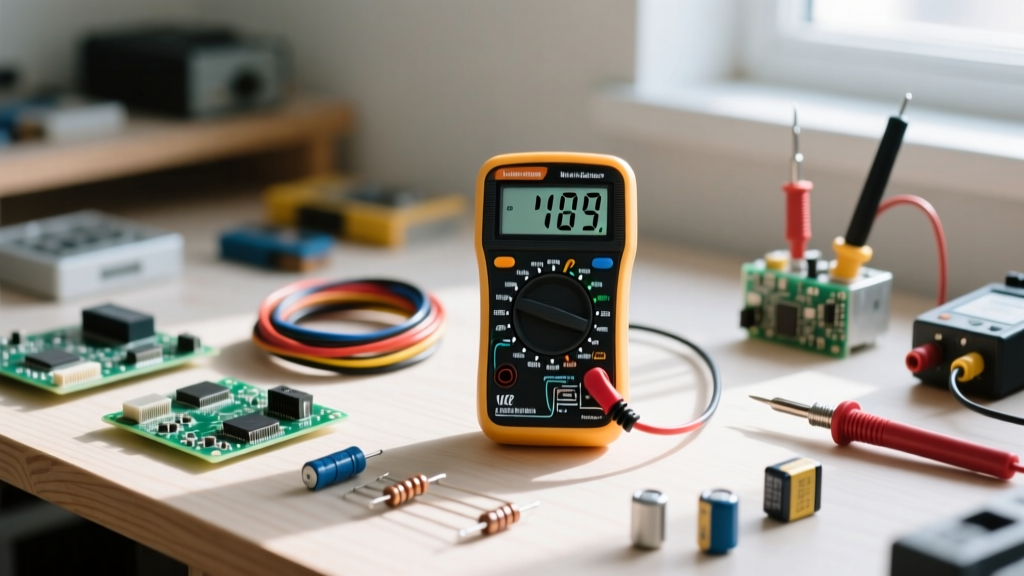
The Port Configuration
- COM (Common): This is your ground or negative reference. The black probe always plugs in here. It is connected to the internal common circuitry for all measurements.
- VΩmA (Voltage, Ohms, Milliamps): The red probe plugs in here for 95% of your DIY tasks. This port is internally protected by a fuse (usually rated for 400mA to 500mA) when measuring current.
- 10A (High Current): The red probe moves here only when measuring high current (usually above 400mA up to 10 Amps). This port often bypasses the delicate internal fuses and uses a heavy-duty shunt resistor.
Safety First: The CAT Rating Trap for Beginners
When searching for a beginner multimeter, you will find dozens of $12 meters on Amazon claiming they can measure '600 Volts.' However, voltage capacity is not the same as safety certification. This is where CAT (Category) ratings come in.
According to Fluke's official safety guidelines, CAT ratings define a meter's ability to withstand transient voltage spikes (like a lightning strike hitting a power grid miles away) without arcing internally and exploding in your hands.
- CAT II: Safe for plug-in appliances, PC power supplies, and standard DIY electronics.
- CAT III: Required for hardwired appliances, distribution panels, and outdoor wiring.
- CAT IV: Utility meters and primary service entrances.
Expert Warning: Never use an unbranded, unrated multimeter to test mains AC voltage (120V/240V). Cheap meters use standard glass fuses that can vaporize and cause a plasma explosion if you make a mistake. Always invest in a meter with HRC (High Rupturing Capacity) ceramic fuses and a verified CAT III rating, like the Brymen BM235 or Fluke 115.
Step-by-Step: Measuring DC Voltage (The Battery Test)
DC (Direct Current) voltage is what you will measure 90% of the time in DIY electronics—batteries, LED strips, USB power banks, and Arduino pins.
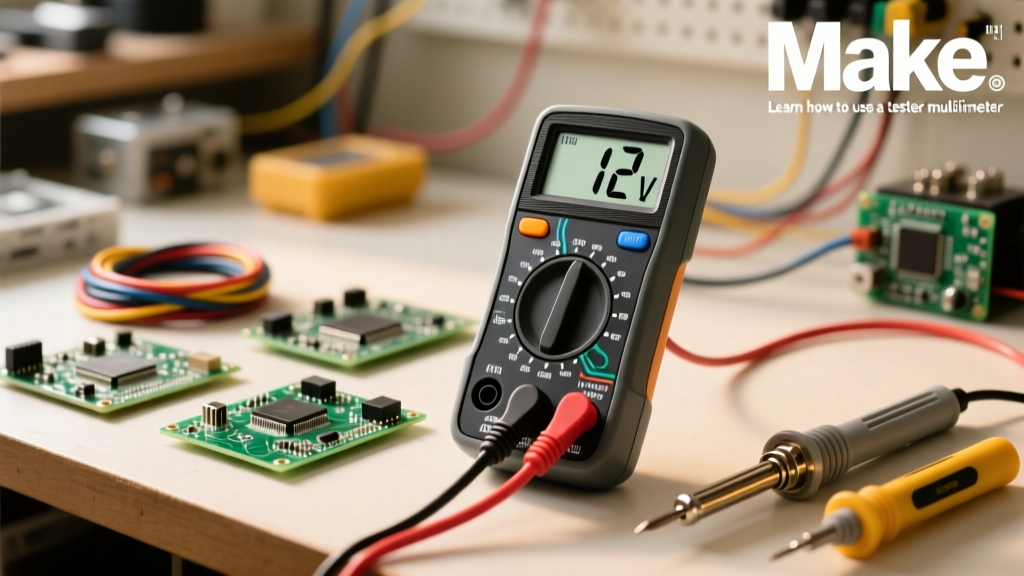
- Set the Dial: Turn the dial to the DC Voltage setting, denoted by a V with a solid line and three dots beneath it (⎓). Choose a range higher than your expected voltage. If testing a 12V battery, select the 20V range.
- Connect Probes: Black to COM, Red to VΩ.
- Probe the Circuit: Touch the red probe to the positive terminal and the black probe to the negative terminal.
- Read the Display: A healthy 12V SLA (Sealed Lead Acid) battery should read around 12.6V to 12.8V at rest. If it reads 11.8V, it is heavily discharged.
Note: If you see a negative sign (e.g., -12.5V), it simply means your probes are reversed. Digital multimeters handle this gracefully; analog meters would pin the needle backward and break.
Testing Continuity and the 'Diode Mode' Secret
Continuity testing checks if electricity can flow from point A to point B. It is the ultimate tool for finding broken wires, blown fuses, or short circuits. As detailed in the SparkFun Multimeter Tutorial, this is the most frequently used function on any workbench.
The Basic Continuity Beep
Set your dial to the continuity symbol (looks like a Wi-Fi icon or sound wave). Touch the two probe tips together. You should hear a sharp beep, and the display should read near 0.00Ω. Now, place the probes on either end of a fuse. A beep means the fuse is good; silence (and an 'OL' reading) means it is blown.
The Diode Test Hack for PCB Tracing
Beginners often ignore the Diode Test mode (symbolized by an arrow with a line). While it measures the forward voltage drop of a diode (typically 0.5V to 0.7V for standard silicon, and 0.2V to 0.3V for Schottky diodes), hardware hackers use it to trace circuit board paths. Because it outputs a slightly higher test voltage than continuity mode, it can 'turn on' semiconductor junctions, allowing you to map out which pins on a microcontroller connect to which components without removing them from the board.
Measuring Current: The Fuse-Blowing Trap
Measuring current (Amps) is where beginners destroy their multimeters. Voltage is measured in parallel; current MUST be measured in series.
If you want to measure how much current a 12V LED strip is drawing, you cannot simply touch the probes to the positive and negative wires. That creates a dead short through the meter's internal shunt, instantly blowing the internal mA fuse (or worse).
The Correct Series Method
- Disconnect the power source.
- Break the circuit (e.g., disconnect the positive wire from the LED strip).
- Set the dial to Amps (A) or Milliamps (mA).
- Place the red probe on the power supply's positive output, and the black probe on the LED strip's positive input. The meter now becomes a 'bridge' in the circuit.
- Apply power and read the current draw.
Multimeter Specs Comparison Chart for Beginners
Not all meters are created equal. Below is a practical decision framework for selecting your first DMM based on real-world DIY needs.
| Model | Approx. Price | Safety Rating | True RMS? | Best Use Case |
|---|---|---|---|---|
| AstroAI AM33D | $15 | None (Unrated) | No | Low-voltage hobby electronics, AA batteries, basic continuity. |
| Brymen BM235 | $115 | CAT III 600V | Yes | Advanced DIY, mains wiring, Arduino, automotive. (EEVblog approved). |
| Fluke 115 | $220 | CAT III 600V | Yes | Professional electricians, heavy daily use, extreme durability. |
| Uni-Trend UT61E+ | $65 | CAT II 600V | Yes | PCB design, high-precision component sorting, bench work. |
What is True RMS? Standard 'average-responding' meters assume AC waveforms are perfect sine waves. If you measure the output of a cheap modified-sine-wave power inverter or a dimmer switch, a basic meter will give wildly inaccurate readings. A True RMS meter calculates the actual heating value of the waveform, giving you accurate data on 'dirty' power.
Troubleshooting Common Multimeter Errors
Even the best All About Circuits guides warn about misinterpreting DMM displays. Here is how to decode common errors:
- 'OL' or '1' on the left side: This means 'Over Limit' or 'Open Loop'. If you are measuring resistance, the circuit is broken (infinite resistance). If measuring voltage, your range is set too low (e.g., trying to read 120V AC on the 2V setting). Turn the dial to a higher range.
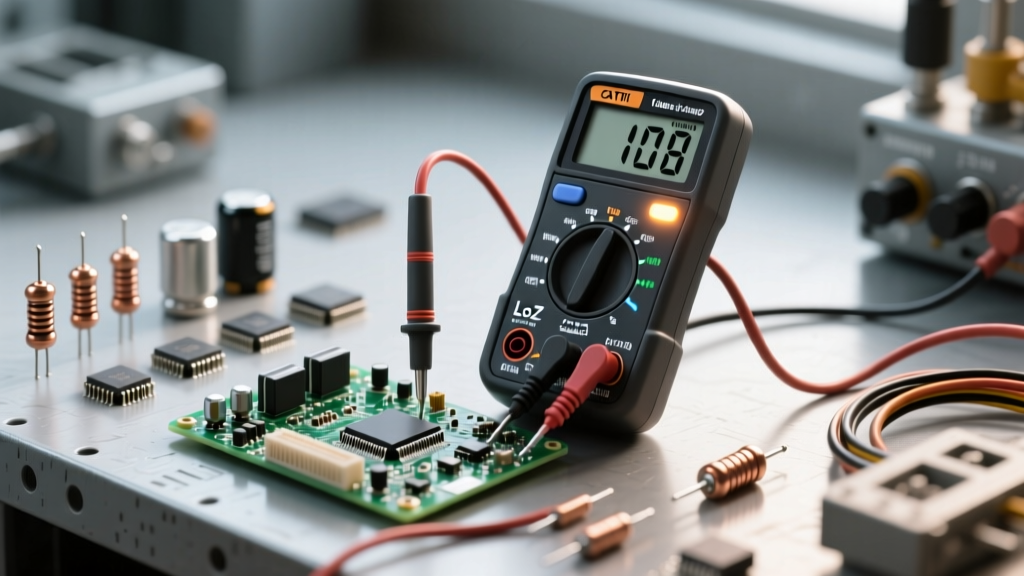
- Ghost Voltages: You probe a disconnected wire in a wall and read 40V AC. Is it live? Probably not. Long wires act as antennas, picking up electromagnetic induction from adjacent live wires. Modern pro meters feature a LoZ (Low Impedance) mode that places a heavy load on the circuit to bleed off this ghost voltage, revealing the true 0V state.
- The Low Battery Icon: A dying 9V battery inside your DMM doesn't just dim the screen; it causes the internal voltage reference to drift, leading to wildly inaccurate readings. If the battery icon appears, stop testing and replace it immediately.
Final Thoughts for the DIYer
Mastering how to use a multimeter for beginners is about building muscle memory and respecting the physics of electricity. Always double-check your dial setting before probing a circuit—especially ensuring you haven't left it in 'Amps' mode when reaching to measure a voltage source. Treat your multimeter with care, invest in a properly fused and rated unit for your specific projects, and it will serve as your most reliable diagnostic companion for years to come.