
The Great Divide: NDIR vs. eCO2 (MOX) Sensors
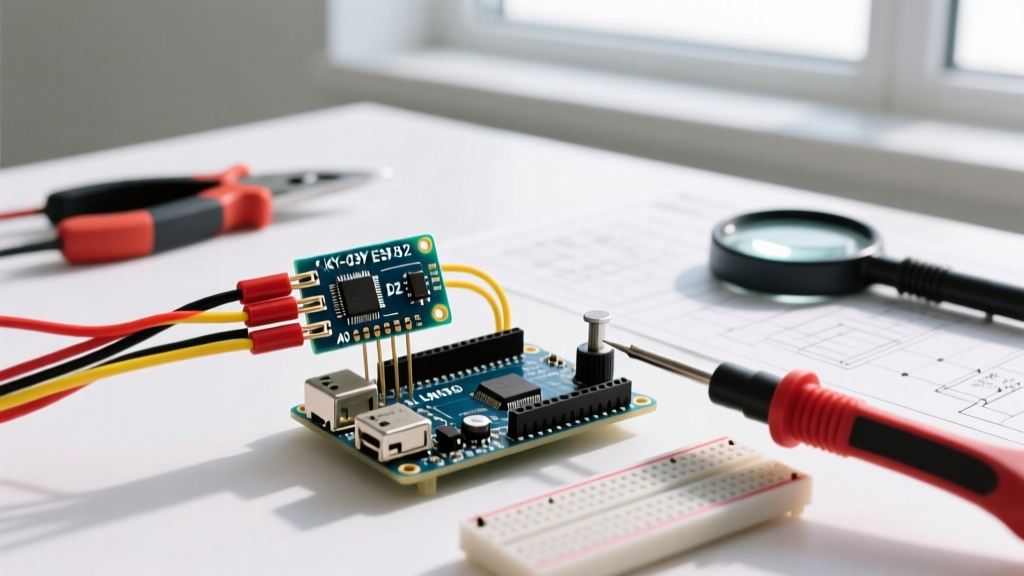
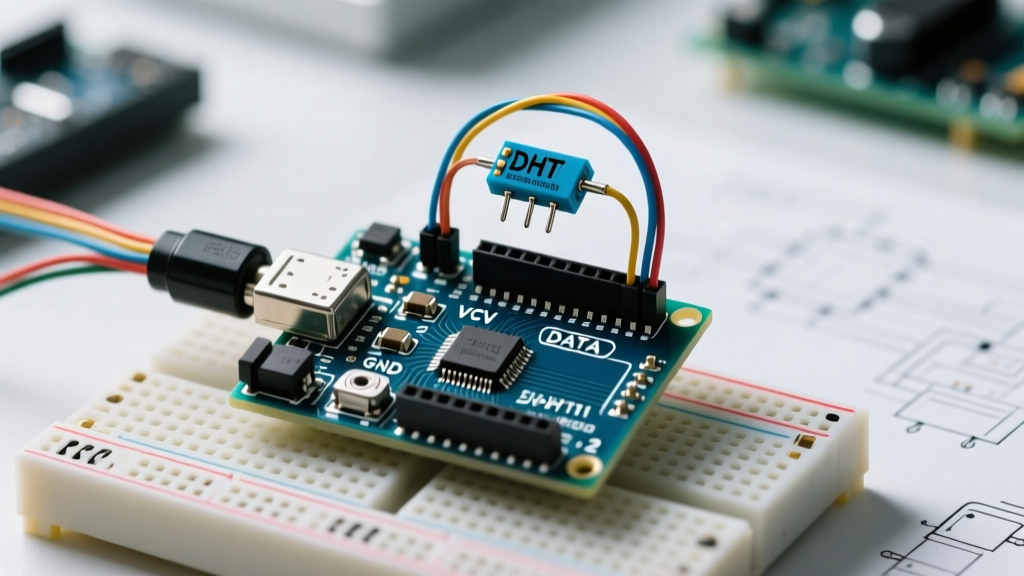
When beginners search for an Arduino CO2 sensor, they are often met with a confusing array of cheap breakout boards. The most critical mistake you can make is confusing true CO2 measurement with estimated CO2 (eCO2). Sensors like the CCS811, BME680, or SGP30 do not actually measure carbon dioxide. They use Metal Oxide (MOX) technology to measure Volatile Organic Compounds (VOCs) and then use an internal algorithm to guess the CO2 levels based on typical human breath ratios.
If you place an eCO2 sensor in a room with a peel of an orange or a new piece of furniture, the VOCs will cause the sensor to report dangerously high CO2 levels, even if the air is perfectly breathable. For actual indoor air quality (IAQ) monitoring, greenhouse automation, or safety alarms, you must use a Non-Dispersive Infrared (NDIR) sensor. NDIR sensors shine an infrared light through a gas chamber; because CO2 absorbs specific IR wavelengths, the sensor calculates the exact ppm (parts per million) based on light attenuation.
| Sensor Model | Technology | Interface | Avg Price | Best Use Case |
|---|---|---|---|---|
| Winsen MH-Z19B | NDIR (Dual Beam) | UART / PWM | $18 - $24 | Budget IAQ, basic logging |
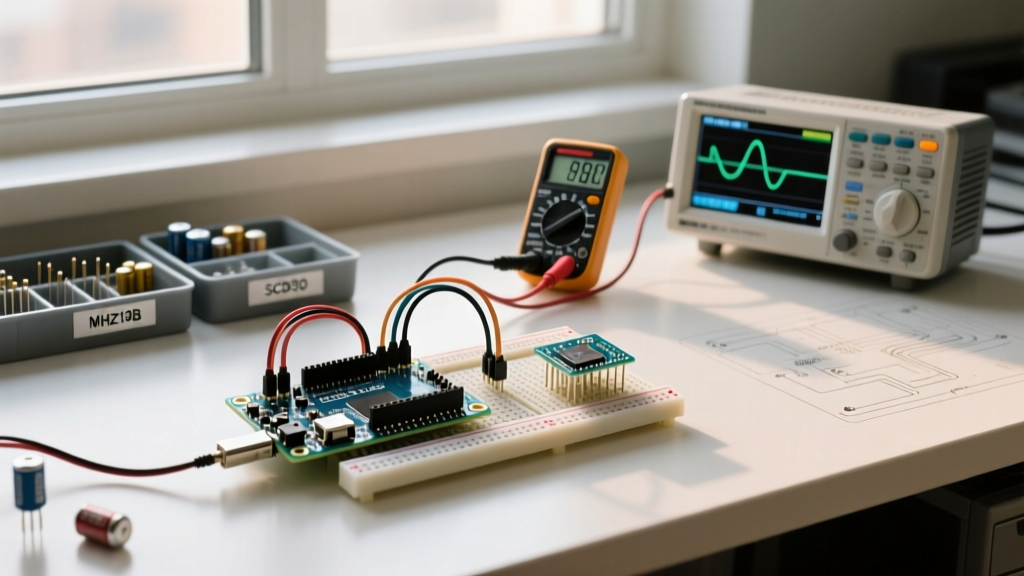
| Sensirion SCD30 | NDIR (Photoacoustic) | I2C / UART | $28 - $35 | High-precision IAQ, HVAC |
| CCS811 / SGP30 | MOX (eCO2) | I2C | $10 - $15 | VOC detection only (Not true CO2) |
The MH-Z19B Trap: Power Brownouts and Logic Frying
The Winsen MH-Z19B is the most popular Arduino CO2 sensor for beginners due to its price point. However, it is notorious for causing headaches due to two specific hardware traps that most generic tutorials ignore.
Trap 1: The 120mA Power Spike
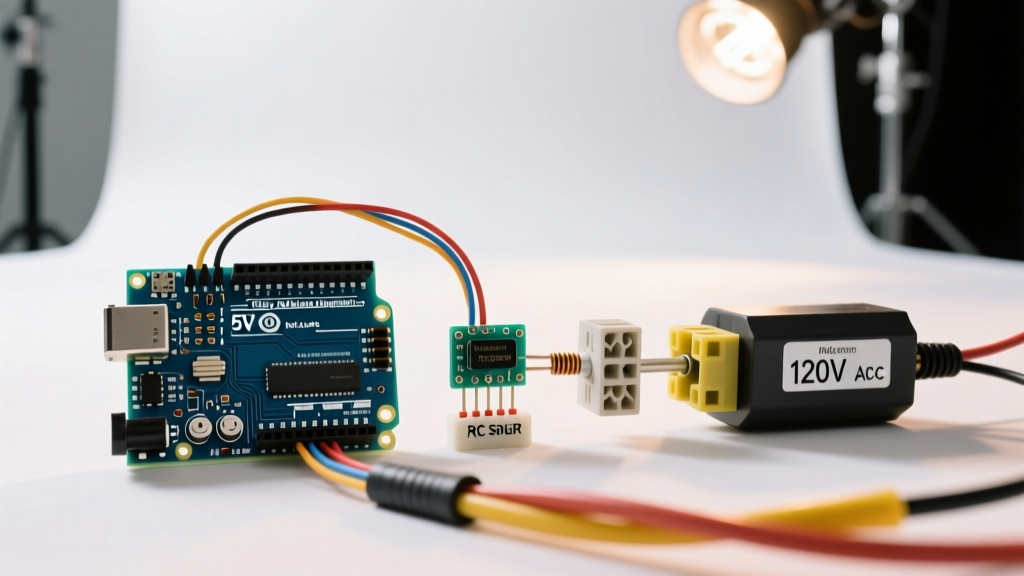
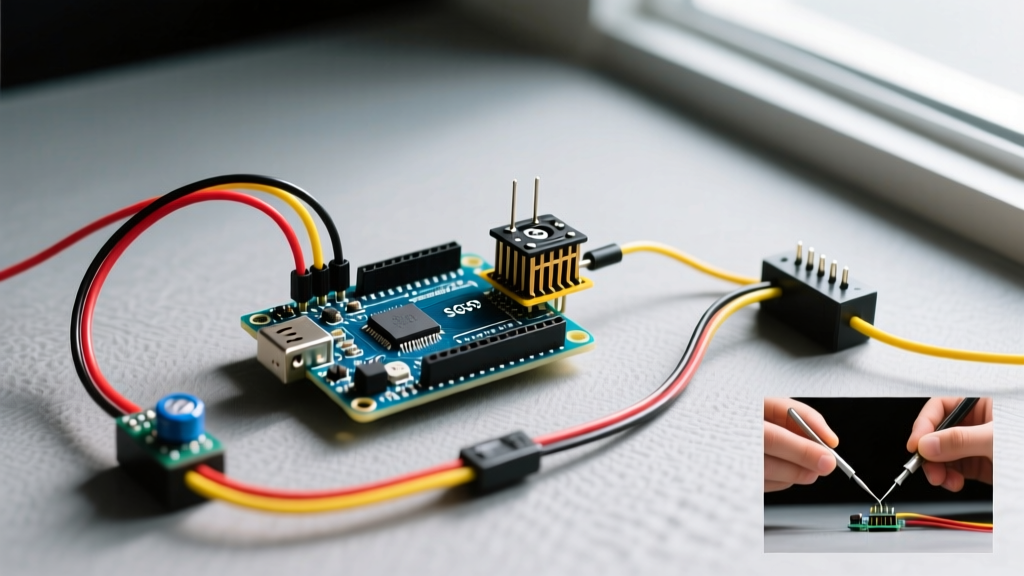
Inside the MH-Z19B, an infrared LED pulses to take a reading. This pulse draws a sudden spike of roughly 120mA to 150mA. If you are powering your Arduino Uno or Nano via a weak USB port or a cheap 5V wall adapter, this sudden current draw will cause a voltage brownout. The microcontroller will reset, or worse, the sensor will output stuck, garbage data (often locking at 400ppm or 0ppm). Always ensure your 5V rail can supply at least 500mA continuously, and place a 100µF electrolytic capacitor across the VCC and GND pins of the sensor to buffer the transient spike.
Trap 2: 5V Logic vs. 3.3V Logic
The MH-Z19B operates at 5V for power, but its UART data lines (TX and RX) are strictly 3.3V logic. If you connect the Arduino's 5V TX pin directly to the sensor's 3.3V RX pin, you risk degrading or permanently frying the sensor's internal logic gate over time. You must use a logic level converter or a simple voltage divider. A resistor network using a 2.2kΩ and a 3.3kΩ resistor will safely drop the 5V Arduino signal down to a safe ~3.0V for the sensor's RX pin.
For a comprehensive breakdown of the pinout and electrical characteristics, refer to the official Winsen MH-Z19B product documentation.
Wiring the Sensirion SCD30: The I2C Alternative
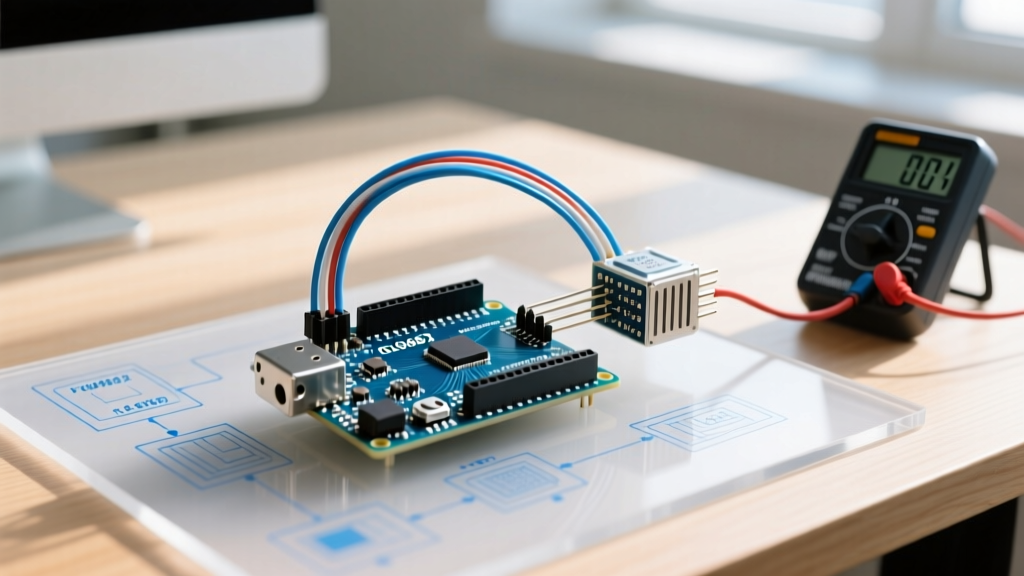
If you prefer the I2C bus to save your Arduino's hardware serial ports, the Sensirion SCD30 is the gold standard. It uses photoacoustic NDIR technology, making it incredibly accurate and stable. However, beginners often encounter 'clock stretching' issues when using standard I2C libraries on older AVR Arduinos.
The SCD30 requires the master (Arduino) to hold the SCL line low while the sensor processes data. To avoid I2C lockups, use the official Sensirion Arduino I2C SCD30 library, which handles the timing nuances correctly. Wire the SDA to A4 and SCL to A5 on an Uno, and ensure you are using 4.7kΩ pull-up resistors on both lines if your breakout board doesn't include them.
Calibration: The Step Most Beginners Skip
Out of the box, NDIR sensors suffer from manufacturing variances and altitude differences. If you do not calibrate your Arduino CO2 sensor, your baseline will drift. There are two primary calibration methods:
- Automatic Baseline Correction (ABC): The sensor assumes the lowest CO2 level it sees over a 7-day period is 400ppm (fresh outdoor air). This is great for homes but terrible for sealed greenhouses or bedrooms where CO2 never drops to 400ppm.
- Manual Zero Point Calibration: You take the sensor outside to fresh air, let it run for 20 minutes, and send a specific UART command to force the current reading to 400ppm.
Pro Tip: If you are building a bedroom monitor, disable ABC via code and perform a manual calibration outside. Otherwise, the sensor will artificially shift your indoor readings down over the course of a week, masking poor ventilation.
Arduino Code: Reading the MH-Z19B via SoftwareSerial
Below is a robust, non-blocking approach to reading the MH-Z19B using SoftwareSerial. This avoids using the delay() function, ensuring your Arduino can handle other tasks like updating a display or reading a DHT22 simultaneously.
#include <SoftwareSerial.h>

// RX pin 10, TX pin 11
SoftwareSerial co2Serial(10, 11);

byte cmd[9] = {0xFF, 0x01, 0x86, 0x00, 0x00, 0x00, 0x00, 0x00, 0x79};
byte response[9];
unsigned long lastRead = 0;

void setup() {
  Serial.begin(9600);
  co2Serial.begin(9600);
  Serial.println('MH-Z19B Initializing...');
}

void loop() {
  // Read every 5 seconds without blocking
  if (millis() - lastRead >= 5000) {
    lastRead = millis();
    readCO2();
  }
}

void readCO2() {
  co2Serial.write(cmd, 9);

  // Wait for response
  unsigned long startTime = millis();
  while (co2Serial.available() < 9) {
    if (millis() - startTime > 1000) {
      Serial.println('Timeout: No response from sensor.');
      return;
    }
  }

  co2Serial.readBytes(response, 9);

  // Verify checksum
  byte checksum = 0;
  for (int i = 1; i < 8; i++) checksum += response[i];
  checksum = 0xFF - checksum + 0x01;

  if (response[8] == checksum) {
    int co2 = response[2] * 256 + response[3];
    Serial.print('CO2 Concentration: ');
    Serial.print(co2);
    Serial.println(' ppm');
  } else {
    Serial.println('Checksum Error!');
  }
}
Real-World Placement and Airflow Dynamics
Hardware and code are only half the battle. CO2 is heavier than air (molar mass of 44 g/mol vs air's 29 g/mol), meaning it pools near the floor in stagnant rooms. However, thermal convection from human bodies and electronics usually mixes indoor air adequately.
When designing an enclosure for your Arduino CO2 sensor, never use a sealed 3D-printed box. The sensor requires ambient airflow to exchange the gas inside its optical chamber. Design an enclosure with large, louvered vents on the bottom and top to encourage passive convection (the chimney effect). Keep the sensor at least 1.5 meters off the ground (breathing zone height) and away from direct HVAC drafts, which can cause rapid pressure fluctuations that temporarily skew NDIR readings.