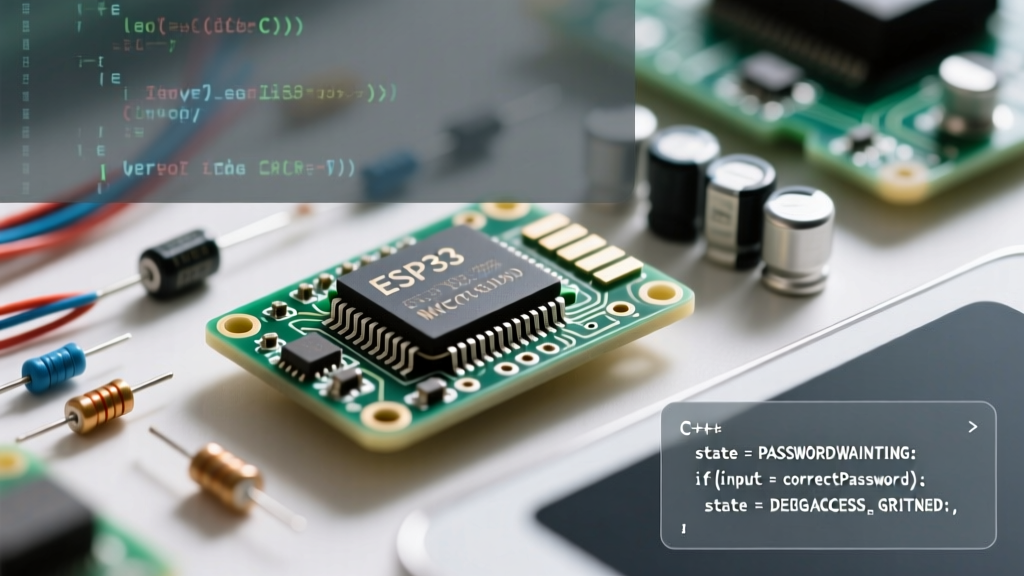

When transitioning from USB Serial debugging to wireless debugging on the ESP32, Telnet is often the first protocol beginners reach for. It allows you to view serial output and send commands over your local WiFi network using standard terminal clients like PuTTY or Tera Term. However, the default implementations found in most beginner tutorials leave Port 23 wide open. Anyone connected to your network can read your debug logs or inject malicious commands into your microcontroller.
If you want to secure your wireless debug session, you need to implement application-layer authentication. In this guide, we will explore exactly how to add password to Telnet on ESP32 using a robust state-machine approach in the Arduino IDE. We will also cover the hidden traps of Telnet line endings and raw TCP connections that cause 90% of beginner authentication failures.
The Security Reality of Port 23
Before writing code, it is vital to understand what you are actually building. The official Telnet protocol, defined in RFC 854, relies on complex Interpret As Command (IAC) byte sequences. Furthermore, standard Telnet transmits all data—including your password—in plaintext.
Security Warning: Adding a password prompt to a Telnet server does not encrypt your traffic. It merely prevents casual unauthorized access. Never expose your ESP32 Telnet port to the public internet. For encrypted remote access, you would need to implement SSH or TLS-wrapped WebSockets, which consume significantly more ESP32 RAM and flash.
Most beginner ESP32 "Telnet" servers are actually Raw TCP servers listening on Port 23. Terminal emulators like PuTTY will happily connect to a Raw TCP server and treat it as a standard text stream. Our authentication layer will be built directly into this Raw TCP text stream.
Designing the Authentication State Machine
To add a password prompt without blocking the ESP32's main loop(), we must avoid using while(client.available()) loops that halt the processor. Instead, we use a non-blocking state machine.
Every connected client will be assigned an authentication state:
- STATE_AWAIT_USER: The server has sent the "Username: " prompt and is waiting for text.
- STATE_AWAIT_PASS: The username matched; the server sent "Password: " and is waiting.
- STATE_AUTHENTICATED: The client has full access to the debug stream and command interface.
- STATE_FAILED: Credentials failed; the server severs the TCP connection.
Complete Arduino IDE Implementation
Below is the complete, non-blocking C++ code to add password to Telnet on ESP32. This utilizes the native WiFiServer class from the Espressif Arduino Core.
#include <WiFi.h>

const char* ssid = "YOUR_WIFI_SSID";
const char* password = "YOUR_WIFI_PASSWORD";

// Telnet Credentials
const char* TELNET_USER = "admin";
const char* TELNET_PASS = "esp32secure!";

WiFiServer telnetServer(23);
WiFiClient telnetClient;

// Authentication States
enum AuthState { AWAIT_USER, AWAIT_PASS, AUTHENTICATED, DISCONNECT };
AuthState clientState = AWAIT_USER;

String inputBuffer = "";

void setup() {
  Serial.begin(115200);
  WiFi.begin(ssid, password);

  while (WiFi.status() != WL_CONNECTED) {
    delay(500);
    Serial.print(".");
  }
  Serial.println("\nWiFi Connected. IP: " + WiFi.localIP().toString());

  telnetServer.begin();
  telnetServer.setNoDelay(true);
}

void loop() {
  // Handle new connections
  if (telnetServer.hasClient()) {
    if (telnetClient && telnetClient.connected()) {
      // Reject multiple connections
      telnetServer.available().stop();
    } else {
      telnetClient = telnetServer.available();
      clientState = AWAIT_USER;
      inputBuffer = "";
      telnetClient.print("\r\nUsername: ");
    }
  }

  // Process incoming data non-blockingly
  if (telnetClient && telnetClient.connected() && telnetClient.available()) {
    char c = telnetClient.read();

    // Handle Enter key (Carriage Return / Line Feed)
    if (c == '\n' || c == '\r') {
      if (inputBuffer.length() > 0) {
        processAuth(inputBuffer);
        inputBuffer = "";
      }
    } else {
      inputBuffer += c;
      // Prevent buffer overflow attacks
      if (inputBuffer.length() > 64) {
        inputBuffer = "";
      }
    }
  }

  // Example authenticated action
  if (clientState == AUTHENTICATED) {
    // Your main debug logic or command parsing goes here
    // Serial.println("System running normally...");
  }
}

void processAuth(String input) {
  if (clientState == AWAIT_USER) {
    if (input == TELNET_USER) {
      clientState = AWAIT_PASS;
      telnetClient.print("\r\nPassword: ");
    } else {
      telnetClient.print("\r\nInvalid. Disconnecting.\r\n");
      telnetClient.stop();
    }
  }
  else if (clientState == AWAIT_PASS) {
    if (input == TELNET_PASS) {
      clientState = AUTHENTICATED;
      telnetClient.print("\r\n[SUCCESS] Authenticated. Welcome to ESP32 Debug Console.\r\n> ");
    } else {
      telnetClient.print("\r\nAccess Denied. Disconnecting.\r\n");
      telnetClient.stop();
    }
  }
  else if (clientState == AUTHENTICATED) {
    // Process actual commands here
    telnetClient.print("\r\nEcho: " + input + "\r\n> ");
  }
}
The Beginner Trap: Parsing Telnet Line Endings
The most common reason beginners fail when trying to add password to Telnet on ESP32 is improper handling of line endings. When you press "Enter" in a terminal emulator like PuTTY, it rarely sends a single character. It usually sends a Carriage Return (\r, ASCII 13) followed by a Line Feed (\n, ASCII 10).
If your code only checks for \n, the \r gets appended to your string. Your code will compare "admin\r" against "admin", the authentication will fail, and the server will abruptly disconnect you. The code provided above solves this by triggering the processAuth() function on either character, while ignoring empty submissions caused by the trailing character.
Protocol Comparison: Securing ESP32 Debugging
Is Telnet with an application-layer password the right choice for your project? Review this comparison to decide if you need to upgrade your communication protocol.
| Protocol | Security Level | ESP32 Resource Cost | Best Use Case |
|---|---|---|---|
| Raw TCP (Port 23) + App Password | Low (Plaintext, prevents casual access) | Very Low (~2KB RAM) | Local network debugging, quick prototyping |
| SSH (via ESP-IDF) | High (Encrypted, Key-based) | High (~50KB+ RAM, Crypto overhead) | Production IoT devices, remote WAN access |
| WebSockets over WSS | High (TLS Encrypted) | Medium (~20KB RAM) | Browser-based dashboards, modern web UIs |
| ESP-NOW (Encrypted) | Medium (AES-CCM, No WiFi AP needed) | Low | Sensor nodes, off-grid mesh debugging |
Troubleshooting Connection Drops and Watchdogs
When implementing authentication on the ESP32, you might encounter the Task Watchdog Timer (TWDT) triggering a reboot. This happens if you use blocking code (like while(!telnetClient.available())) to wait for the user to type their password. The ESP32's background WiFi stack requires CPU time to maintain the connection to your router. If your code blocks the main thread for more than a few seconds waiting for human input, the watchdog assumes the system has frozen and reboots the chip.
Solution: Always use the non-blocking if (telnetClient.available()) pattern demonstrated in the code above. The loop() function must execute thousands of times per second, even while waiting for a human to type a password.
Handling PuTTY Configuration
If you connect via PuTTY and immediately see garbage characters or the server drops you before you can type, change your PuTTY Connection Type from "Telnet" to "Raw". Because our ESP32 code does not parse IAC negotiation bytes (like 0xFF 0xFD), a strict Telnet client will confuse the ESP32's string buffer. Setting the client to "Raw" forces it to send only the ASCII keystrokes you type, making the authentication handshake seamless.
Summary
Learning how to add password to Telnet on ESP32 is a rite of passage for IoT developers moving beyond basic Serial monitors. By utilizing a non-blocking state machine, properly stripping carriage returns, and understanding the limits of plaintext protocols, you can create a secure, robust wireless debugging environment. Remember to hardcode your credentials securely or, for advanced projects, pull them from the ESP32's NVS (Non-Volatile Storage) partition to keep them out of your public GitHub repositories.