
Introduction to the Swiss SEV 1011 Standard
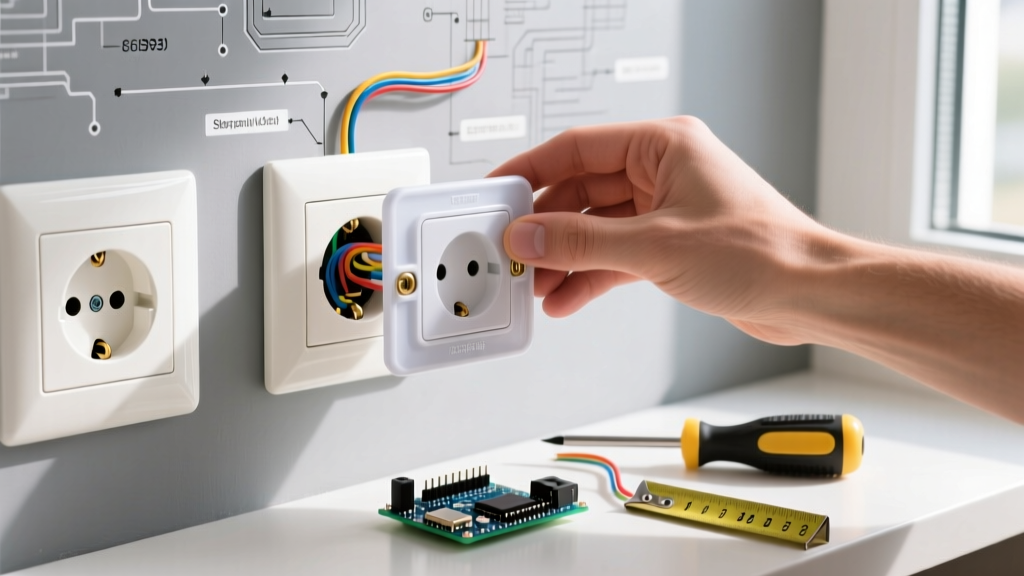
When working with international electrical systems, the Swiss electrical outlet—officially designated as Type J under the IEC World Plugs standard—stands out due to its unique recessed, semi-hexagonal geometry and offset earth pin. Governed by the SN 441011 standard (formerly SEV 1011) and strictly regulated by Electrosuisse, these receptacles are engineered for exceptional safety. The recessed design ensures that the plug's grounding pin makes contact before the live pins, while simultaneously preventing users from accidentally touching live prongs during partial insertion.
Unlike the standard European Schuko (Type F) or the ungrounded Europlug (Type C), the Swiss system utilizes a 4mm pin diameter for 10A applications and a 5.5mm pin diameter for 16A applications. In this comprehensive guide, we will walk through the exact step-by-step installation of a modern recessed Swiss receptacle, covering wiring protocols, torque specifications, and modern smart-home integrations relevant to 2026 electrical retrofits.
⚠️ SAFETY WARNING: In Switzerland, electrical installations are governed by the Swiss Federal Inspectorate for Heavy Current Installations (ESTI). While DIY maintenance and like-for-like replacement of existing socket faceplates are generally permissible for competent individuals, any new circuit extensions or modifications to the main distribution board must be inspected and signed off by a licensed electrician holding a recognized NIV (Niederspannungs-Installationsverordnung) certification.Understanding Swiss Outlet Variants (T11 to T25)
Before stripping any wires, you must identify the correct receptacle variant for your specific application. The Swiss standard categorizes outlets by amperage, recess depth, and environmental protection (IP rating). Selecting the wrong variant can lead to overheating or code violations.
| Designation | Amperage | Recessed? | IP Rating | Common Application |
|---|---|---|---|---|
| T11 | 10A | No | IP20 | Obsolete/Retrofit only |
| T12 | 10A | Yes | IP20 | Standard indoor residential |
| T13 | 10A | Yes | IP54 | Bathrooms, wet rooms |
| T21 | 16A | No | IP20 | Obsolete/Retrofit only |
| T23 | 16A | Yes | IP20 | Ovens, heavy appliances |
| T25 | 16A | Yes | IP54 | Outdoor, balconies |
Tools and Materials Required
Professional-grade tools are non-negotiable when working with 230V/50Hz systems. For this installation, we are using the Feller EDIZIOdue T12 receptacle module, which remains the gold standard in Swiss residential wiring due to its modular snap-in design and high-quality brass terminals.
- Voltage Tester: Fluke 117 True-RMS Multimeter or Fluke 2AC VoltAlert (CAT III rated).
- Wire Strippers: Knipex 12 62 180 (precisely calibrated for 1.5mm² and 2.5mm² solid copper wire without nicking the conductor).
- Torque Screwdriver: Calibrated to 1.2 Nm (crucial for preventing terminal creep and arcing).
- Receptacle: Feller EDIZIOdue T12 (10A) or T23 (16A) module.
- Wiring: 1.5mm² (for 10A circuits) or 2.5mm² (for 16A circuits) solid copper wire (H07V-U).
- Flush-Mounted Box: Kaiser 1555-00 (60mm depth, standard for Swiss masonry walls).
Step-by-Step Installation Guide
Step 1: Isolate the Circuit and Verify Zero Energy
Navigate to your main distribution board and switch off the corresponding Miniature Circuit Breaker (MCB). In modern Swiss installations, this will typically be a 10A or 16A Type C breaker, protected by a 30mA Residual Current Device (RCD) or RCBO. Lock out the breaker if you are in a shared building to prevent accidental re-energization. Remove the existing faceplate and use your Fluke multimeter to test between Phase (L) and Neutral (N), Phase and Earth (PE), and Neutral and Earth. The reading must be exactly 0.0V.
Step 2: Prepare the Flush-Mounted Box
Swiss flush-mounted boxes are typically 60mm deep to accommodate the relatively bulky SEV 1011 receptacle mechanisms. If you are retrofitting an older building (pre-1990s), you may encounter shallow 45mm boxes. Edge Case: If the box is too shallow, the rigid 2.5mm² wires will push the receptacle out, preventing the faceplate from sitting flush against the wall. Use a Kaiser box extender ring to add 15mm of depth if necessary. Clean out any plaster dust or debris from the box, as dust ingress can compromise the IP rating of the faceplate seal over time.
Step 3: Strip and Connect the Wires
Identify your conductors. Since 2004, Switzerland has used the harmonized European color code. However, if you are working in an older property, you must be aware of the legacy color codes.
| Function | Modern Color (Post-2004) | Legacy Color (Pre-2004) | Terminal Marking |
|---|---|---|---|
| Phase (Live) | Brown | Red / Black | L |
| Neutral | Blue | Grey / Light Blue | N |
| Protective Earth | Green/Yellow | Yellow/Red or Green | PE / ⏚ |
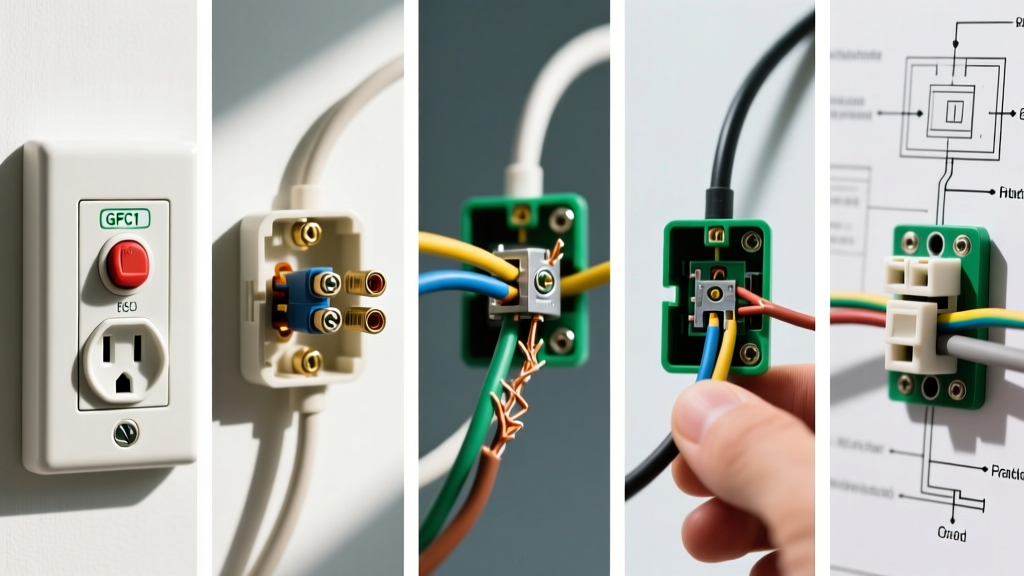
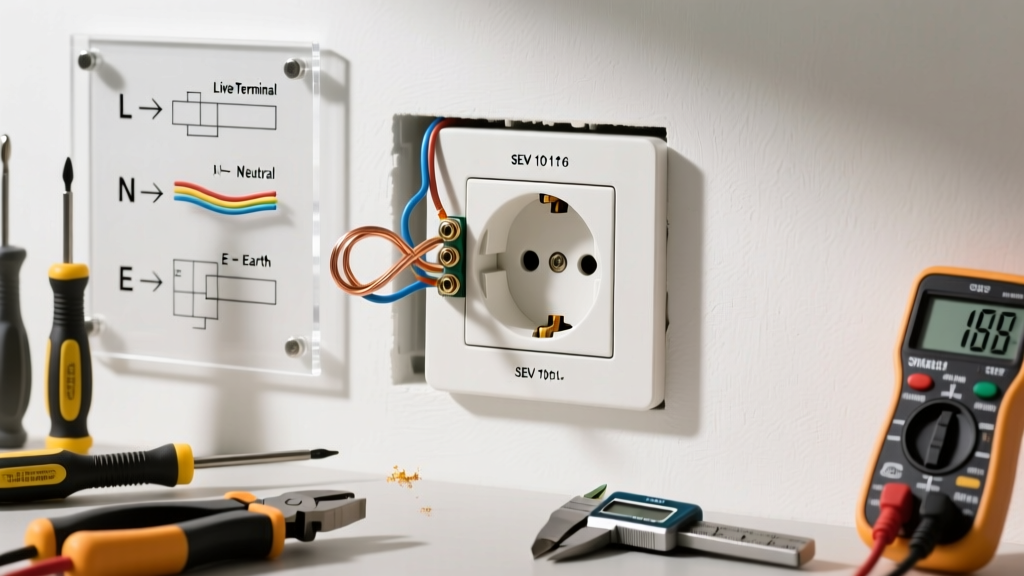
Strip exactly 12mm of insulation from the wire ends using your Knipex strippers. Insert the wires into the Feller EDIZIOdue screw terminals. Do not tin the wire ends with solder; solder creeps under pressure and will cause a loose connection over time, leading to thermal failure. Tighten the terminal screws using your torque screwdriver set to exactly 1.2 Nm. Give each wire a firm tug to ensure it is mechanically locked.
Step 4: Mount the Receptacle and Faceplate
Carefully fold the wires into the back of the flush box using a gentle S-curve to avoid sharp bends that could stress the terminal connections. Align the receptacle module with the mounting rails. Unlike standard European outlets that use expanding claws, high-end Swiss systems often utilize direct screw fixation to the box rails for superior stability. Drive the M4 mounting screws in until snug, but do not overtighten, as this will warp the polycarbonate chassis. Finally, align the EDIZIOdue cover plate and press firmly around the edges until the integrated snap-hooks engage with an audible click.
2026 Perspective: Smart Home Integration
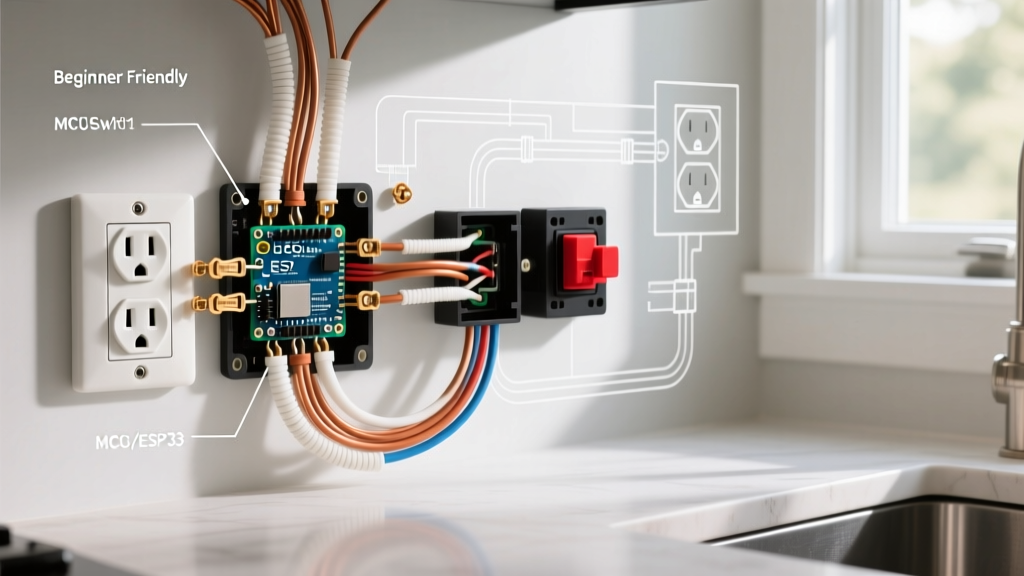
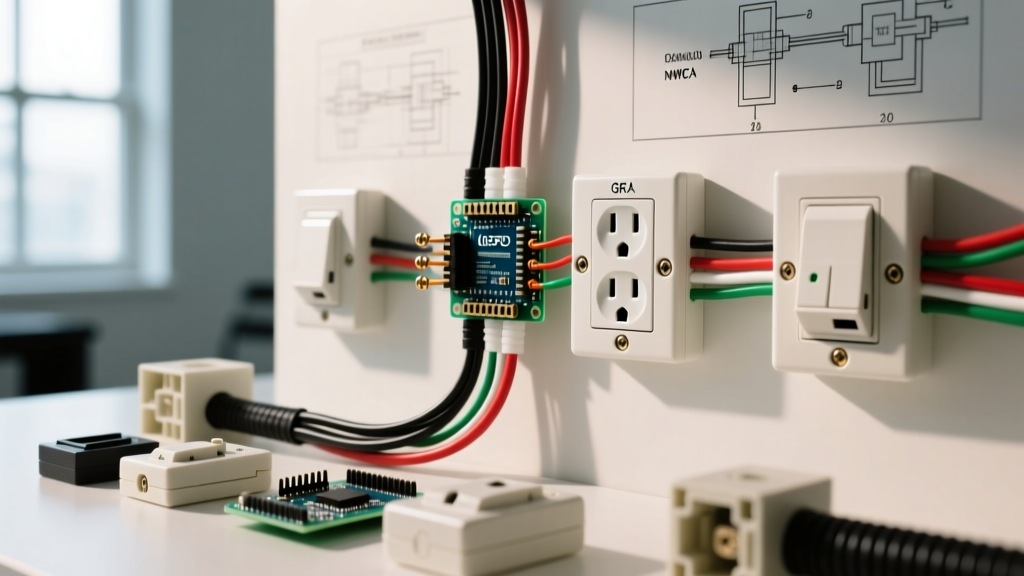
If you are upgrading your Swiss electrical outlets in 2026, consider integrating smart metering modules. Feller's Wiser series and Schneider Electric's KNX-compatible Swiss modules now feature built-in energy monitoring and Matter-over-Thread support. These smart receptacles require a standard 3-wire setup but utilize internal solid-state relays. When installing smart Swiss outlets, ensure your neutral wire is present and securely terminated, as smart modules require a continuous 230V reference to power their internal radios, even when the socket output is switched off via the app.
Common Failure Modes and Troubleshooting
- RCD Tripping Immediately: This almost always indicates that the Neutral (N) and Protective Earth (PE) wires have been swapped at the terminal block. Double-check your color codes and terminal markings.
- Faceplate Bulging: If the faceplate refuses to sit flush against the wall, the wires behind the receptacle are likely bent at too sharp an angle, or the flush box is filled with excess plaster. Trim the wires slightly and re-bend them into a smooth loop.
- Thermal Discoloration (Browning): If the plastic around the L or N terminal turns brown over time, the terminal screw was not torqued to 1.2 Nm. The resulting micro-arcing generates immense heat. Replace the receptacle immediately and trim the oxidized wire ends before re-terminating.
- Plug Fits Loosely: The internal brass leaf springs in the receptacle have fatigued. Swiss outlets are rated for roughly 10,000 insertion cycles. If you notice poor grip, the internal mechanism must be replaced; do not attempt to bend the contacts back into shape.
Frequently Asked Questions
Can I plug a German Schuko (Type F) appliance into a Swiss outlet?
No. The physical geometry of the Schuko plug is completely incompatible with the recessed hexagonal shape of the Swiss electrical outlet. Furthermore, Schuko appliances lack the specific offset earth pin required for the Swiss system. You must use a specialized, fused Type J adapter or rewire the appliance with a molded Swiss plug.
Will a standard European Europlug (Type C) work?
Yes. The ungrounded, flat Europlug (Type C) is designed to fit into both Schuko and Swiss recessed outlets. It is commonly used for low-draw, double-insulated (Class II) appliances like phone chargers and lamps.
What is the maximum continuous load for a T12 outlet?
While the T12 is rated for 10A (2300W at 230V), continuous loads (running for more than 3 hours) should be derated by 20% according to standard thermal management practices. For continuous 2300W loads, you must upgrade the circuit wiring to 2.5mm² and install a T23 (16A) receptacle.