
Decoding the 'Electrical Outlet Moulton' Phenomenon
When DIYers, contractors, and search algorithms collide, you often encounter the peculiar phrase electrical outlet moulton. While technically a phonetic typo for mounting, this search artifact perfectly describes a very real, highly specific failure mode in residential wiring: the crumbling, mangled, or 'moultoned' state of drywall and plaster ears around a failing receptacle box. Whether you are dealing with a literal mangled drywall cutout from a previous botched installation or simply searching for robust outlet mounting solutions, the physics of securing a 15A or 20A duplex receptacle remains unchanged.
A loose outlet isn't just an aesthetic nuisance; it is a severe fire and shock hazard. According to the Electrical Safety Foundation International (ESFI), loose receptacles can cause internal wire connections to arc, leading to electrical fires behind the drywall. In 2026, with the increased adoption of high-draw smart home devices and EV charging adapters, ensuring your outlet mounting hardware is flush, rigid, and code-compliant is more critical than ever.
The Anatomy of an Outlet Mounting Failure
Why do outlets push into the wall or sit crooked? The root cause almost always traces back to the interaction between the device yoke, the 6-32 UNC mounting screws, and the electrical box. Here are the primary failure modes we see in the field:
- Stripped Plaster Ears: Older metallic boxes (like legacy Steel City models) rely on thin stamped metal ears. Over-tightening the mounting screws strips the threads or snaps the ear entirely.
- Drywall Degradation: 'Old work' boxes rely on plastic flip-tabs or compression wings. If the drywall is over-cut or crumbles from moisture, the box loses its lateral support, causing the outlet to sink into the wall cavity when a plug is inserted.
- Yoke Warping: Cheap receptacles feature thin brass yokes that warp under the torque of a tight-fitting plug, pulling the mounting screws out of alignment.
- Missing Shims: When an electrical box is set too deep behind the drywall (exceeding the NEC 1/4-inch setback rule), installers often fail to use nylon shims, leaving the outlet unsupported.
Mounting Bracket Matrix: Choosing the Right Hardware for 2026
Not all mounting scenarios require a full box replacement. Below is a comparison of the industry's top mounting and rescue brackets, complete with current retail pricing and load capacities.
| Product / Bracket Type | Model / Example | Est. Cost (2026) | Best Application | Max Load Capacity |
|---|---|---|---|---|
| Adjustable Box | Arlington BE1 | $4.50 - $5.25 | New construction, deep tile backsplashes | 50 lbs (rigid mount) |
| Madison Metal Hanger | Generic F-Box Hanger | $1.15 - $1.50 | Rescuing stripped drywall cutouts | 35 lbs (drywall dependent) |
| Old Work Compression Box | Carlon SC200RR | $2.80 - $3.40 | Standard 1/2" drywall retrofits | 25 lbs (wing compression) |
| Goof Ring / Oversized Plate | Arlington DBVR1 | $3.00 - $4.00 | Covering massively over-cut drywall | N/A (Cosmetic cover) |
Step-by-Step Outlet Replacement & Secure Mounting
If your current outlet is failing the 'pull test' (where the entire faceplate moves when you unplug a cord), follow this exact procedure to remediate the mounting failure.
Step 1: Lockout, Tagout, and Verify
Never rely solely on the wall switch. Turn off the breaker at the main panel. Use a non-contact voltage tester like the Klein Tools NCVT-3 to verify the absence of voltage on both the top and bottom terminals. The CPSC's electrical safety guidelines strictly emphasize double-verification before touching any bare copper.
Step 2: Extract and Assess the Box
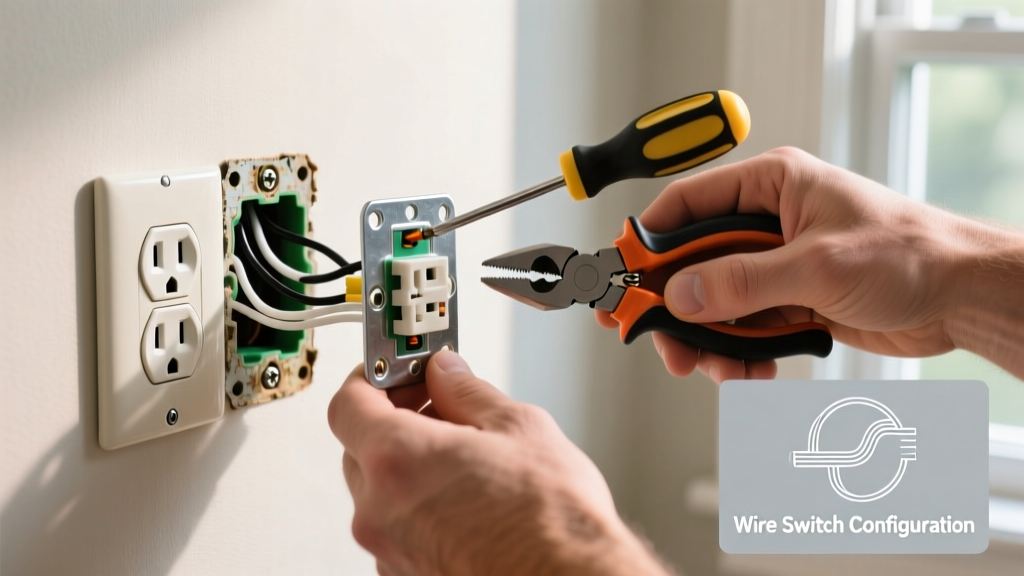
Remove the 6-32 mounting screws and gently pull the receptacle out. Do not yank the wires. Inspect the box mounting mechanism. If the plastic wings on an old-work box have snapped, or if the drywall around a nailed box is pulverized, you must upgrade the support structure.
Step 3: Install a Madison Metal Hanger (The 'Moulton' Rescue)
If the drywall hole is slightly oversized and a standard plastic box won't grip, use a Madison Metal Hanger.
- Slide the hanger through the existing hole and let it drop behind the drywall.
- Pull the hanger forward so the metal bar rests flat against the back of the drywall.
- Bend the two front tabs inward to lock the hanger against the front face of the drywall.
- Screw your new electrical box directly into the pre-tapped holes on the hanger bar.
Step 4: Wire, Shim, and Torque
When reinstalling the receptacle (we recommend the Leviton 5320-WMP 15A Tamper-Resistant Duplex), ensure the box is flush. If the box sits 1/8" to 1/4" behind the drywall, slide a breakaway nylon shim over the mounting screws before attaching the yoke. Tighten the 6-32 screws until the yoke is snug against the shim or drywall, then give it exactly one-quarter turn more. Over-torquing will strip the brass threads.
NEC Code Compliance: Box Fill and Setback Rules
When upgrading your mounting hardware, you must also ensure the internal volume of the box complies with the National Electrical Code (NEC) Article 314. Modern smart outlets and GFCI receptacles are significantly deeper than standard duplex outlets, often causing box-fill violations.
Expert Calculation Example: A standard single-gang old-work box offers 18 cubic inches of volume. If you are running 12/2 NM-B (12 AWG wire), each conductor counts as 2.25 cubic inches. One cable (2 conductors) = 4.5 cu in. One internal clamp = 2.25 cu in. One device (GFCI yoke) = 4.5 cu in. Total = 11.25 cubic inches. This safely fits within an 18 cu in box. However, if you add a second cable for daisy-chaining, your total jumps to 18.0 cu in, maxing out the box and risking wire crushing.
Furthermore, NEC 314.20 mandates that boxes in combustible surfaces (like drywall) must not be set back more than 1/4 inch (6mm) from the finished surface. If your box is recessed deeper than this due to thick wainscoting or tile, you must use a box extender ring (like the Arlington BE3) to bridge the gap and contain any potential arcing.
Advanced Troubleshooting: Stripped 6-32 Screw Holes
One of the most frustrating mounting issues occurs when the threaded hole inside a metal electrical box strips out, meaning the mounting screw just spins endlessly. Here is the professional fix:
- The Tap-and-Resize Method: Use a 8-32 UNC tap to re-thread the stripped 6-32 hole. Once tapped, use an 8-32 machine screw to mount the receptacle. This provides a stronger, thicker thread bite.
- The Self-Tapping Screw Hack: In a pinch on a metal box, drive a #10 self-tapping sheet metal screw through the yoke and into the back or side of the metal box, bypassing the stripped ear entirely. (Note: This is only permissible on metal boxes, never plastic).
- Box Replacement: If the box is severely compromised, cut the drywall back to the stud, mount a new Carlon SC200RR directly to the stud face, and patch the drywall. It takes 45 minutes but guarantees a lifetime of rigid mounting.
Final Thoughts on Outlet Stability
Whether you refer to it as an electrical outlet moulton, a mounting failure, or a loose yoke, the solution relies on proper hardware selection and adherence to box-fill mathematics. By upgrading to adjustable brackets, utilizing Madison hangers for drywall rescue, and respecting NEC setback tolerances, you ensure your receptacles remain safe, flush, and functional for decades. Always prioritize tamper-resistant (TR) models and verify your grounding path with a receptacle tester before energizing the circuit.